|
Saguaro Cliffs
Observatory - Construction
|
|
Welcome. The
following pages chronicle the construction of the Saguaro Cliffs
Observatory
|
|
|
Day 1 - 31 July 2009
|
Click each picture for a full
size version |
|
|
The tractors begin grubbing
of the area for the observatory |
 |
|
|
We need
to save these Saguaro's.
|
 |
|
|
There's no turning back
now. |
 |
|
| Day 4 -
August 3, 2009 |
Click each picture for a full size version |
|
| First
Layer of Fill |
 |
|
| The
Observatory Area
|
 |
|
| Day 6 -
5 August 2009 |
Click each picture for a full size version |
|
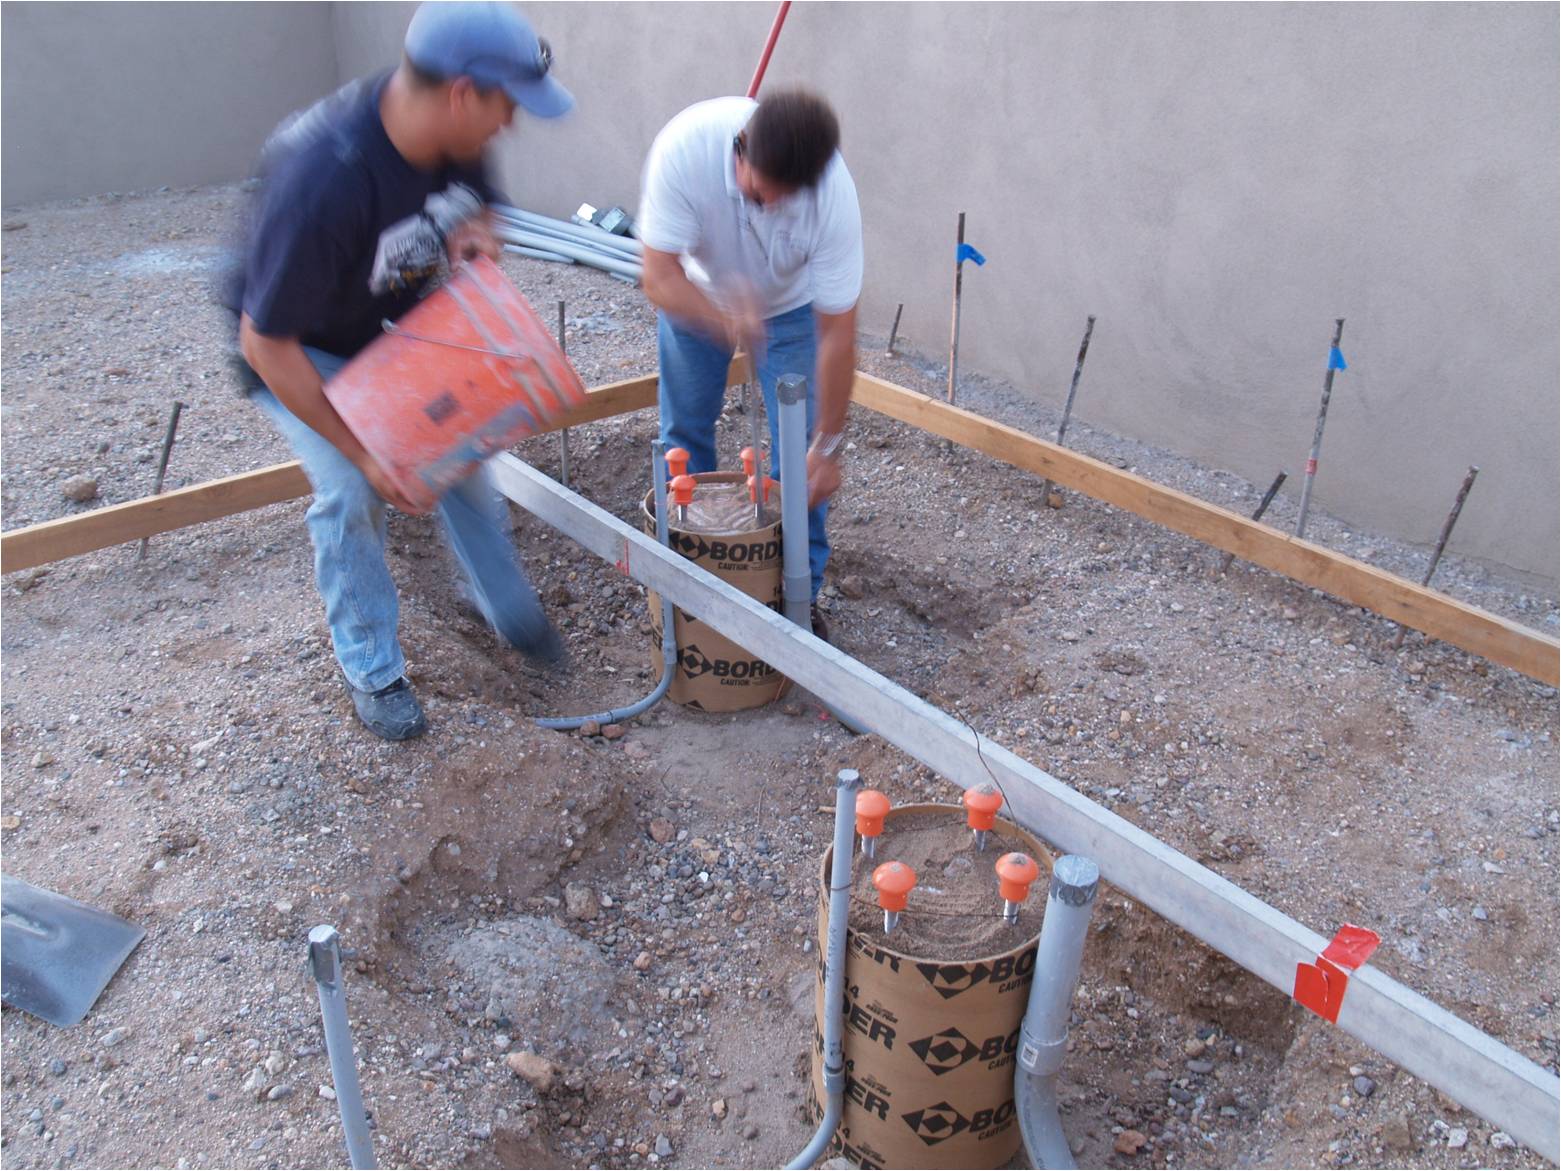
| Pier #2
Goes Here |
 |
|
|
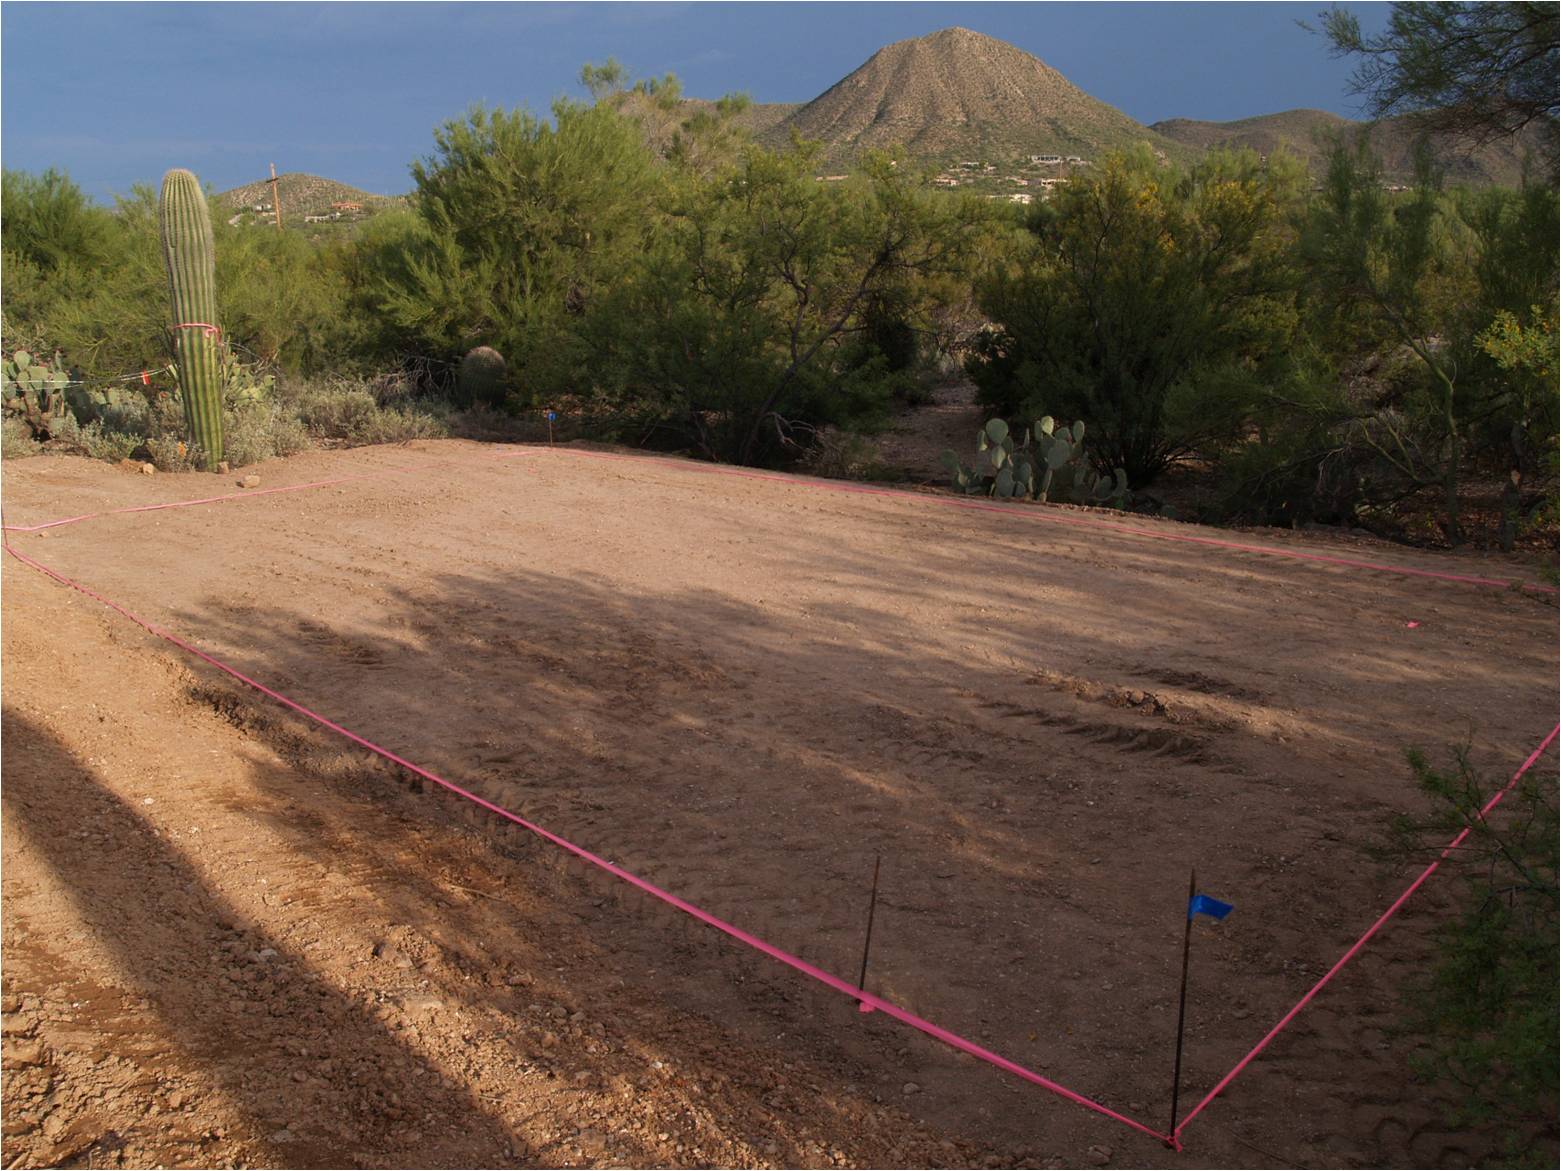
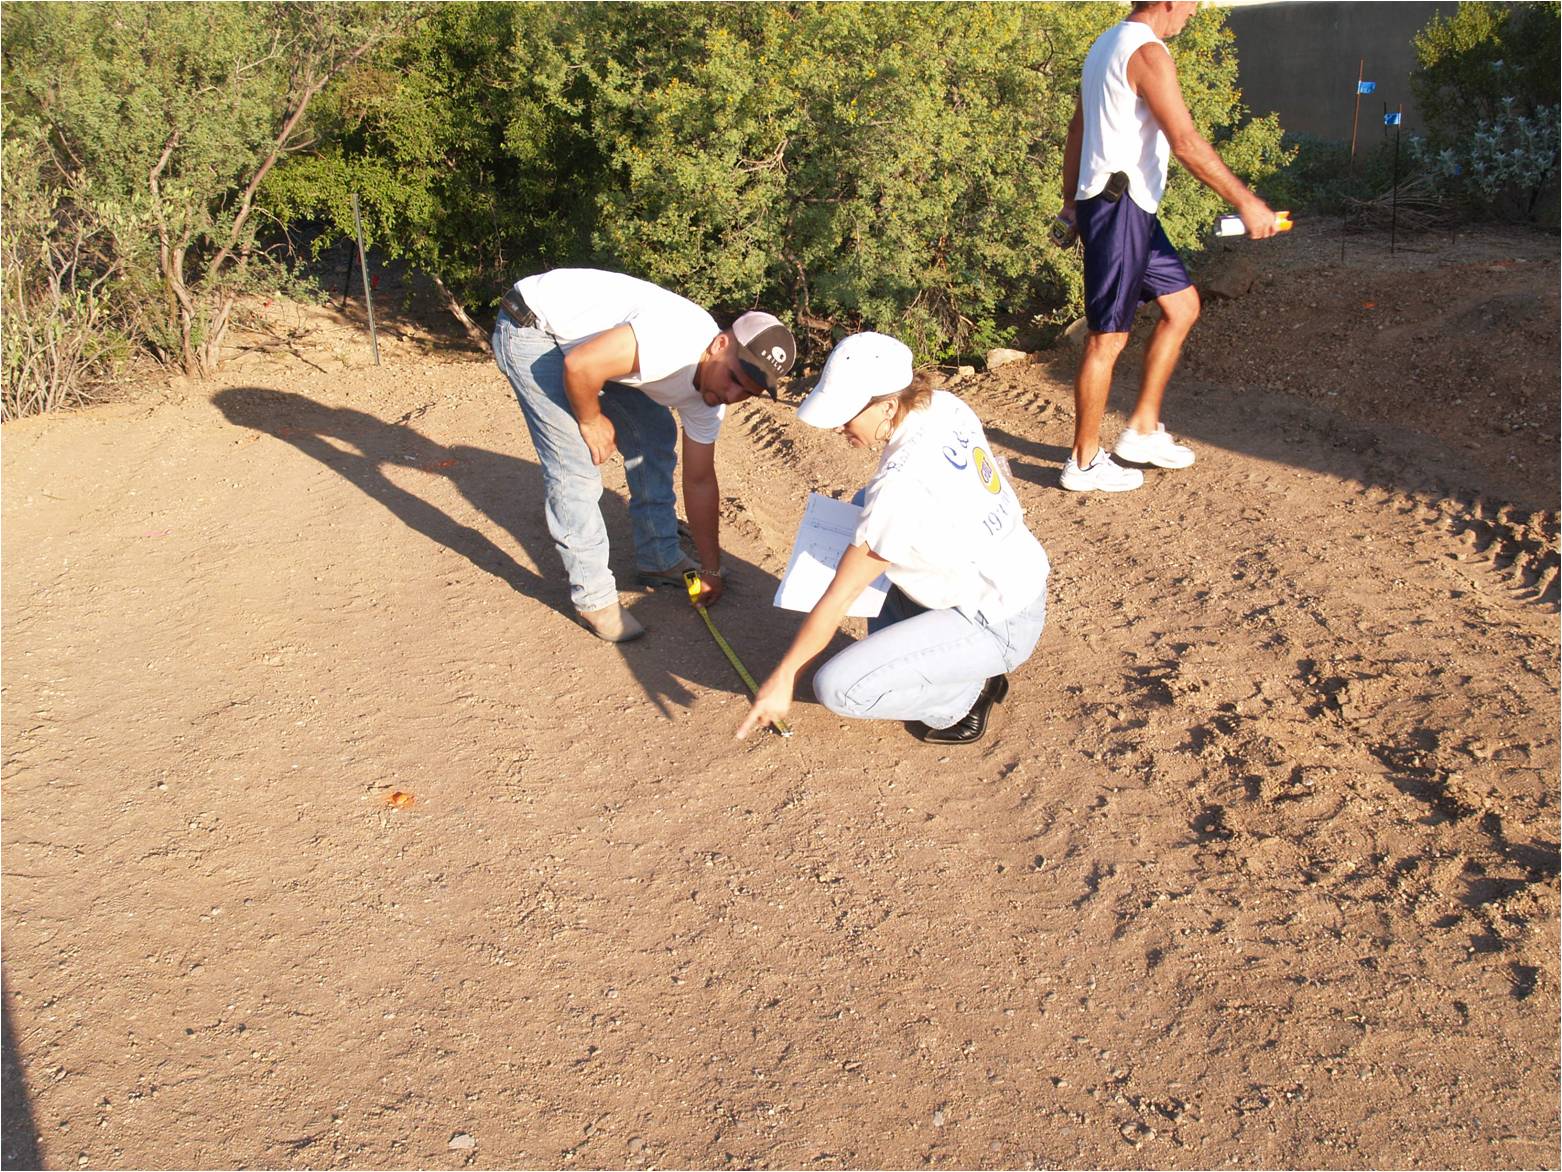
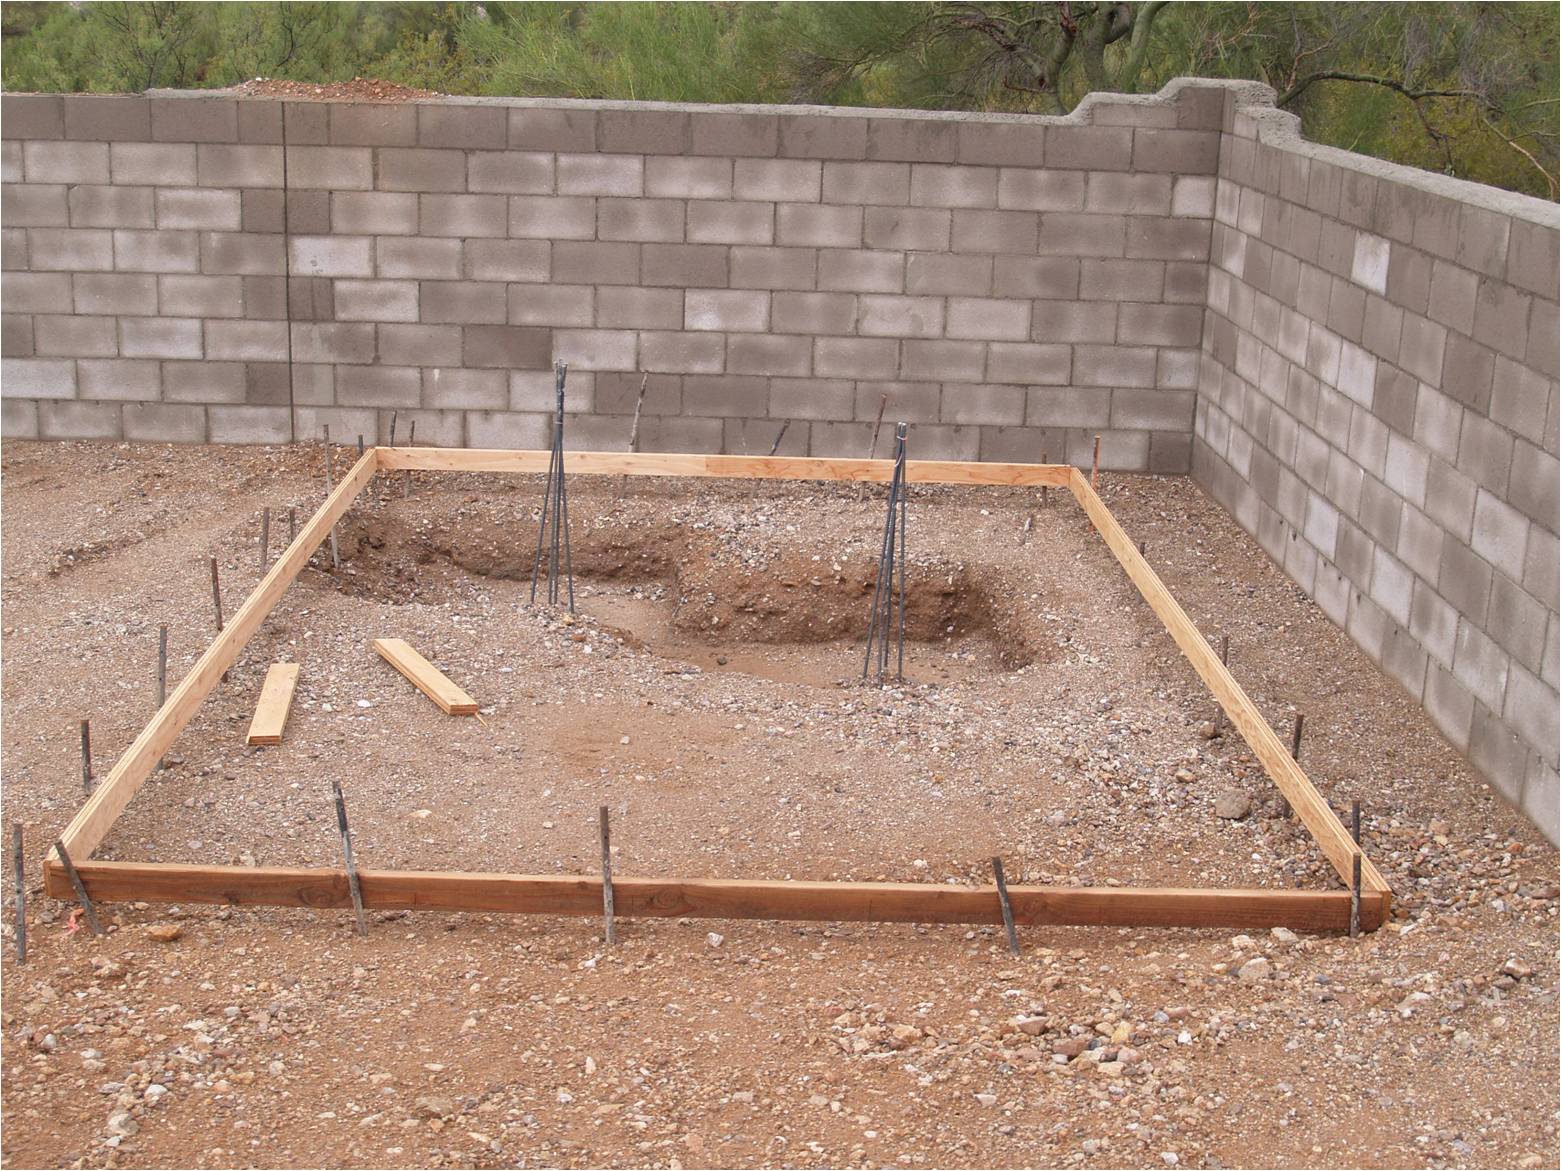
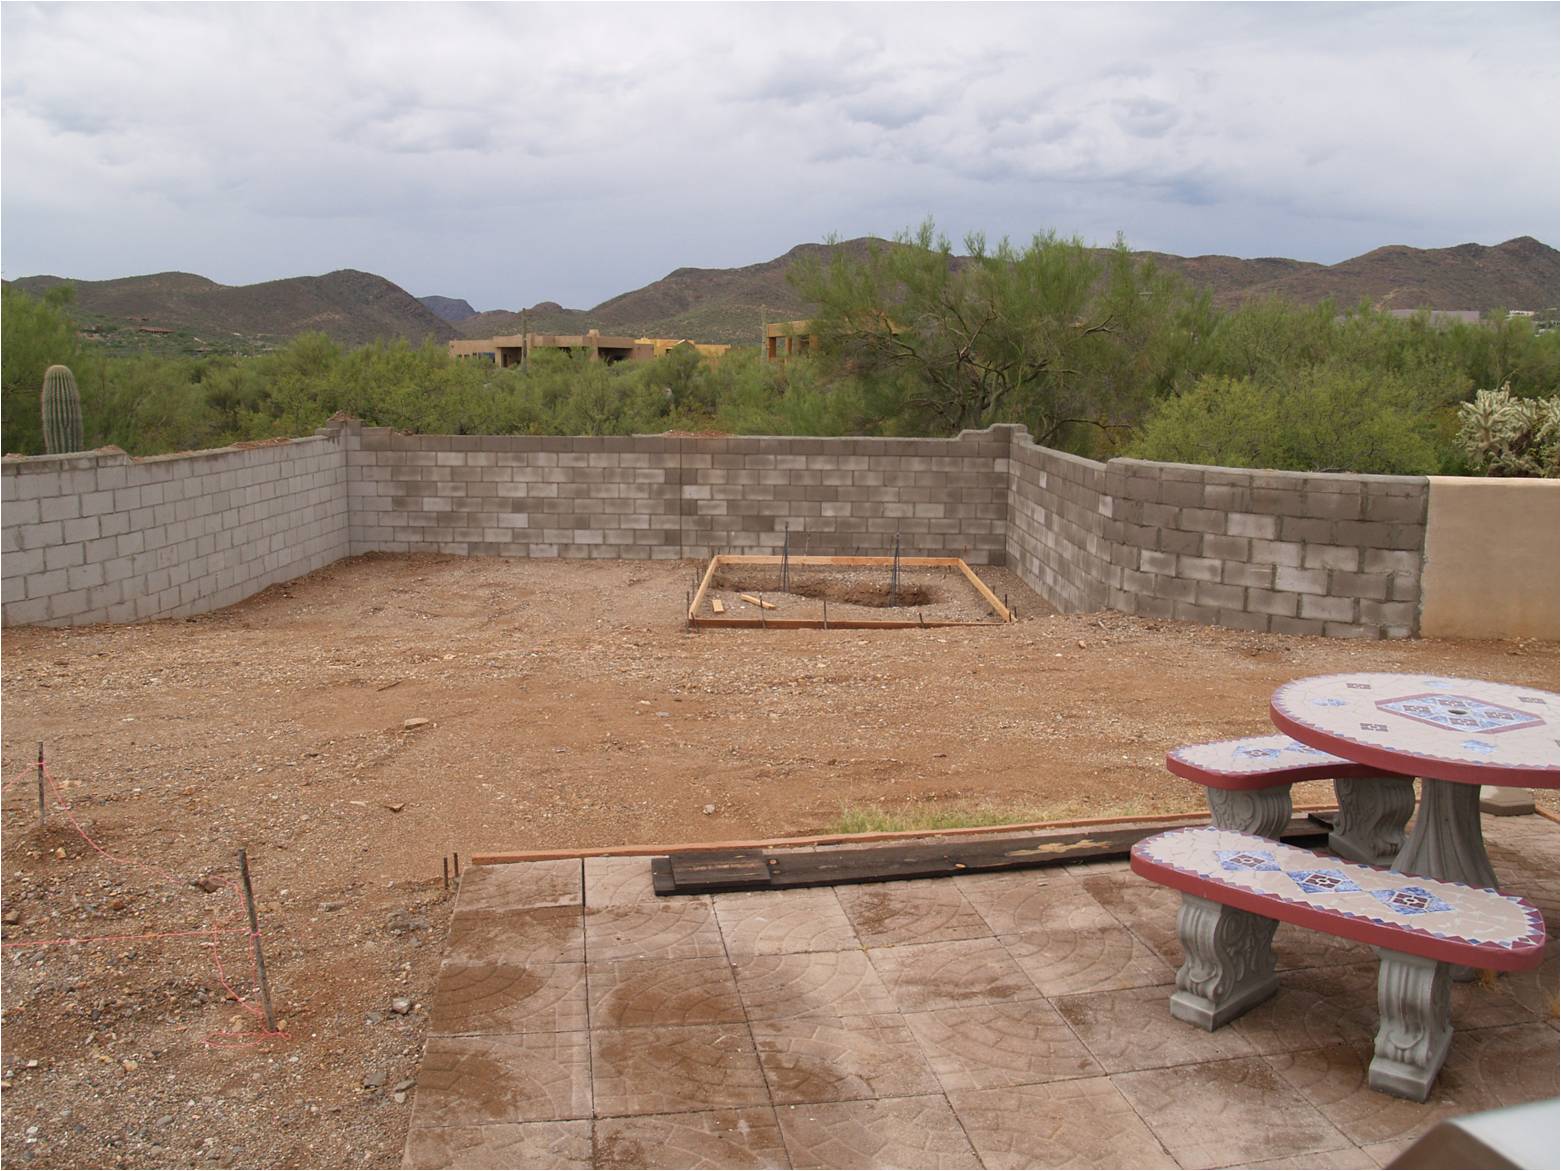
Laying out the pad so we
know where the yard walls
go |
 |
|
| The
digging begins |
 |
|
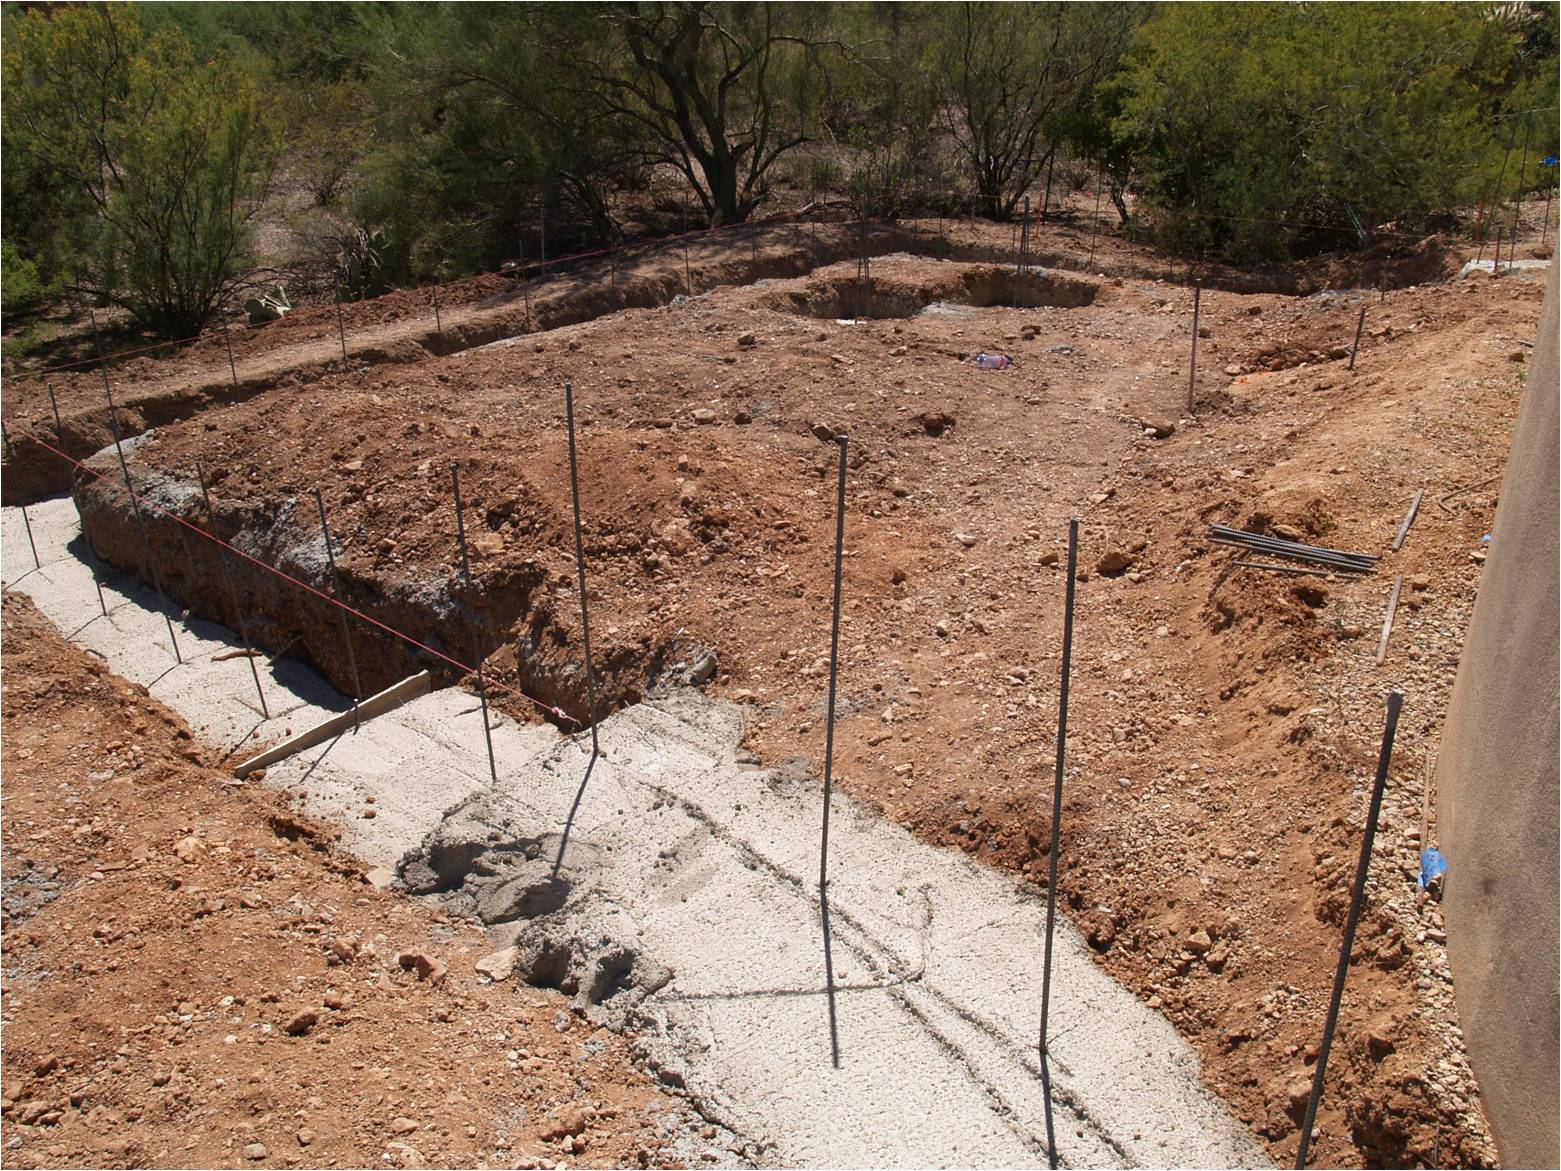
| The yard
wall footer is dug |
 |
|
| Day 7 -
6 August 2009 |
Click each picture for a full size version |
|
|
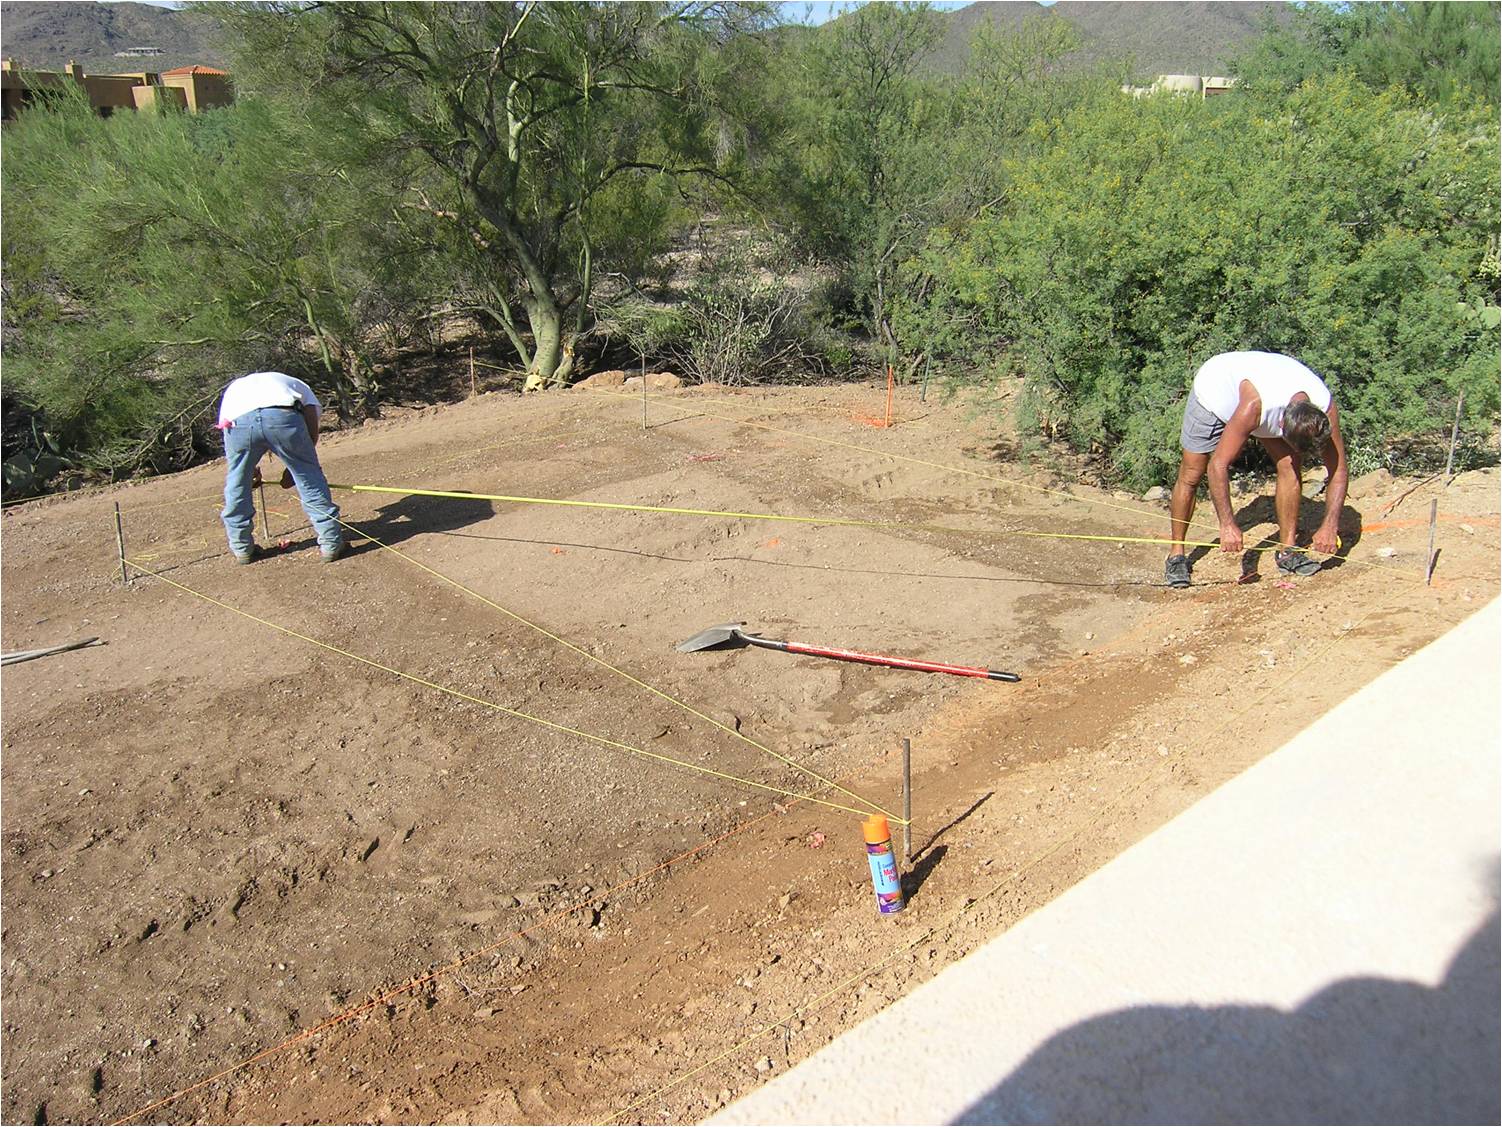
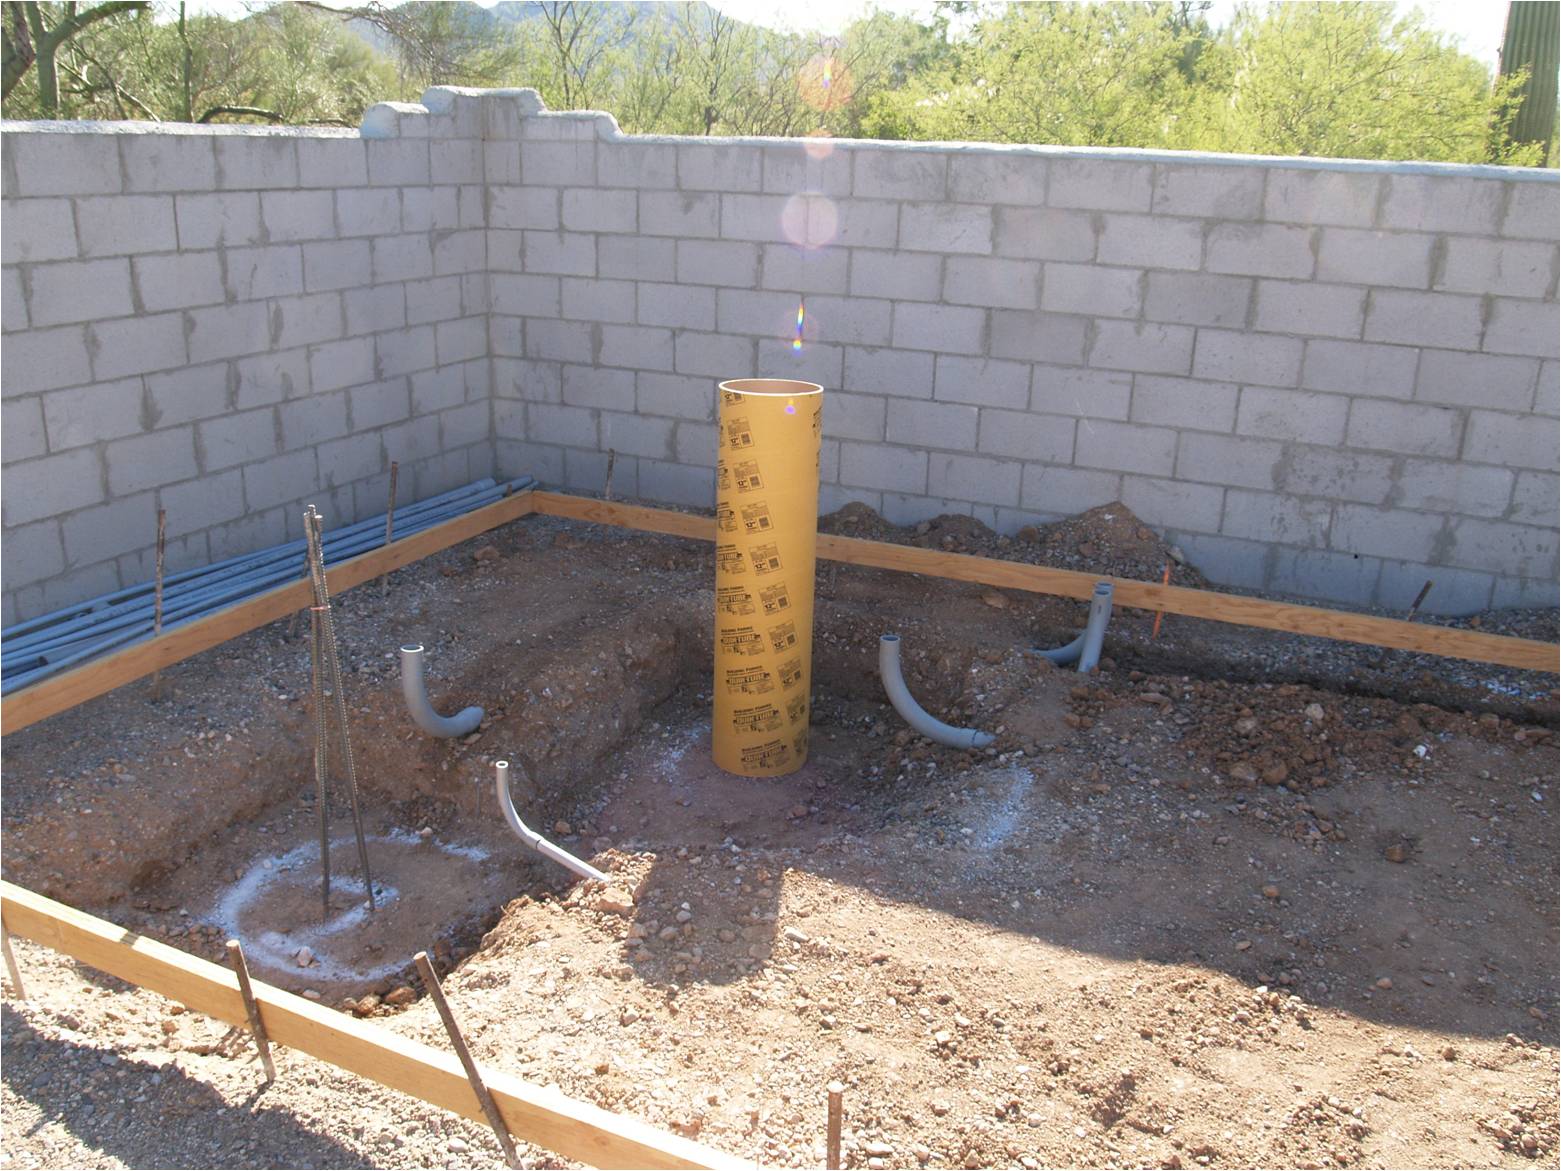
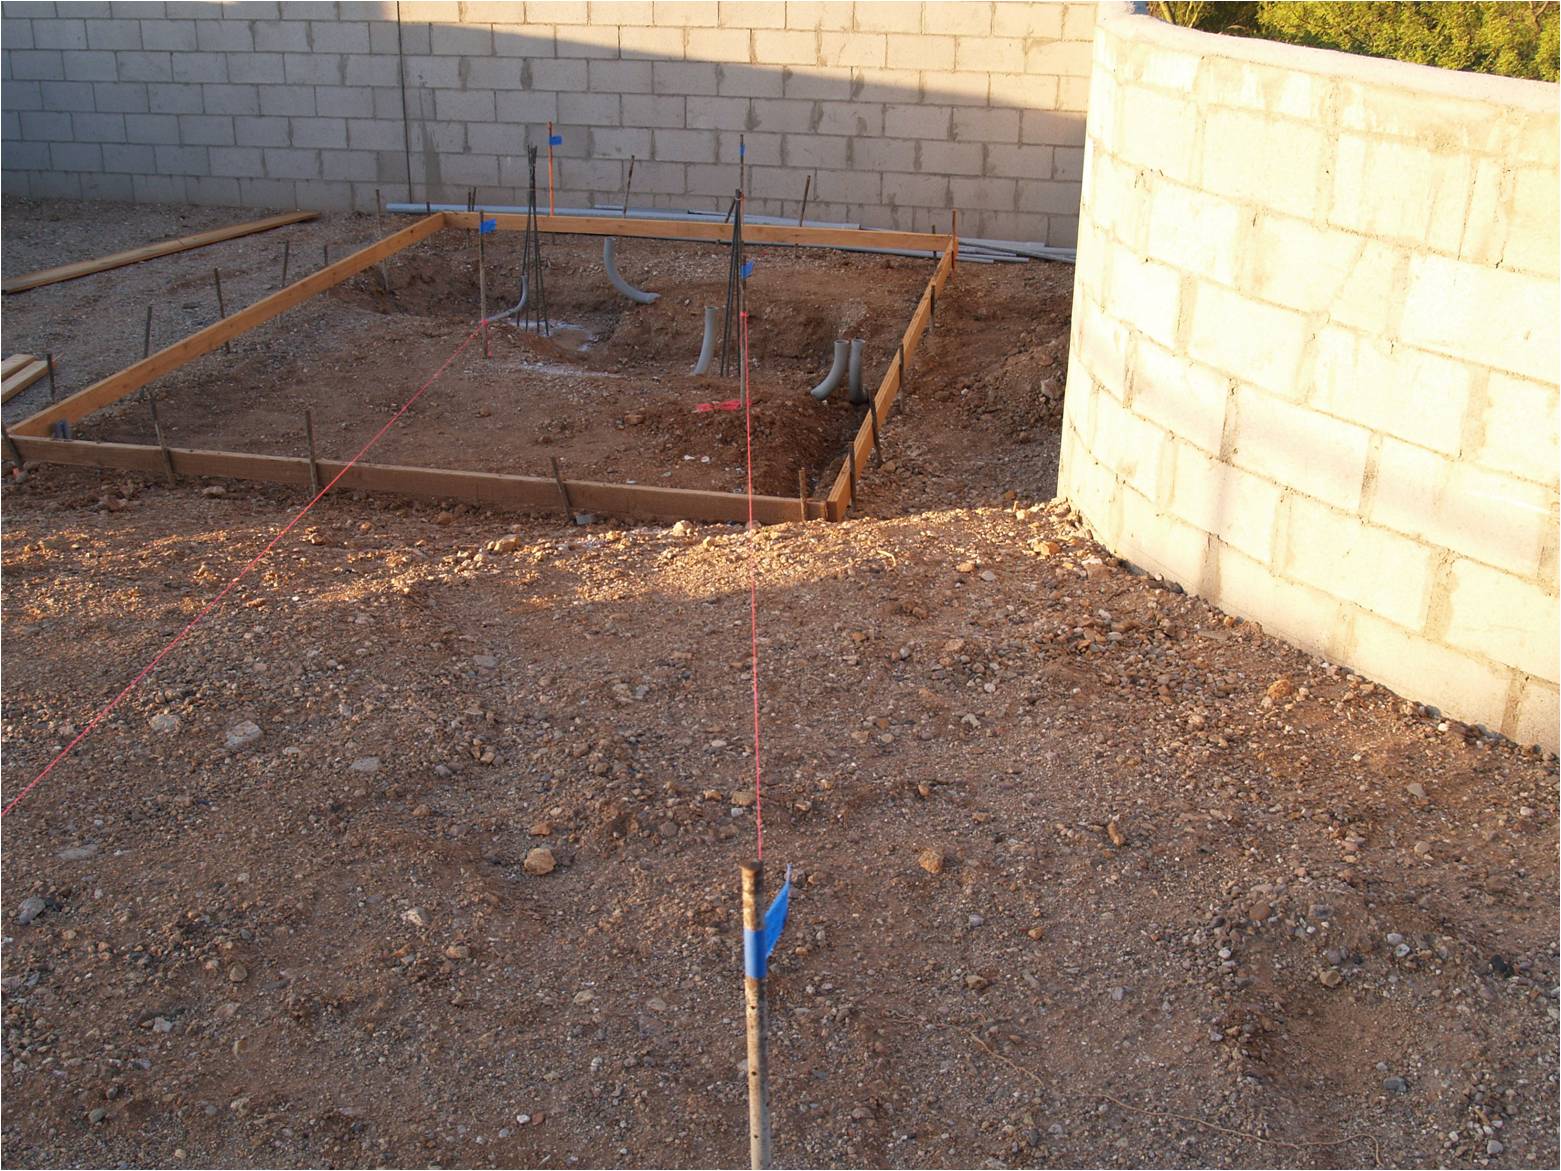
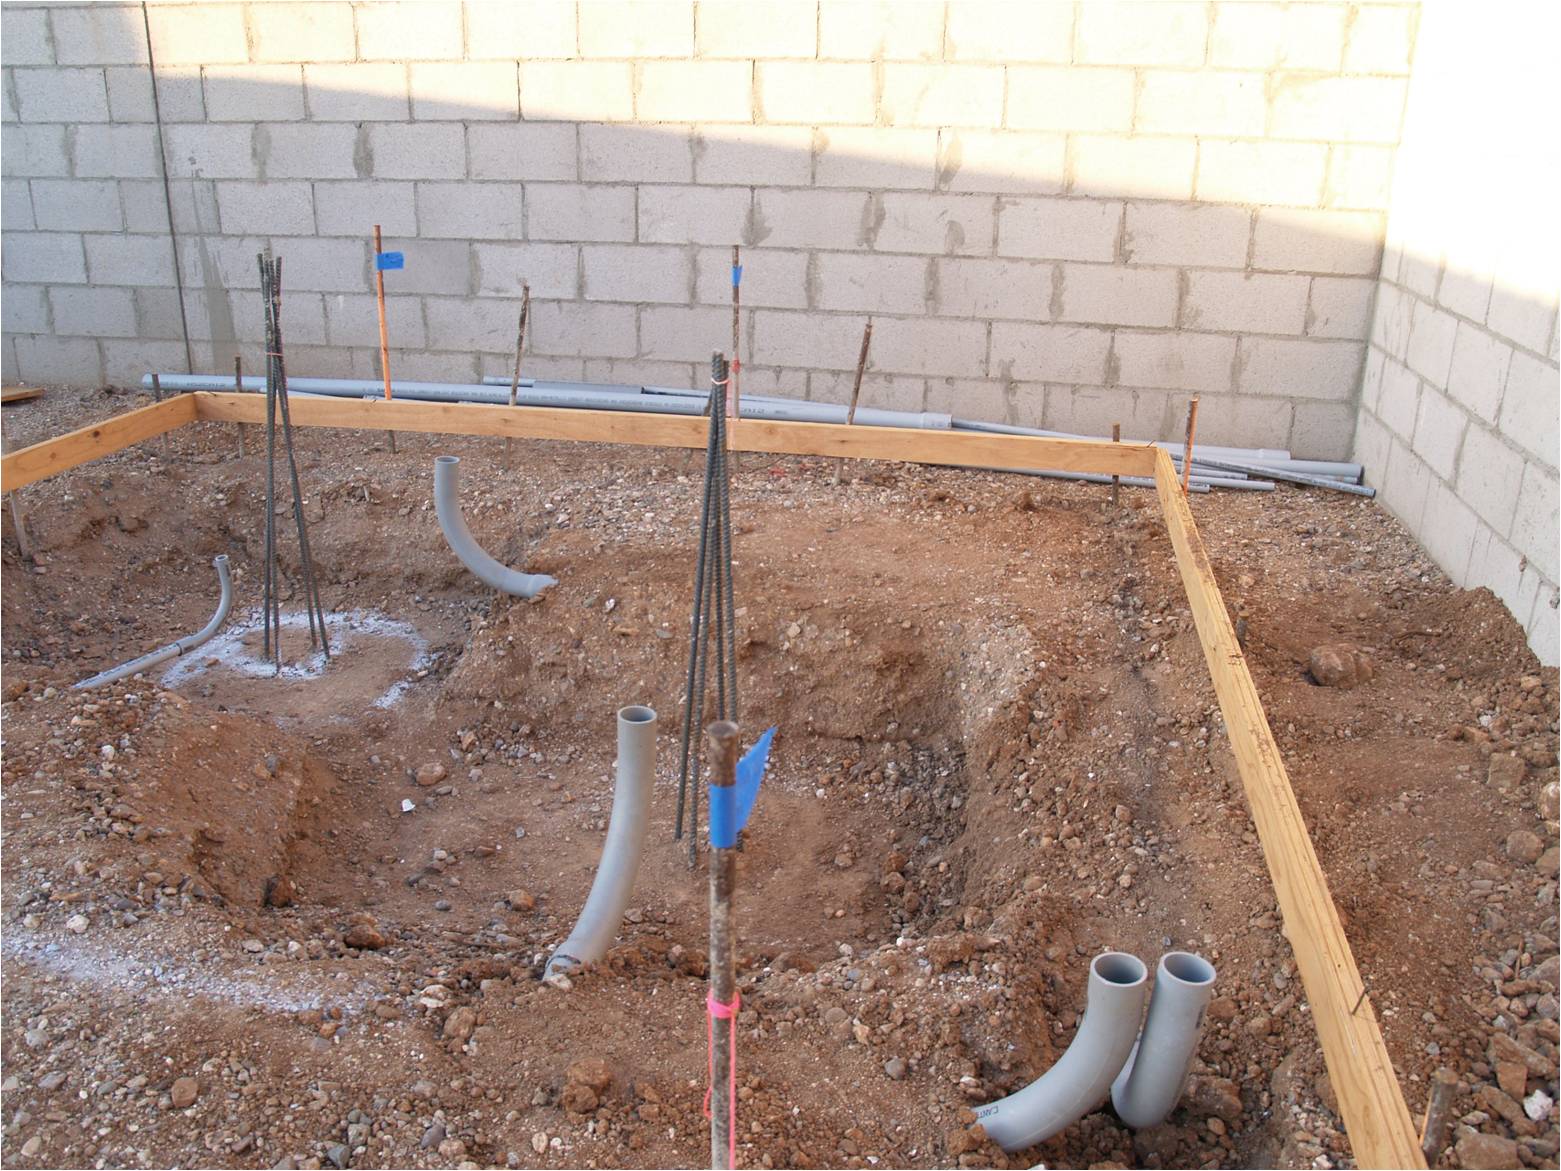
Preparing to dig the pier footers |
 |
|
| 7 August
2009 |
Click each picture for a full size version |
|
| 9 August
2009 |
Click each picture for a full size version |
|
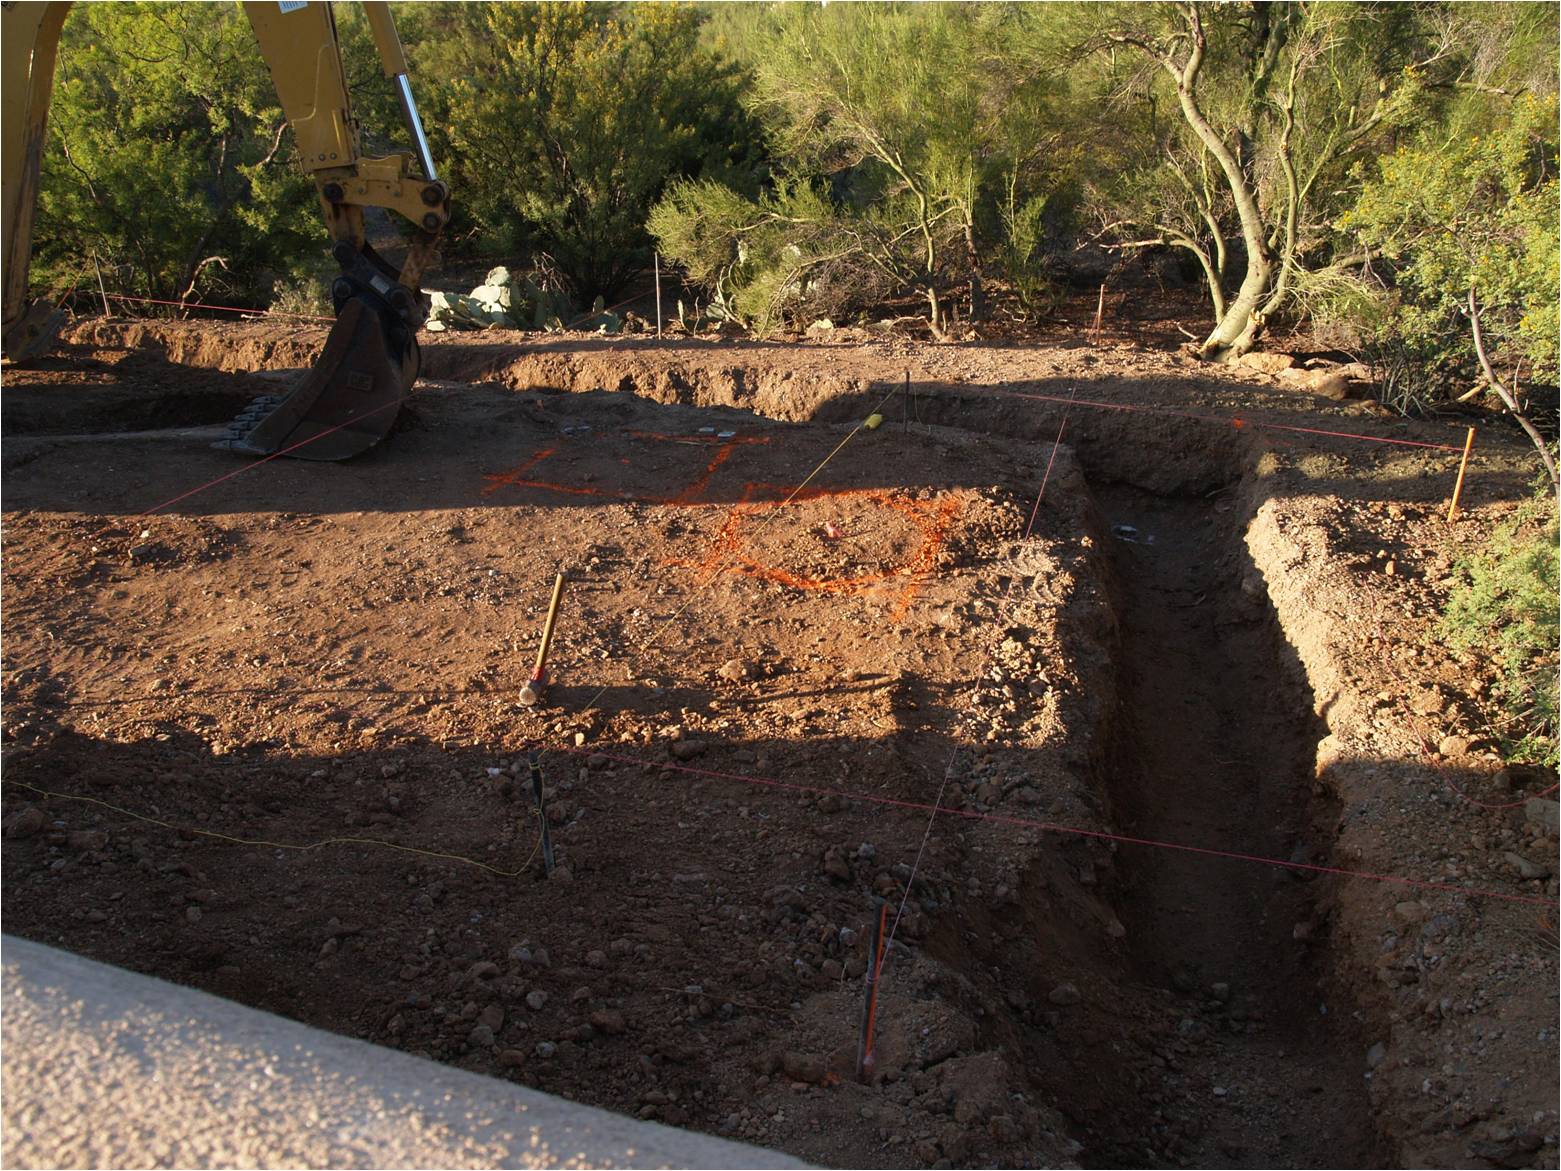
| 2 Pier
Footers and the garden wall footers |
 |
|
| The
garden wall footers
|
 |
|
| 12
August 2009 |
Click each picture for a full size version |
|
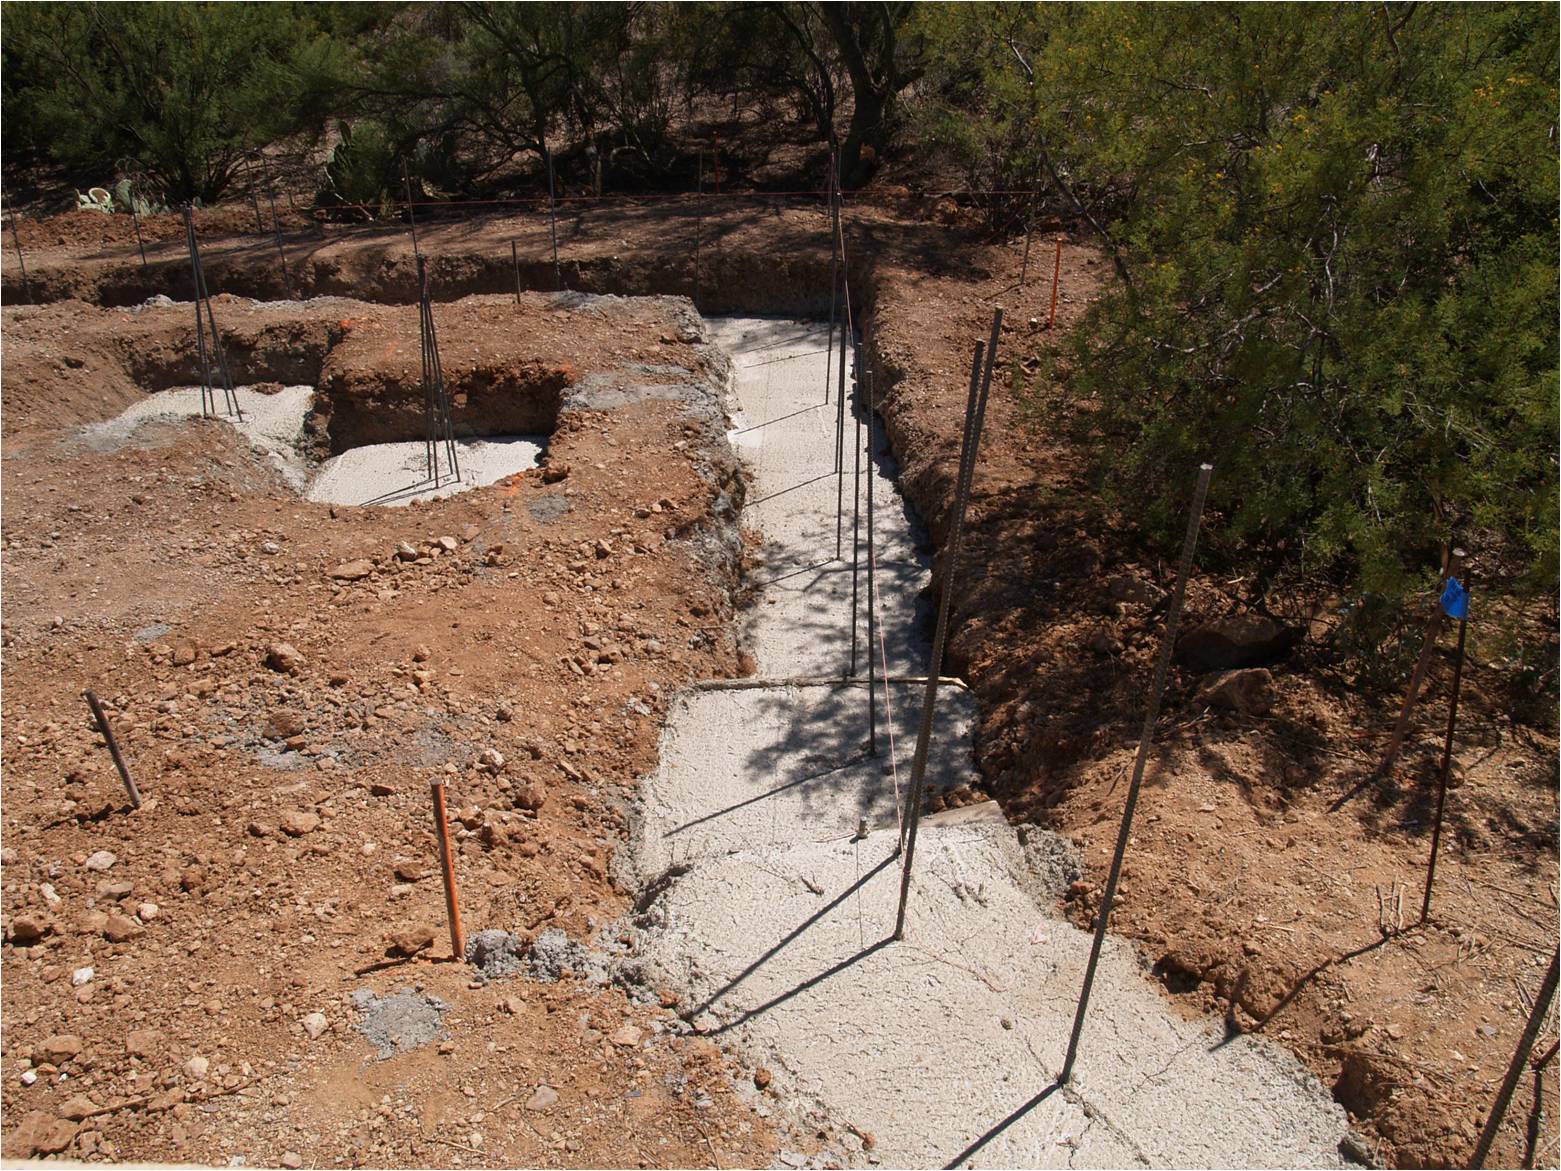
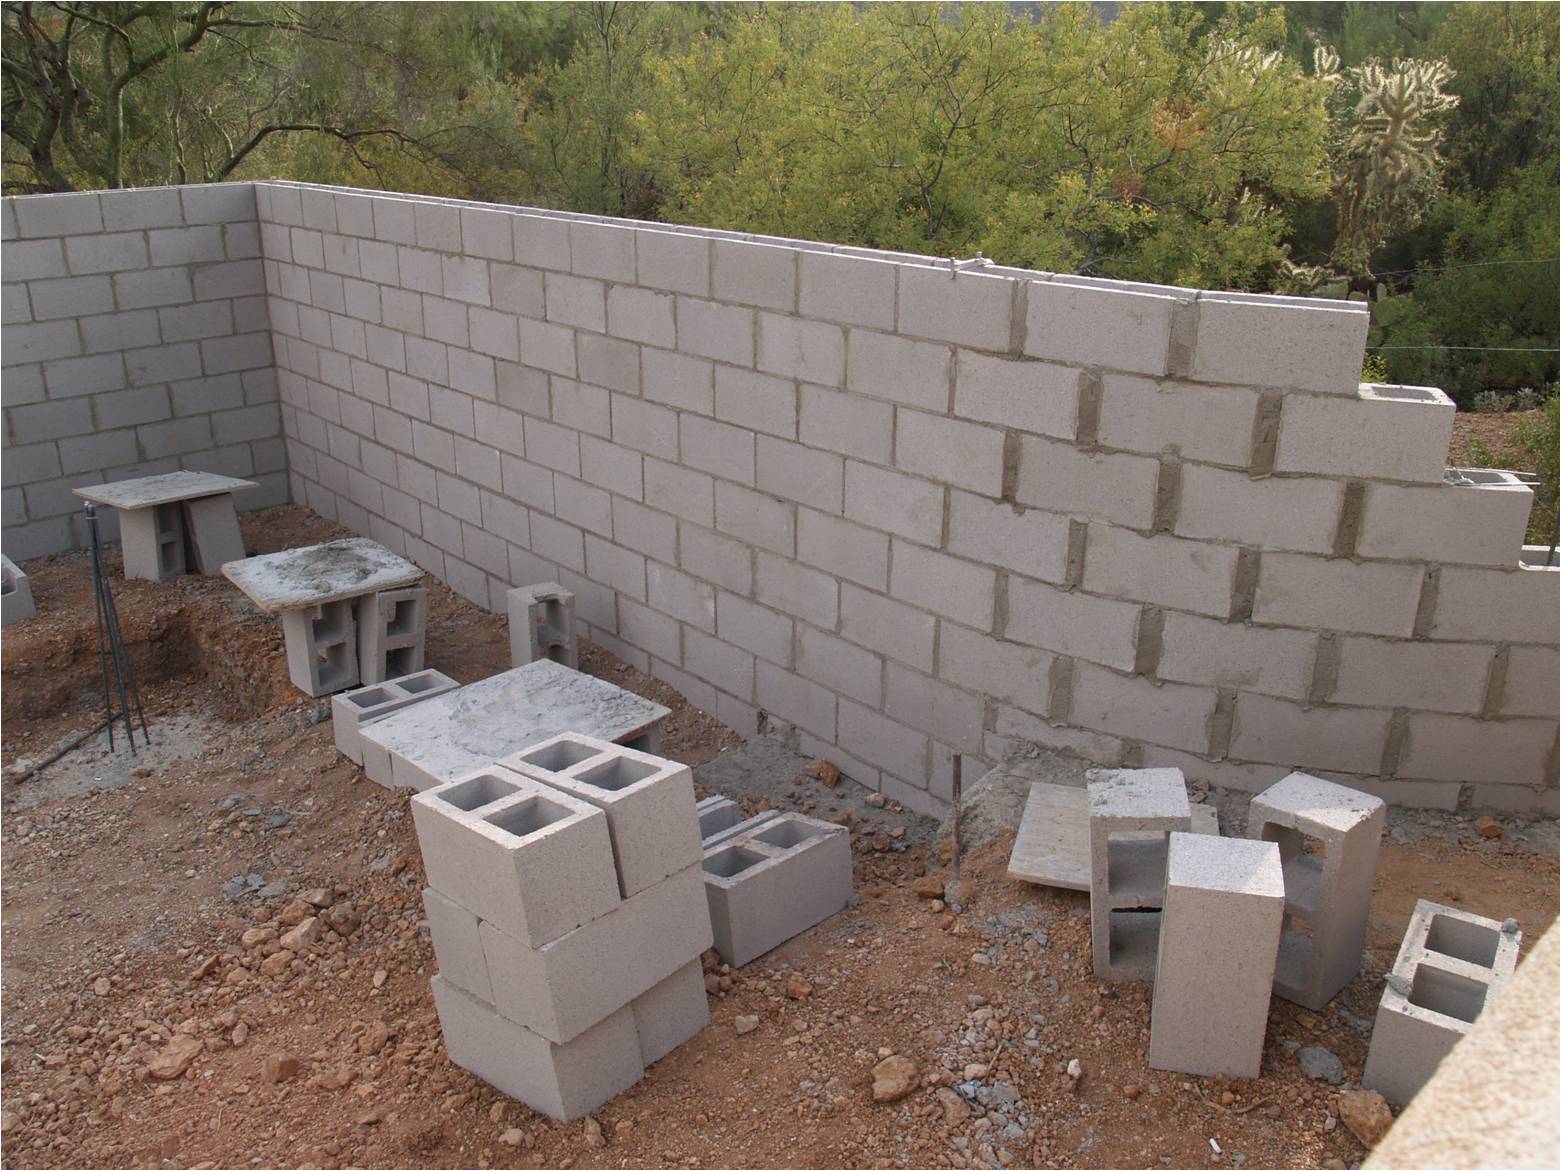
| The wall
takes shape |
 |
|
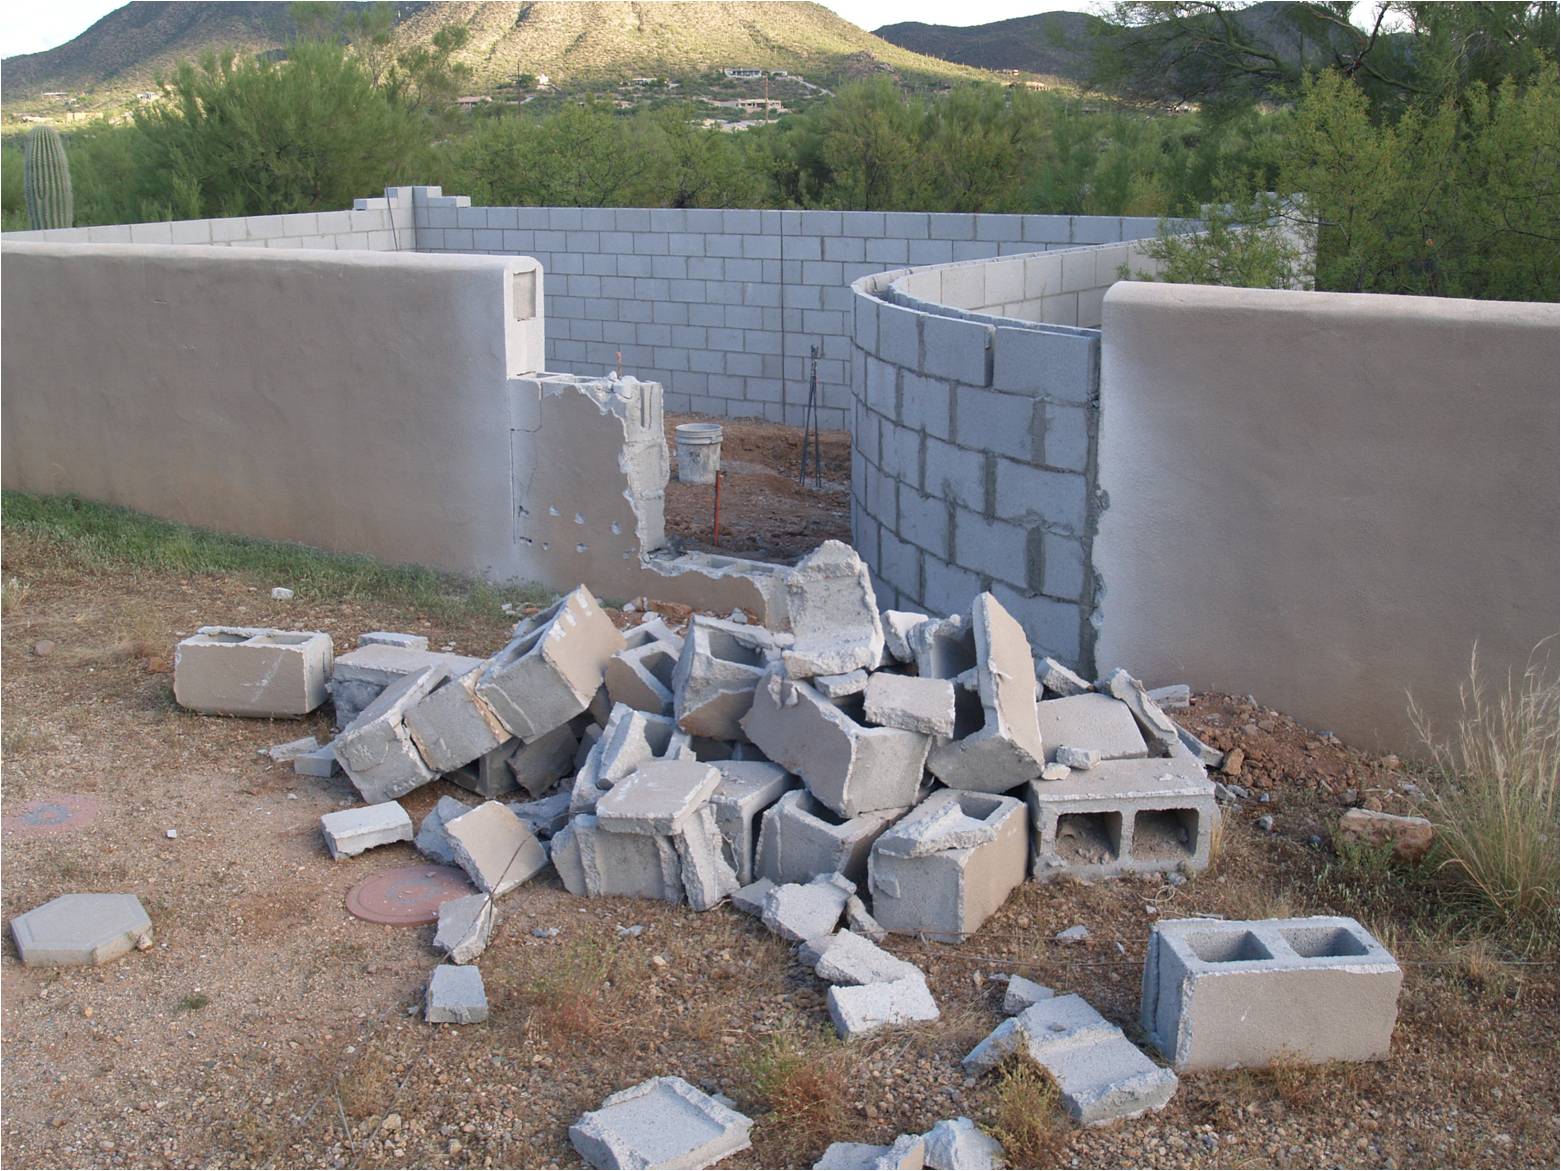
|
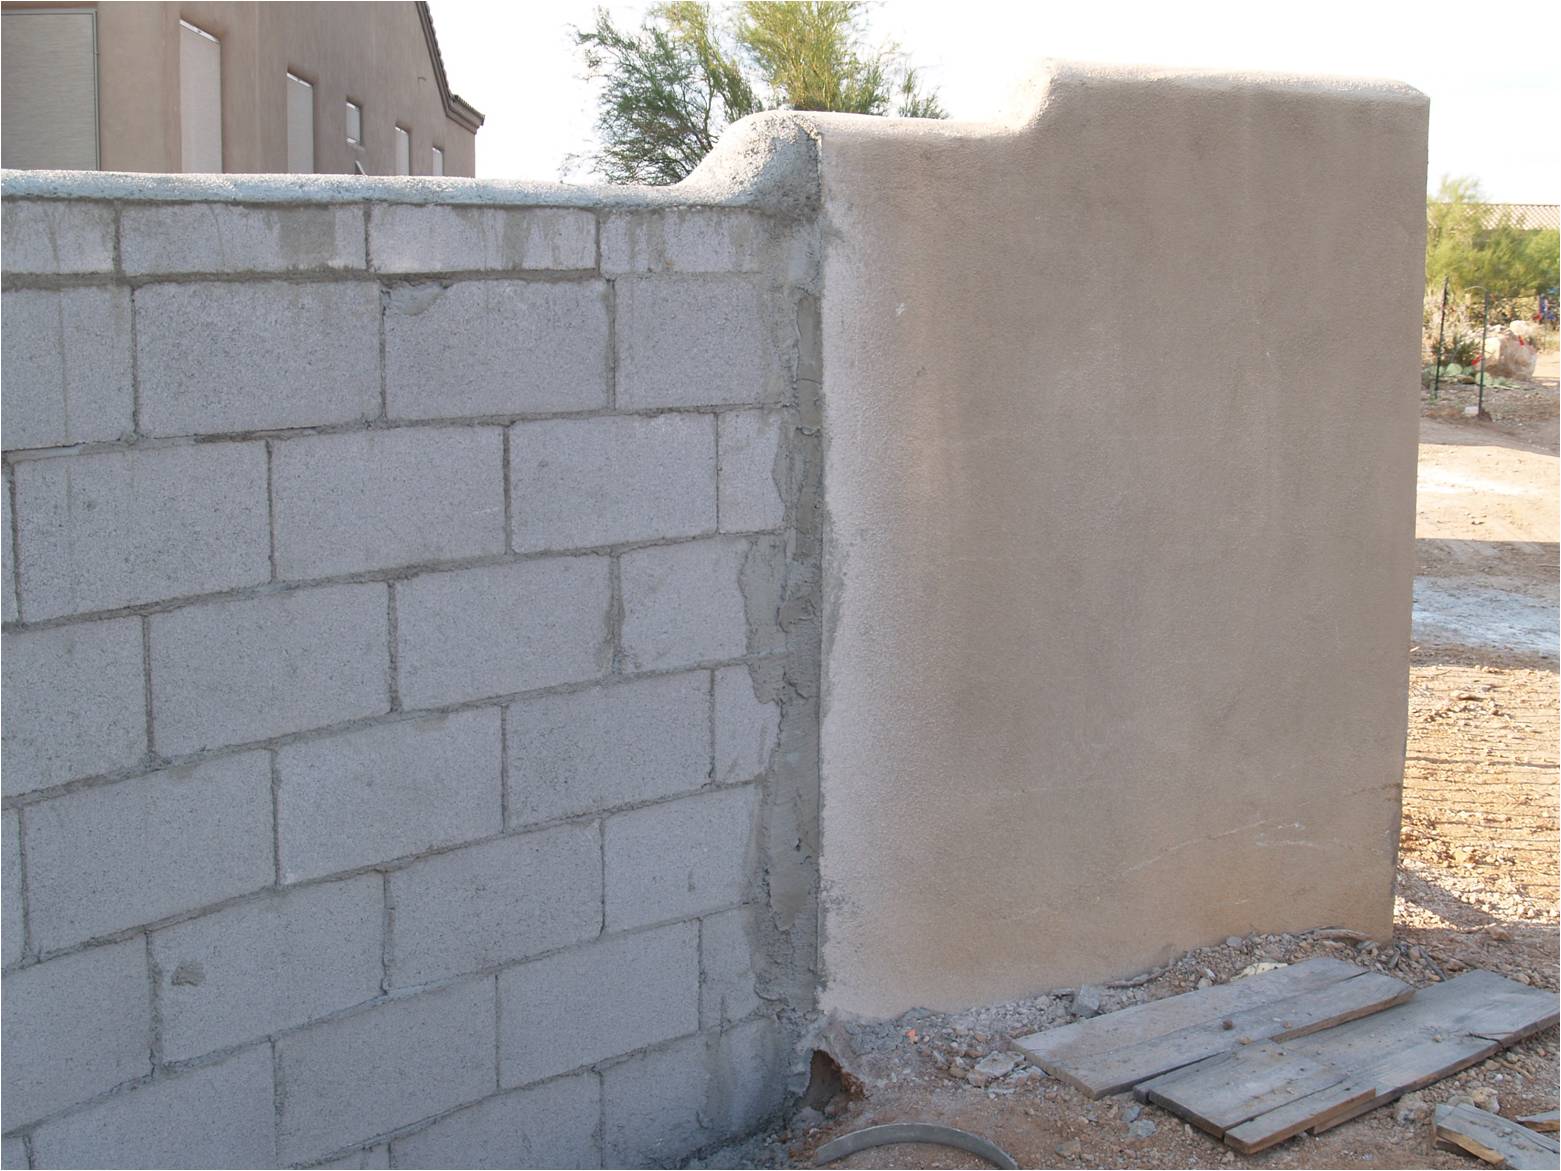
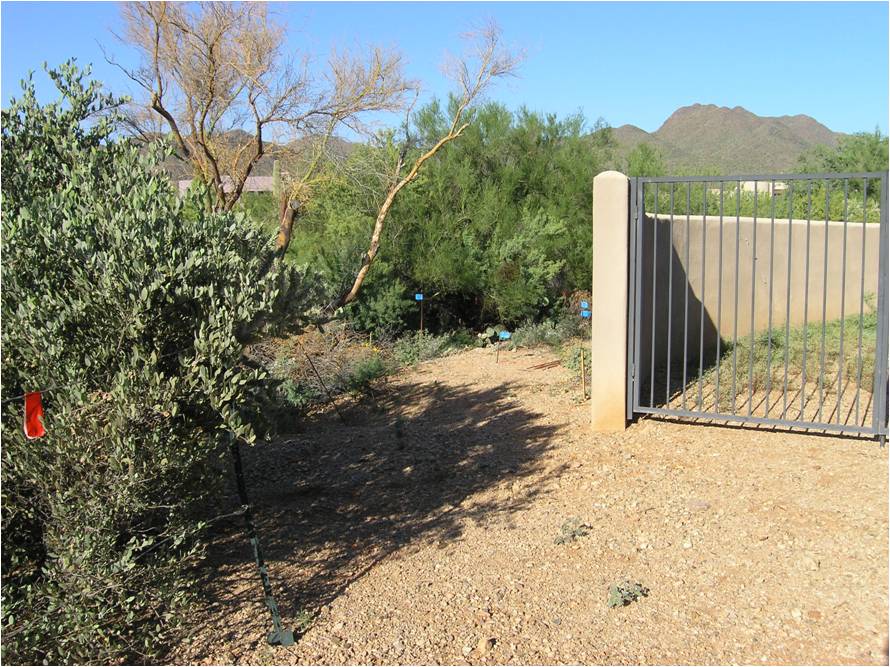
Preparing to remove the existing wall |
 |
|
| The soon
to be East wall |
 |
|
| 13
August 2009 |
Click each picture for a full size version |
|
| 14
August 2009 |
Click each picture for a full size version |
|
| 19
August 2009 |
Click each picture for a full size version |
|
| 20
August 2009 |
Click each picture for a full size version |
|
| 21
August 2009 |
Click each picture for a full size version |
|
| We have
a form!
Note the "3 blocks in the ground" Observatory in the foreground |
 |
|
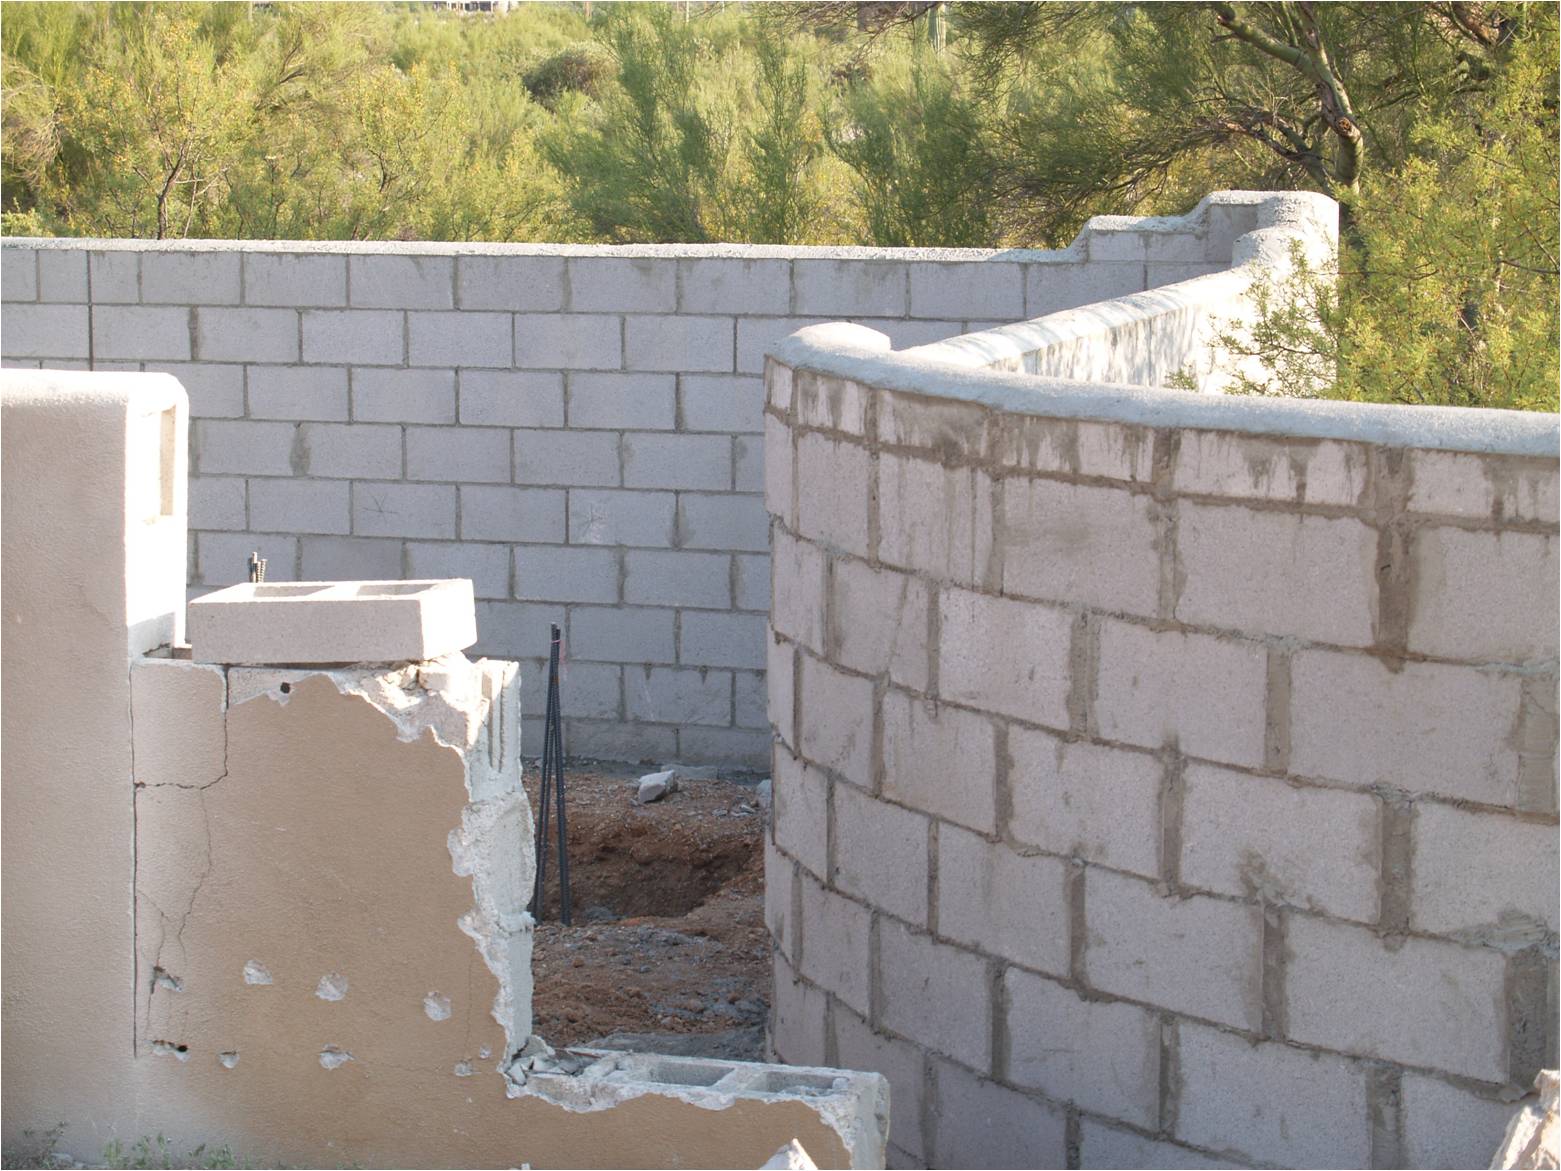
| The
beginning of a modified Skyshed |
 |
|
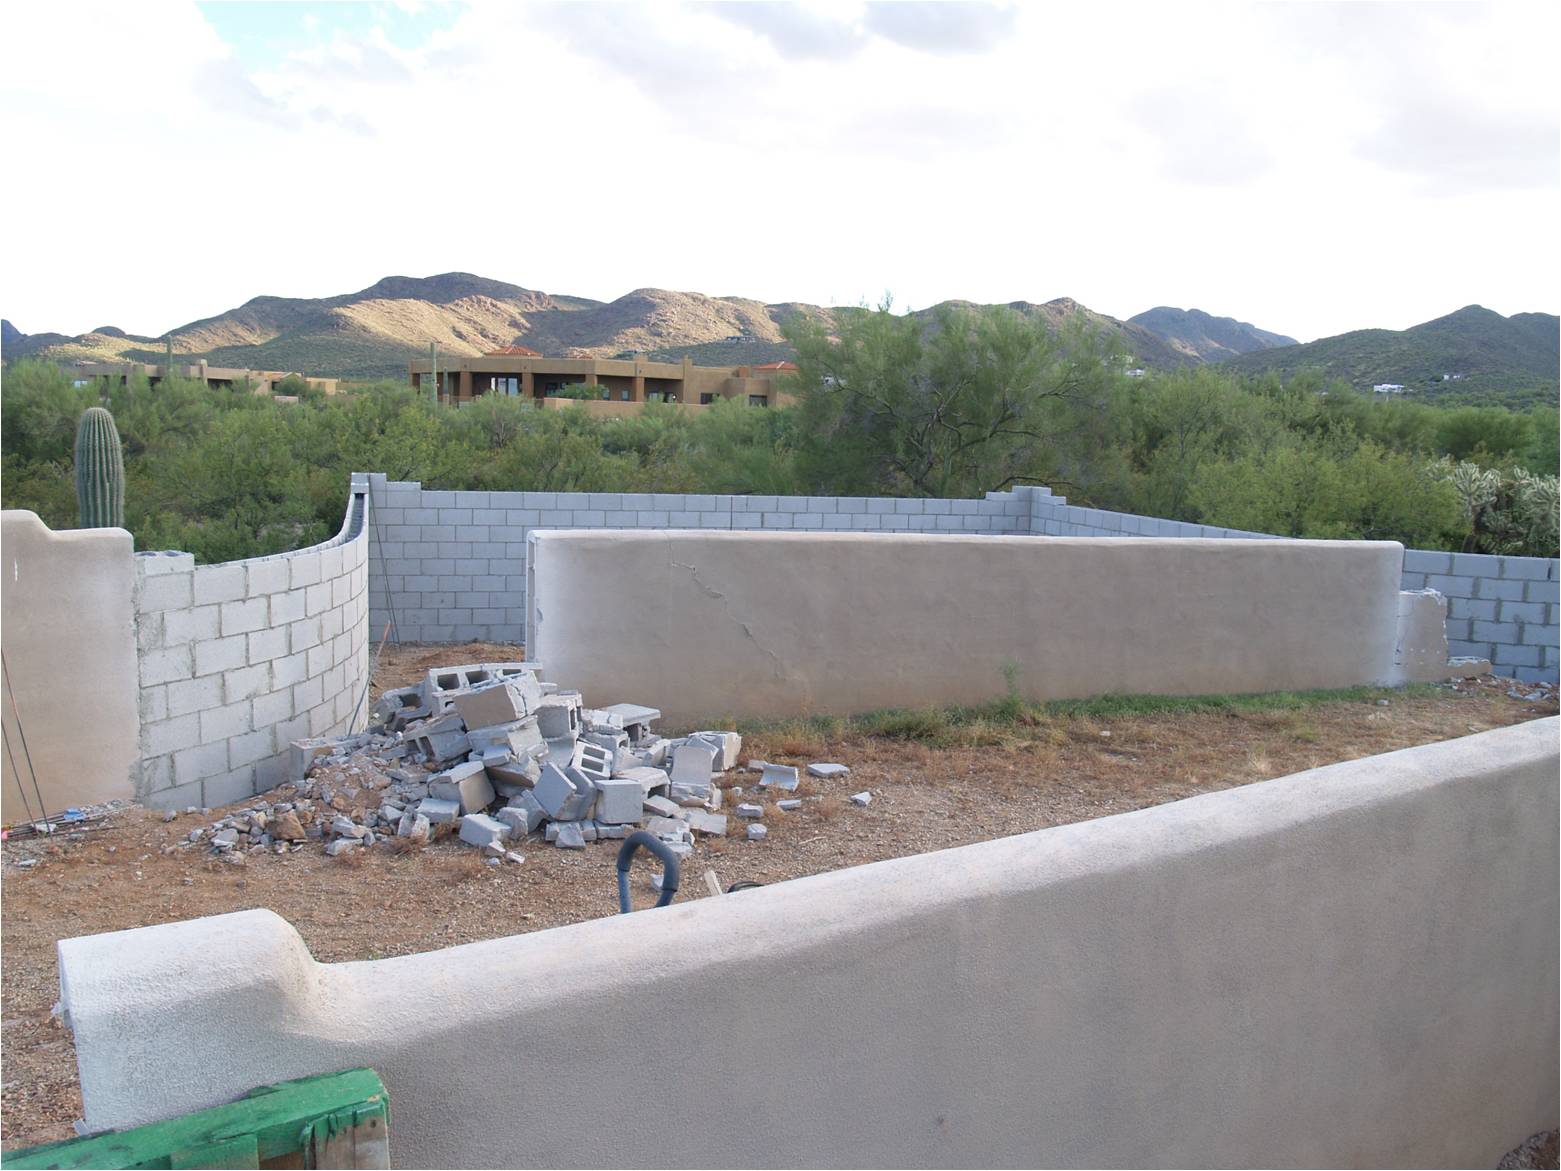
| The
observatory setting |
 |
|
| 26
August 2009 |
Click each picture for a full size version |
|
| Sighting
the Piers |
 |
|
| 27
August 2009 |
Click each picture for a full size version |
|
| Sighting
the True North lines |
 |
|
| Closeup
of the "around the rebar" sight lines.
Note the "behind the pier"
markers. |
 |
|
| Once the
Sonotube is set, the string is extended to the rear markers to
complete the lines. |
 |
|
| 29
August 2009 |
Click each picture for a full size version |
|
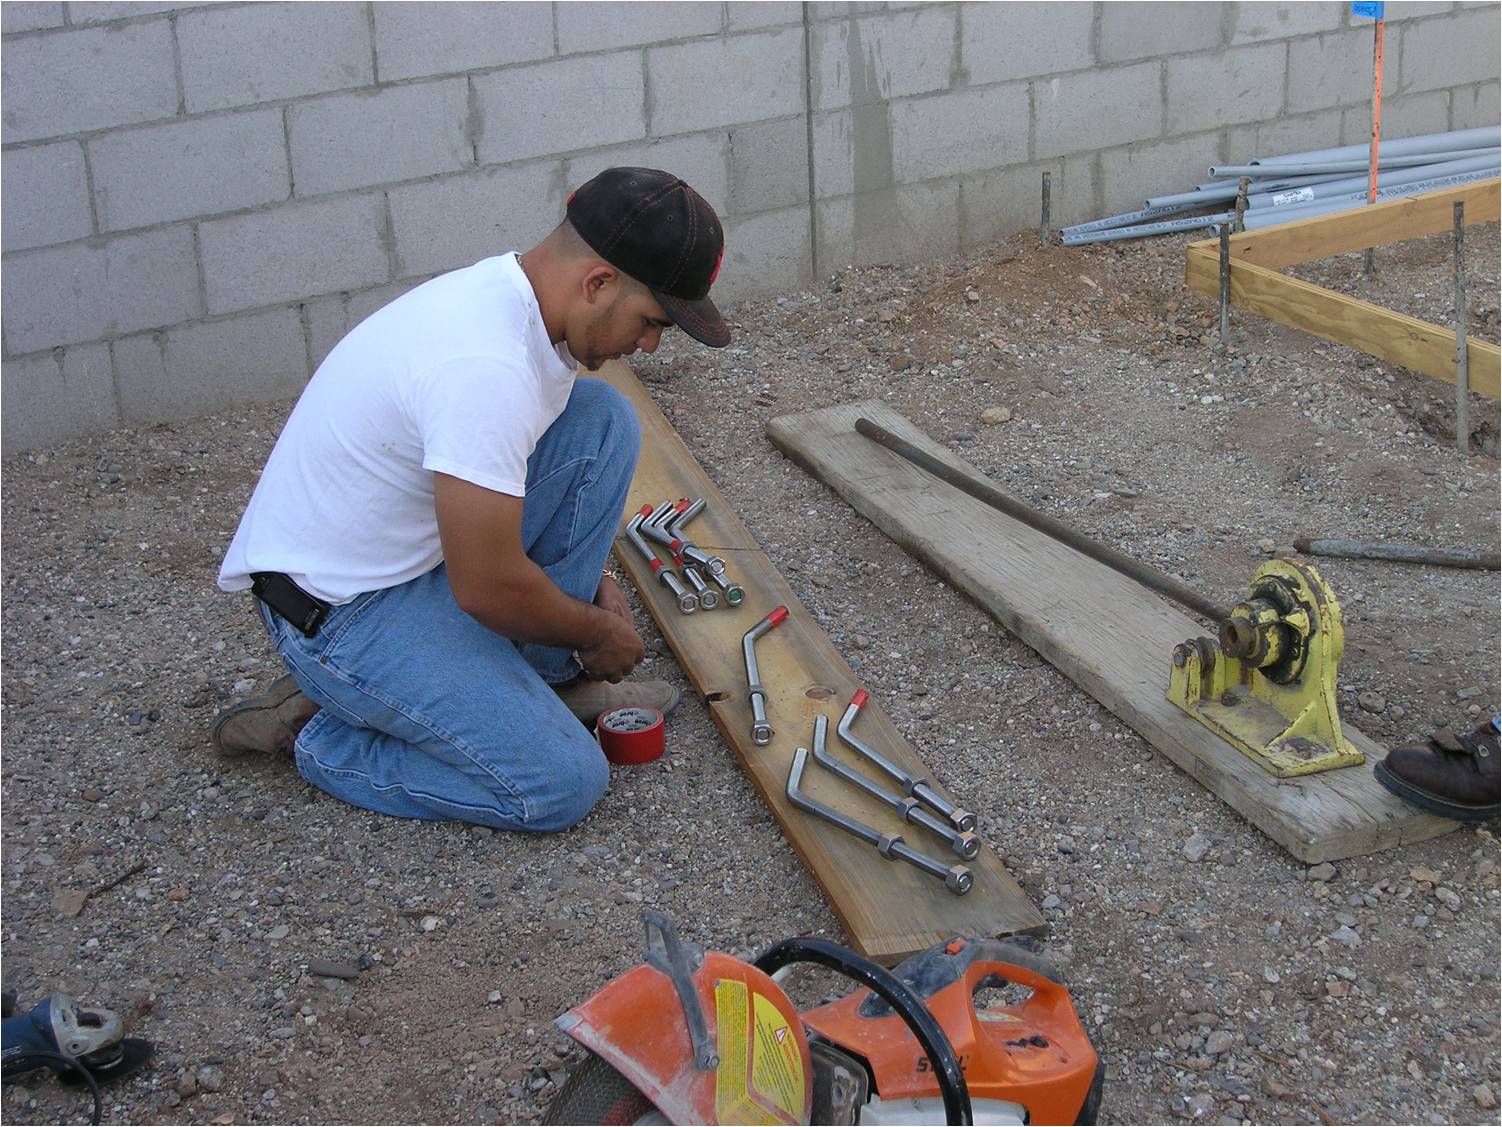
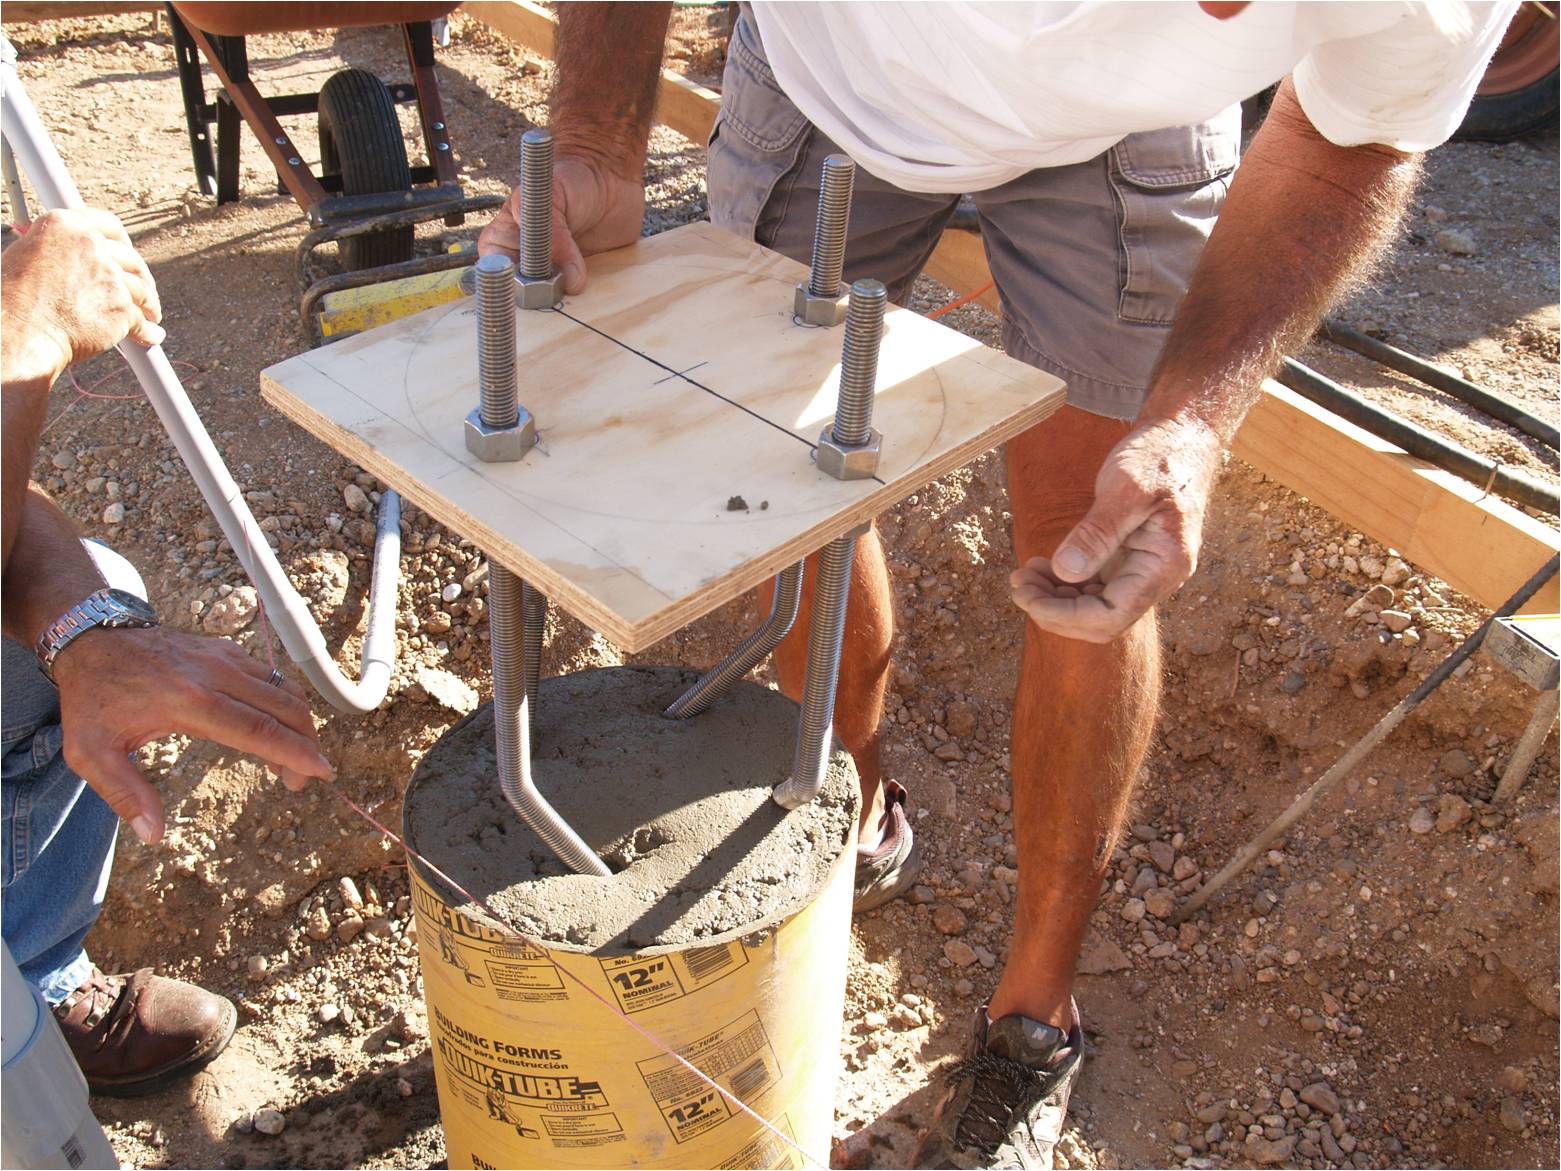
|
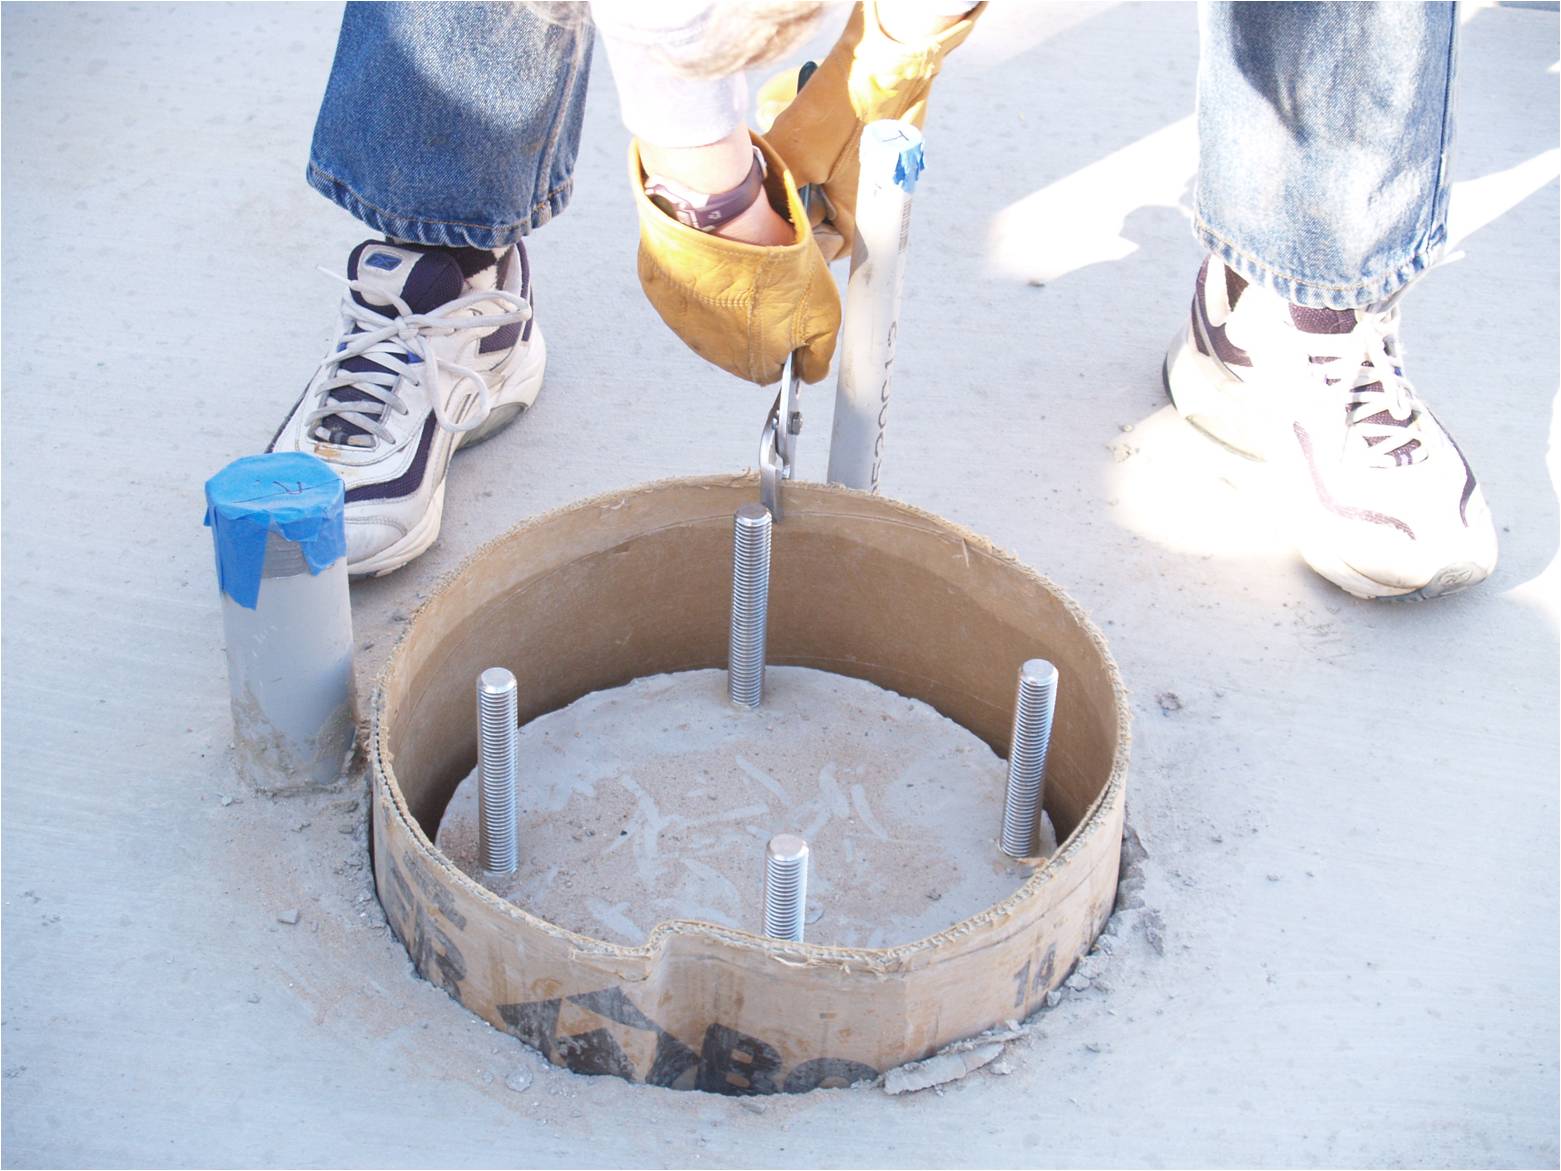
Pier Base Pouring Day!
Preparing the J-Bolts |
 |
|
|
Preparing the templates |
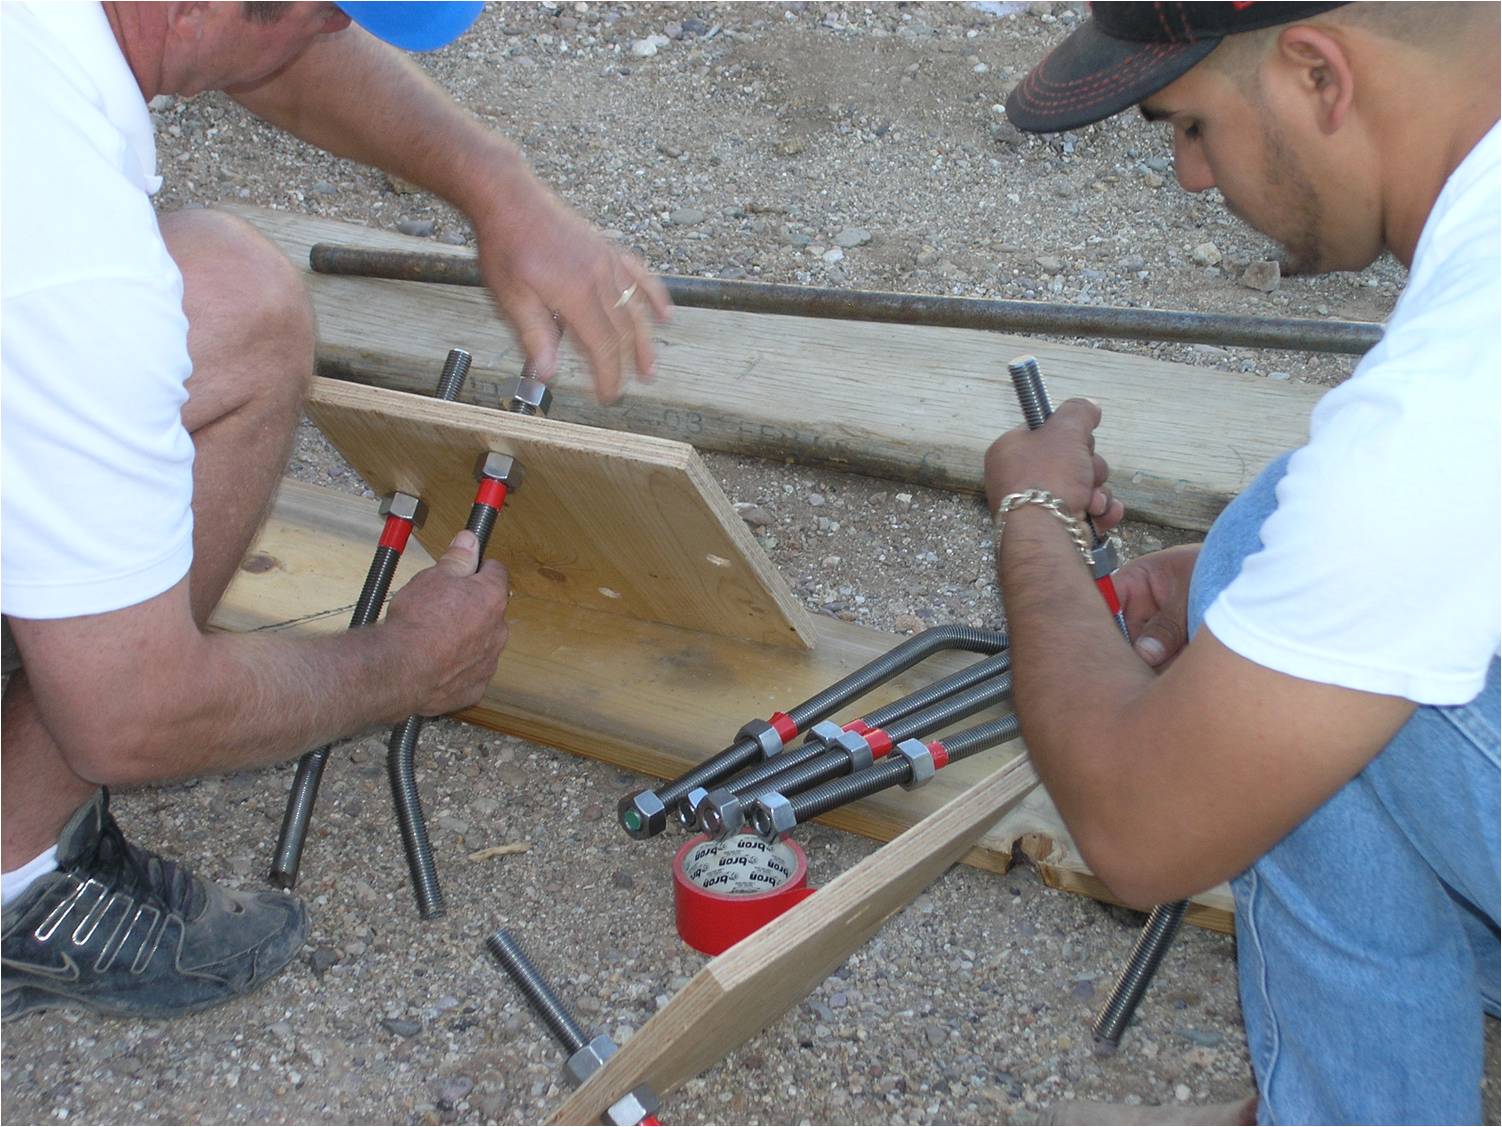 |
|
| The
completed templates |
 |
|
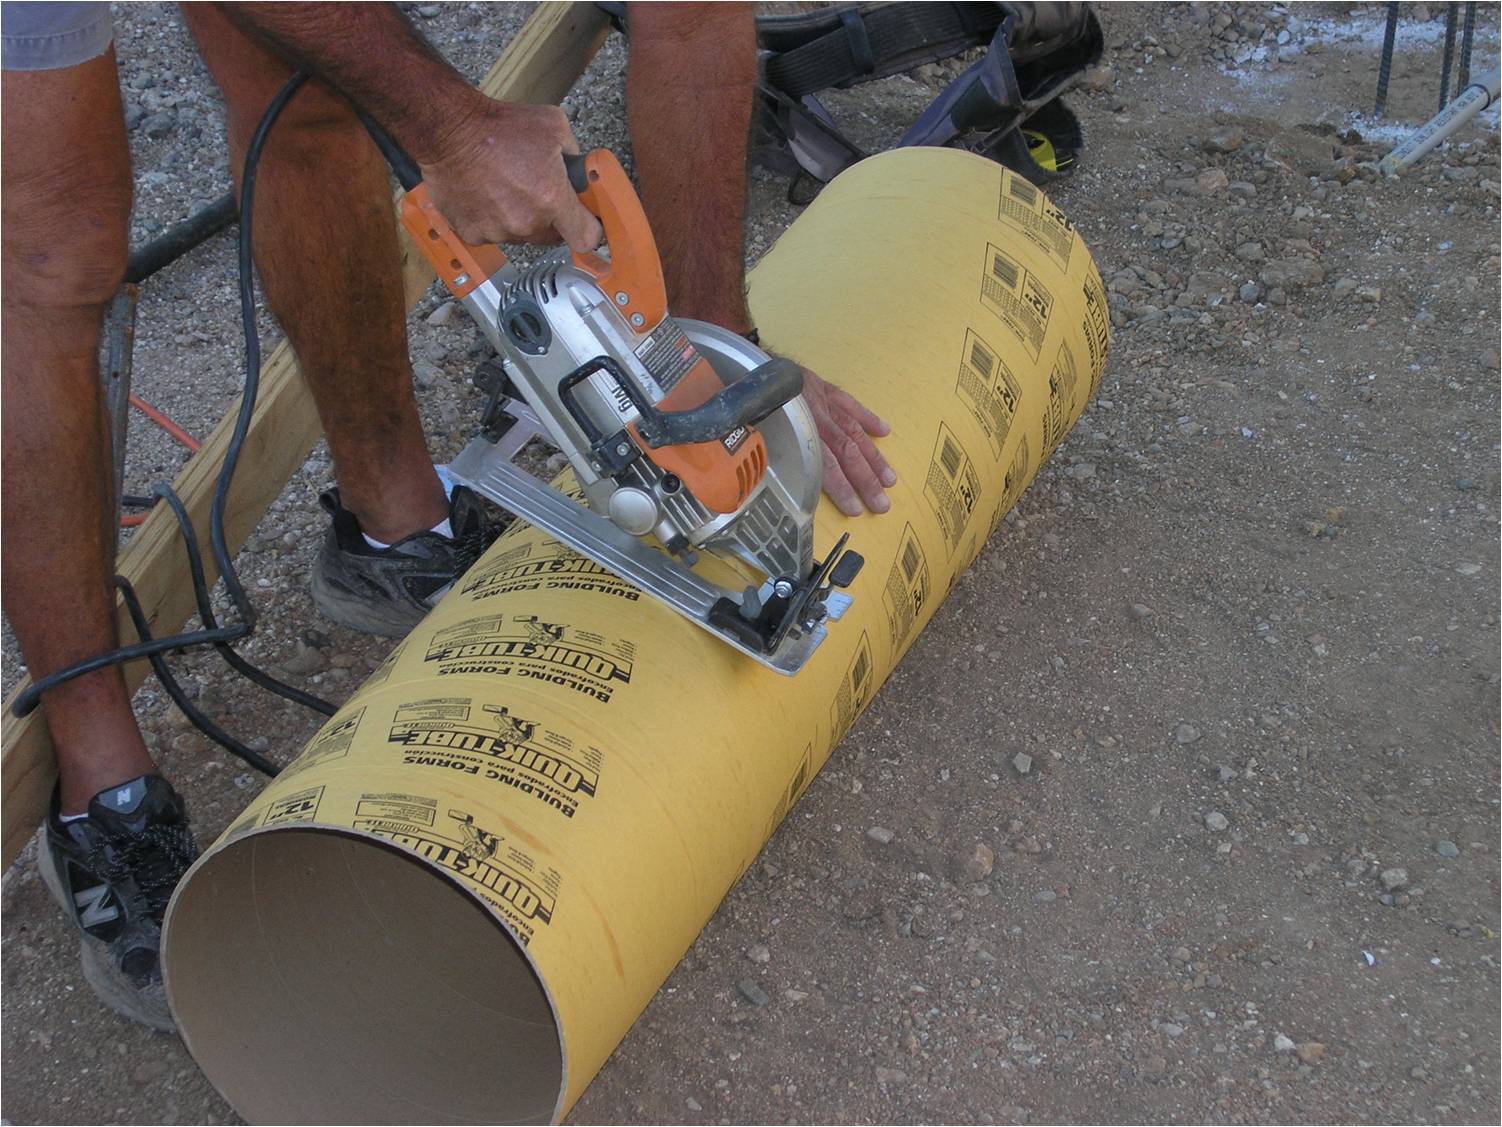
|
Preparing the sonotubes |
 |
|
| Trimming
the rebar |
 |
|
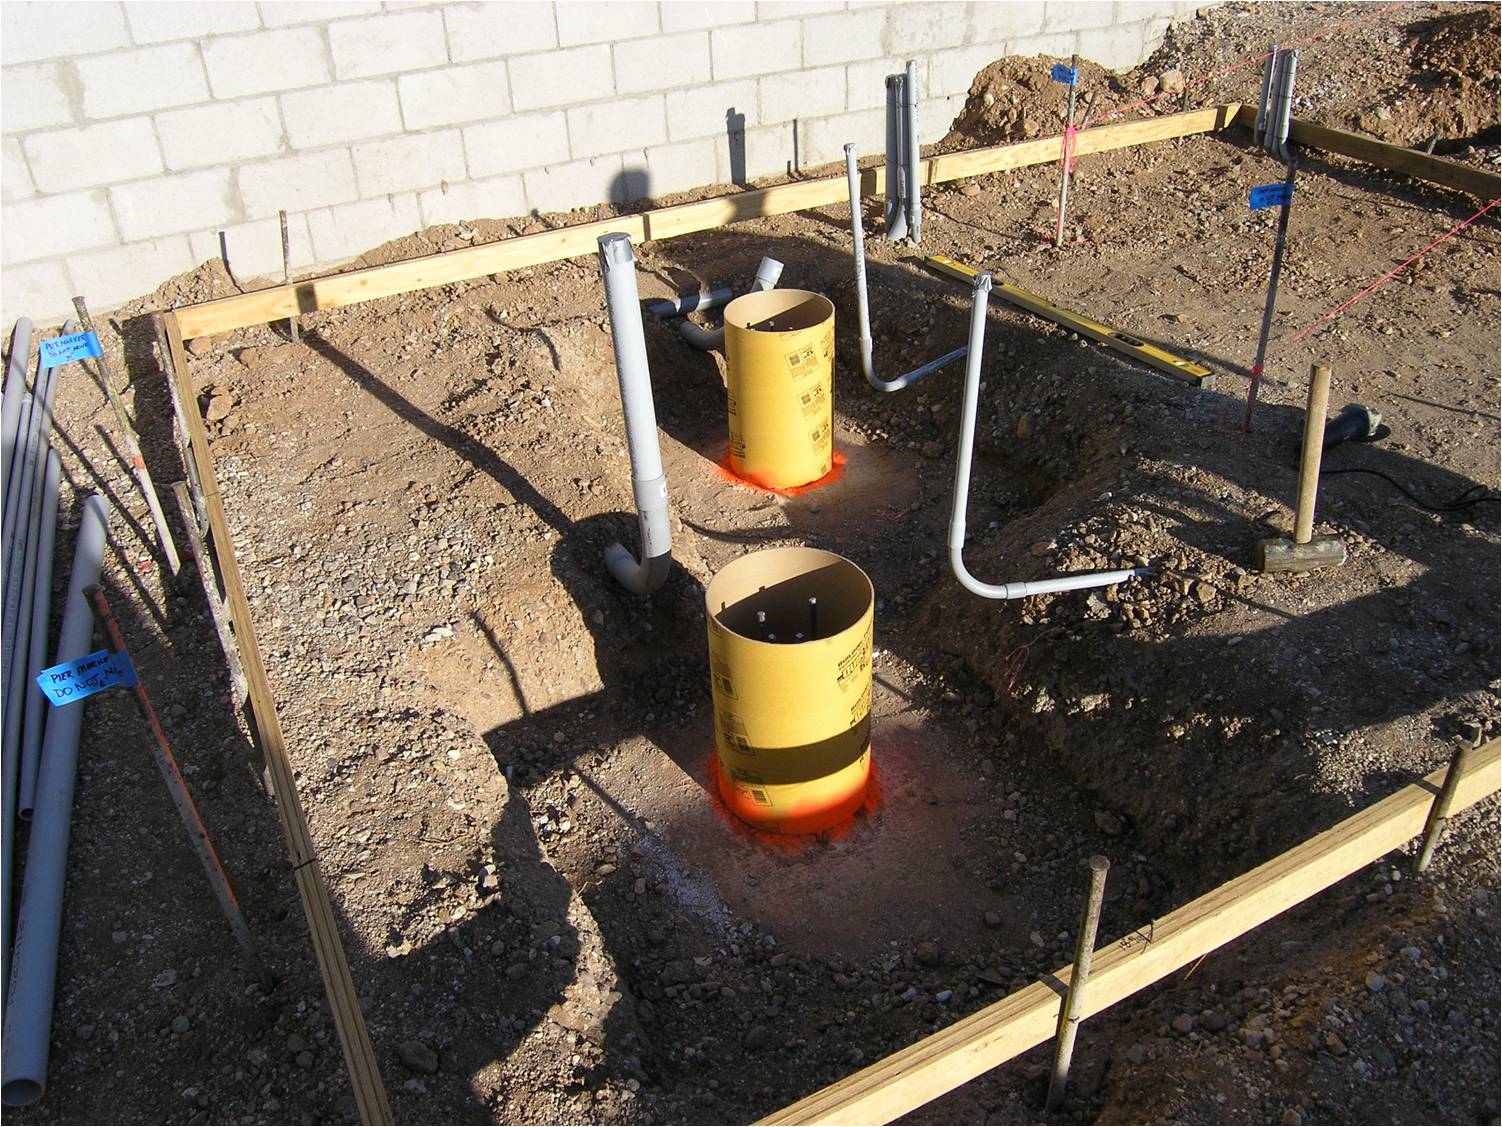
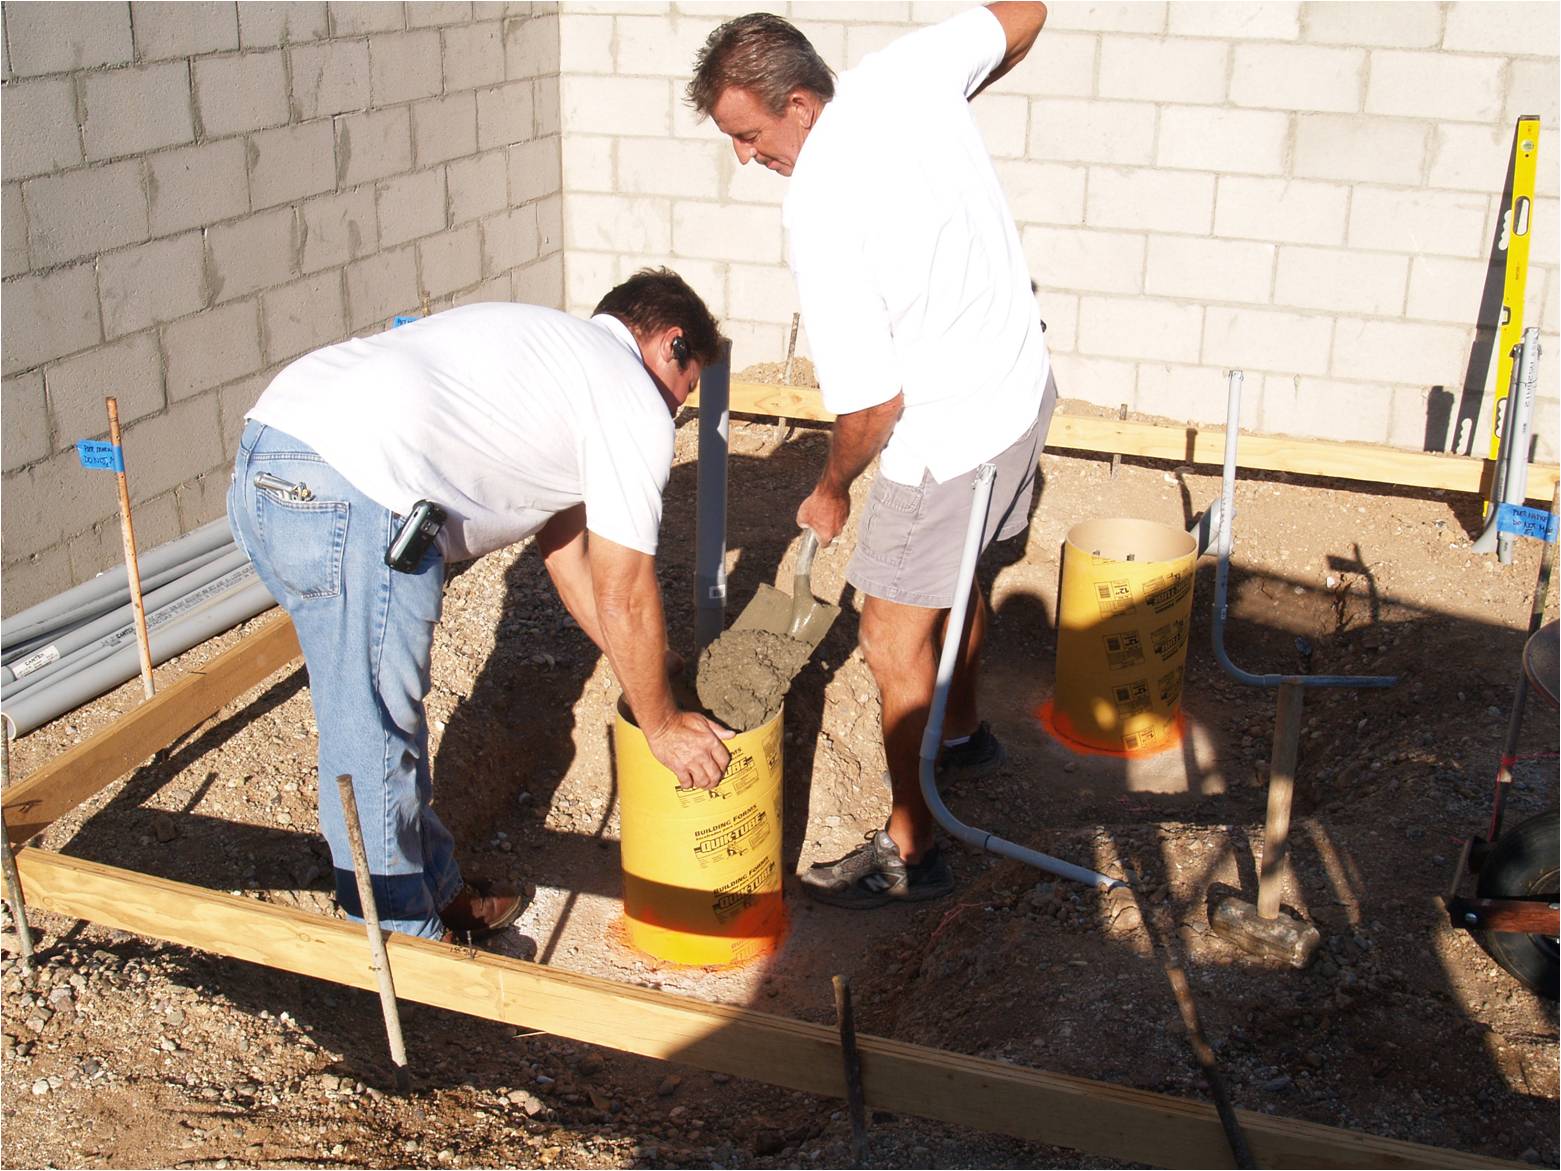
| The
sonotubes are set |
 |
|
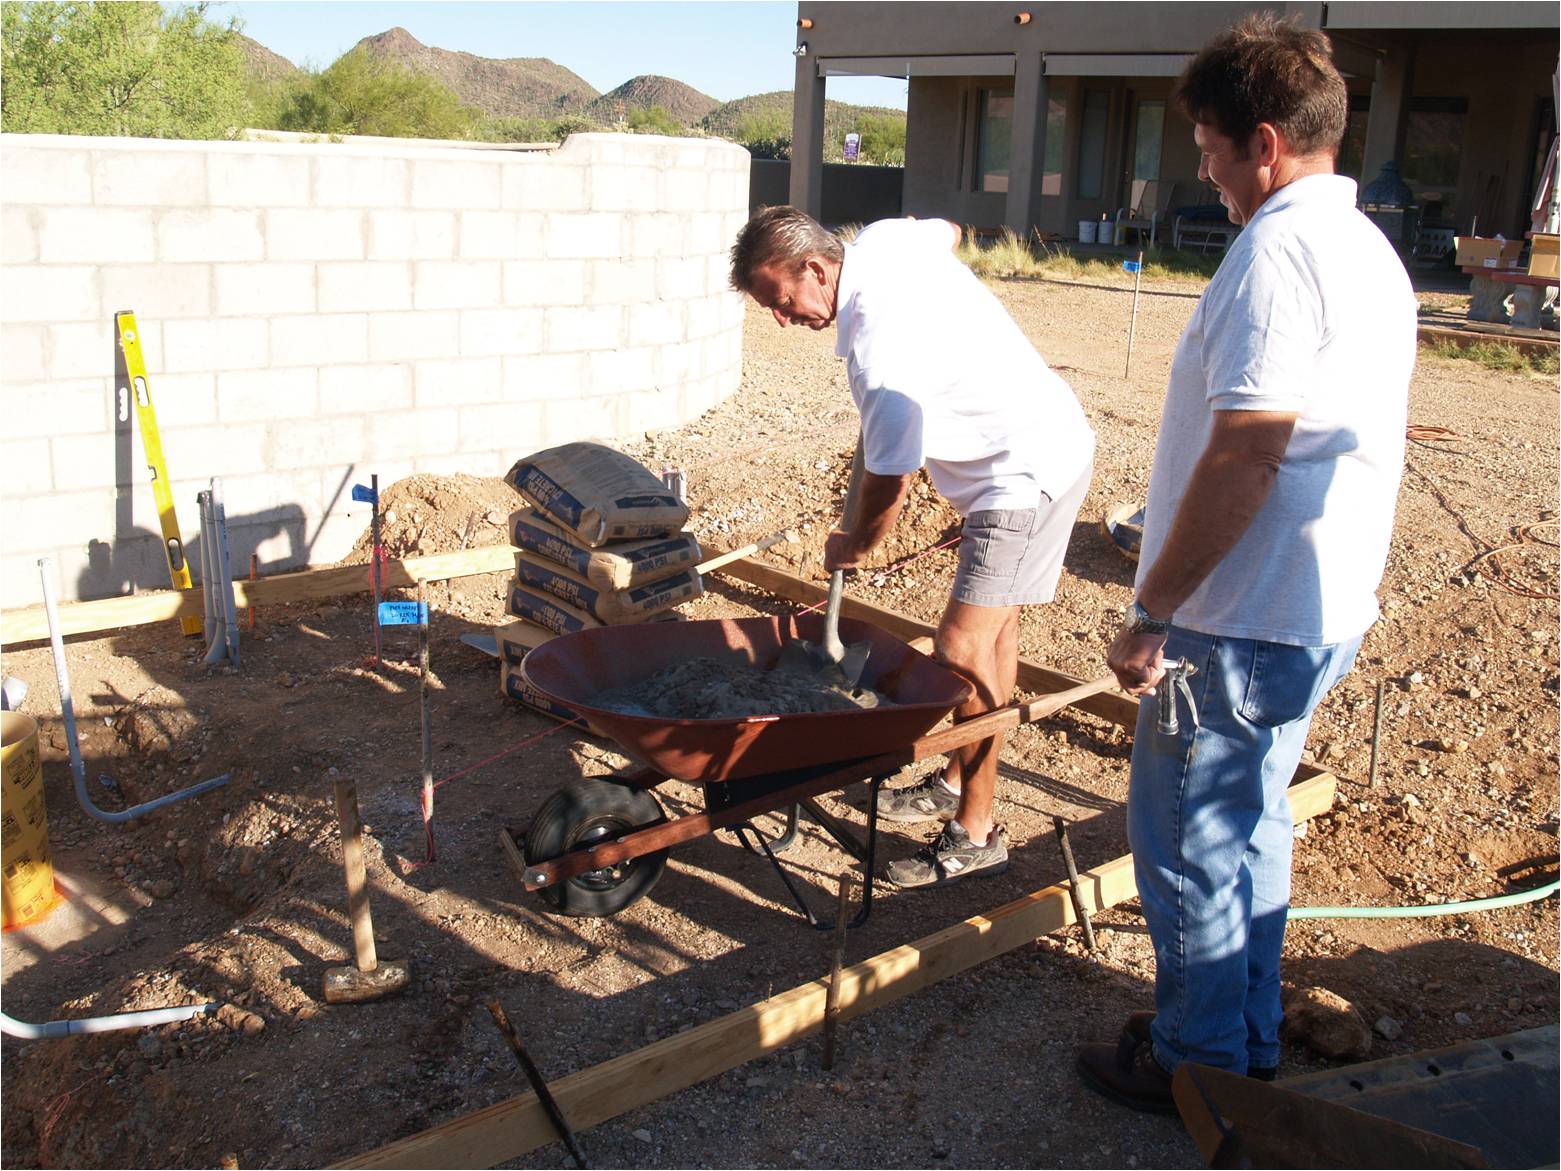
| Mixing
the first batch of concrete. Each pier required two, 40 lb
bags |
 |
|
| The
supervisor shows up... |
 |
|
| The
first shovel of concrete |
 |
|
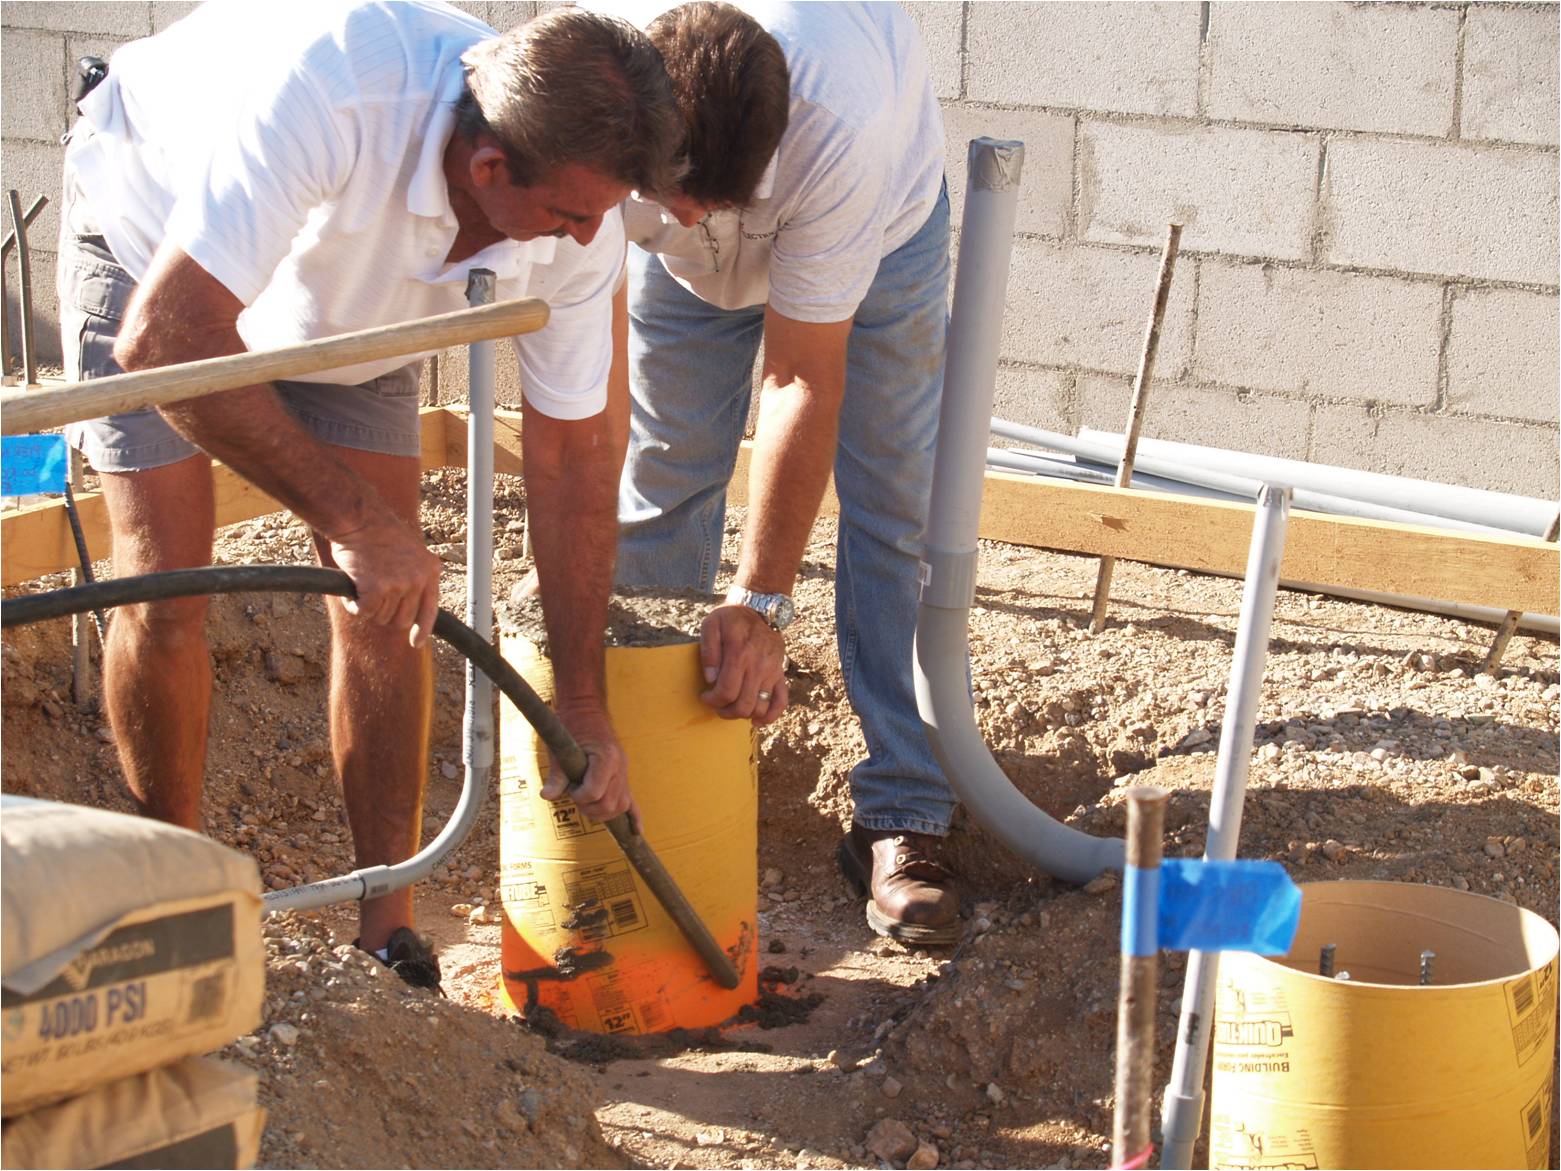
|
Vibrating the air out |
 |
|
| Setting
the rear sight line |
 |
|
|
Inserting the first j-bolt template |
 |
|
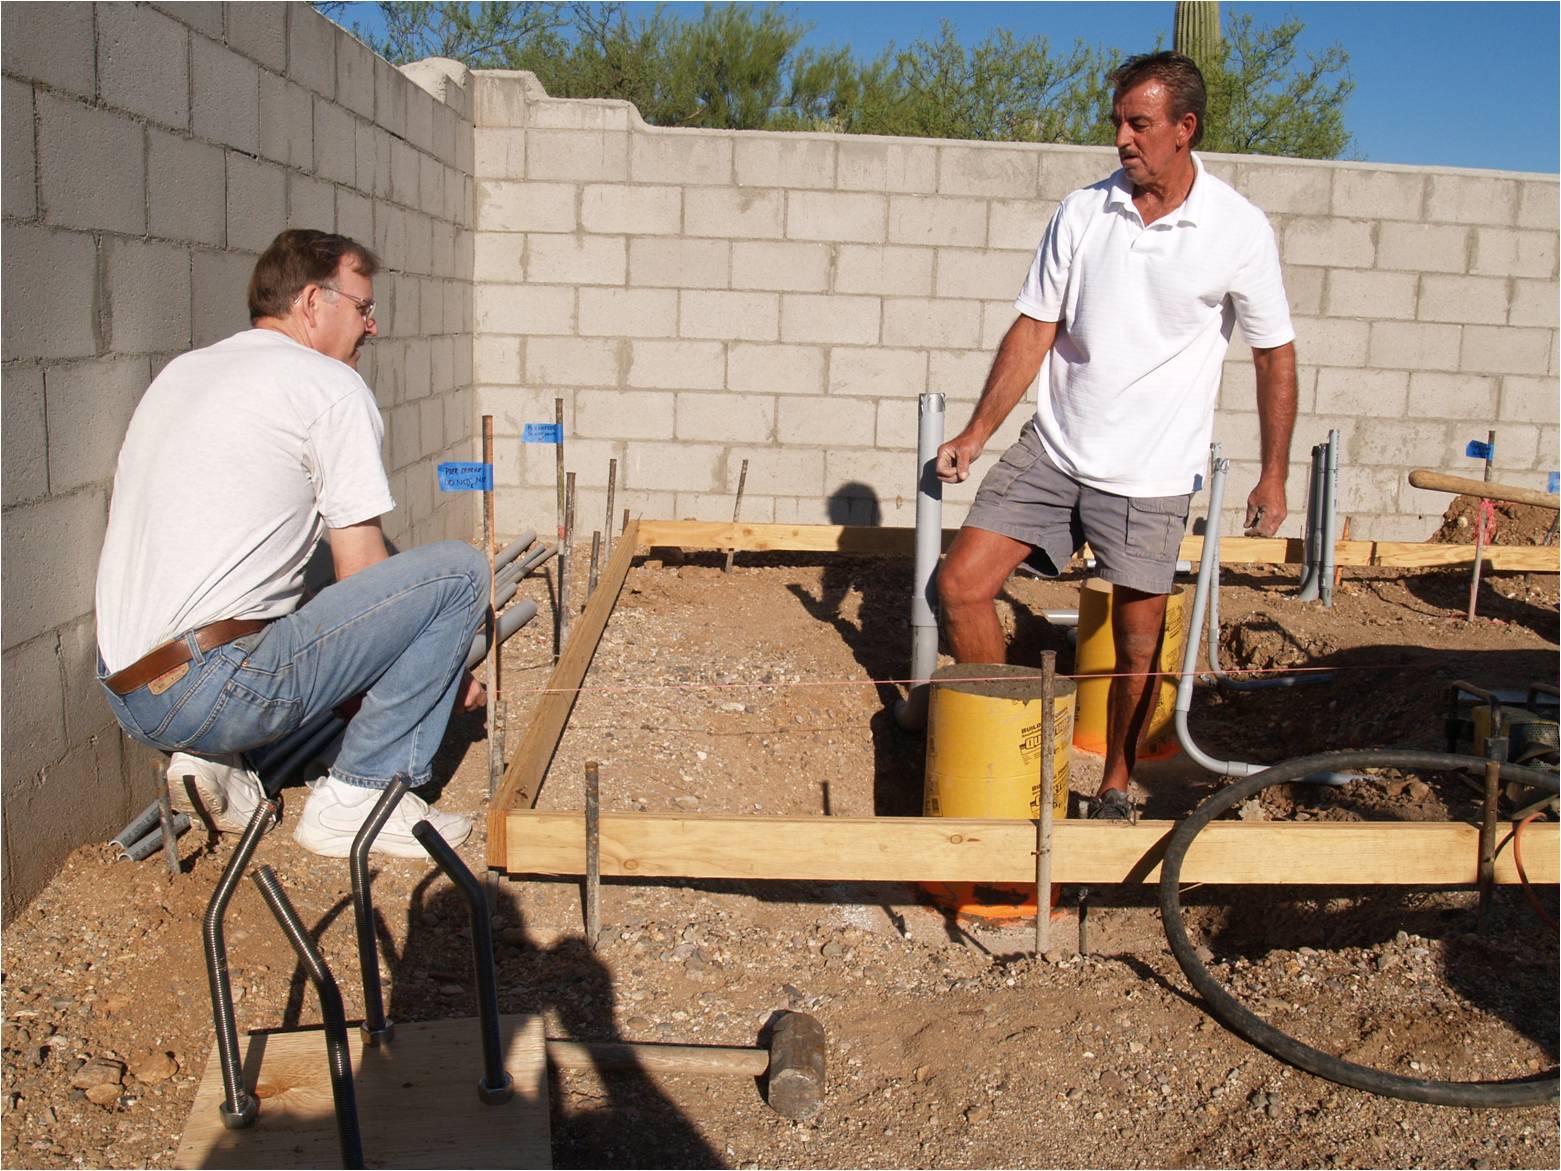
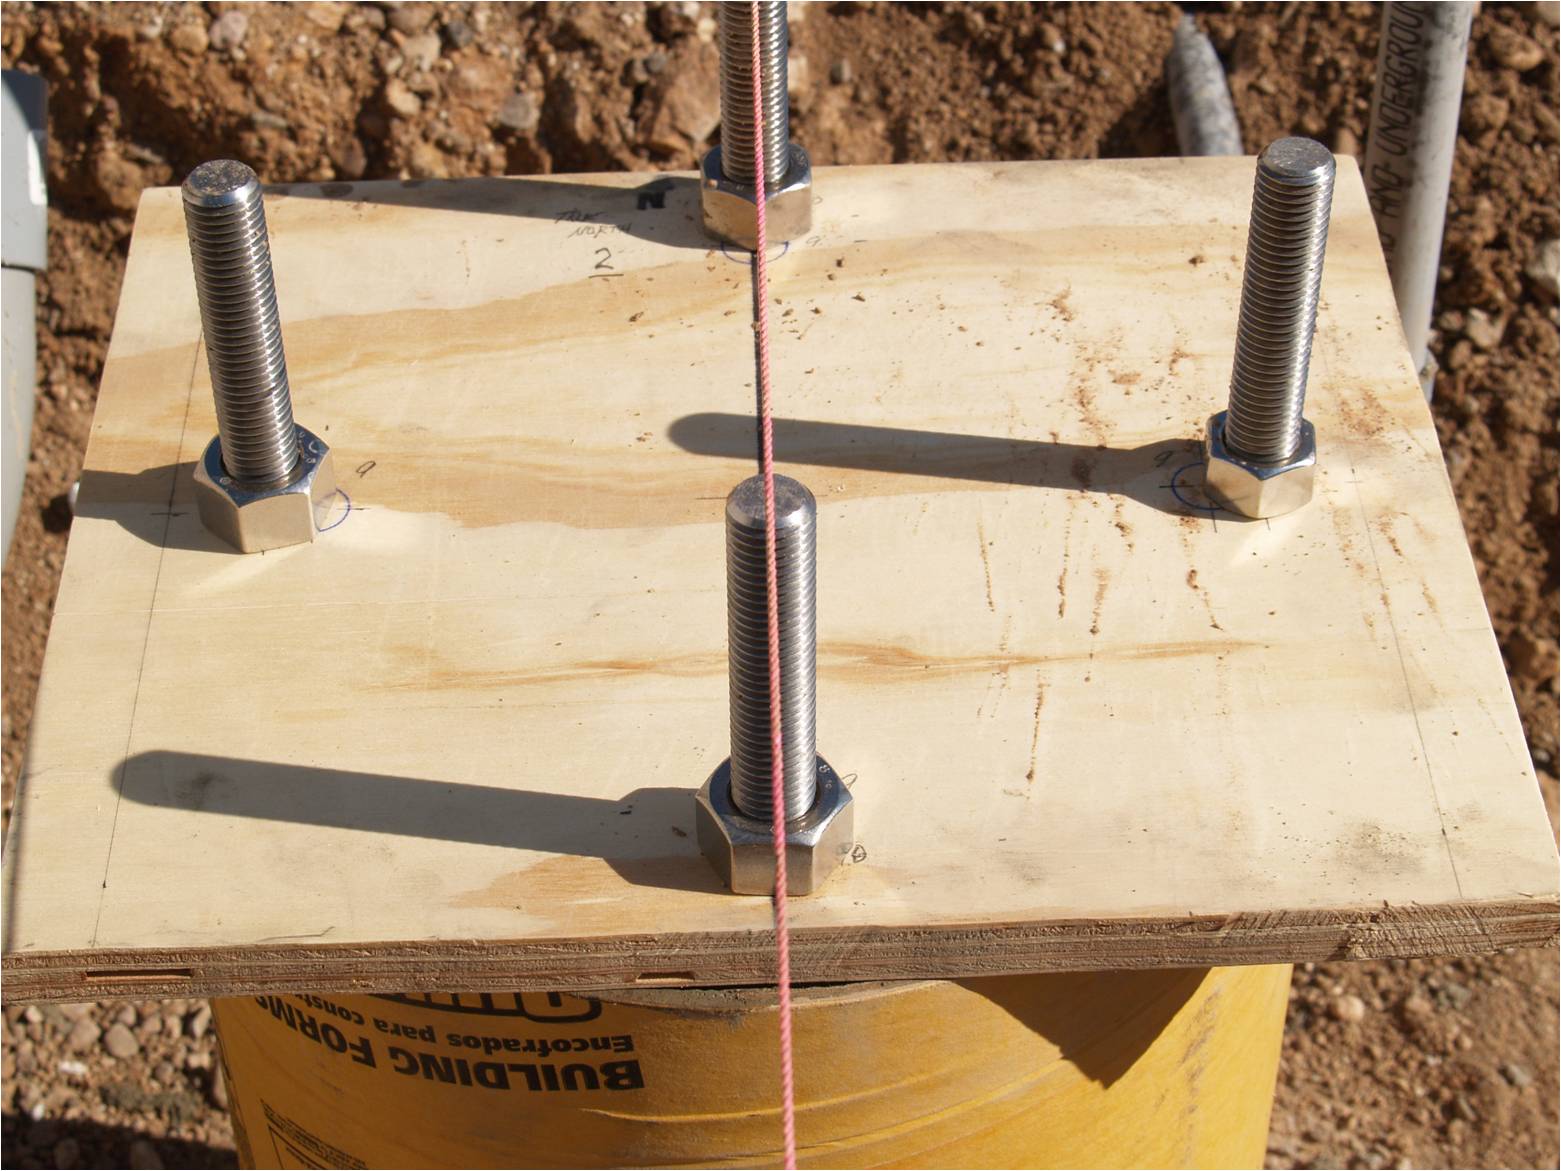
| Picture
perfect, pier #1 |
 |
|
| Picture
perfect, pier #2 |
 |
|
| Closeup
of pier #2 template |
 |
|
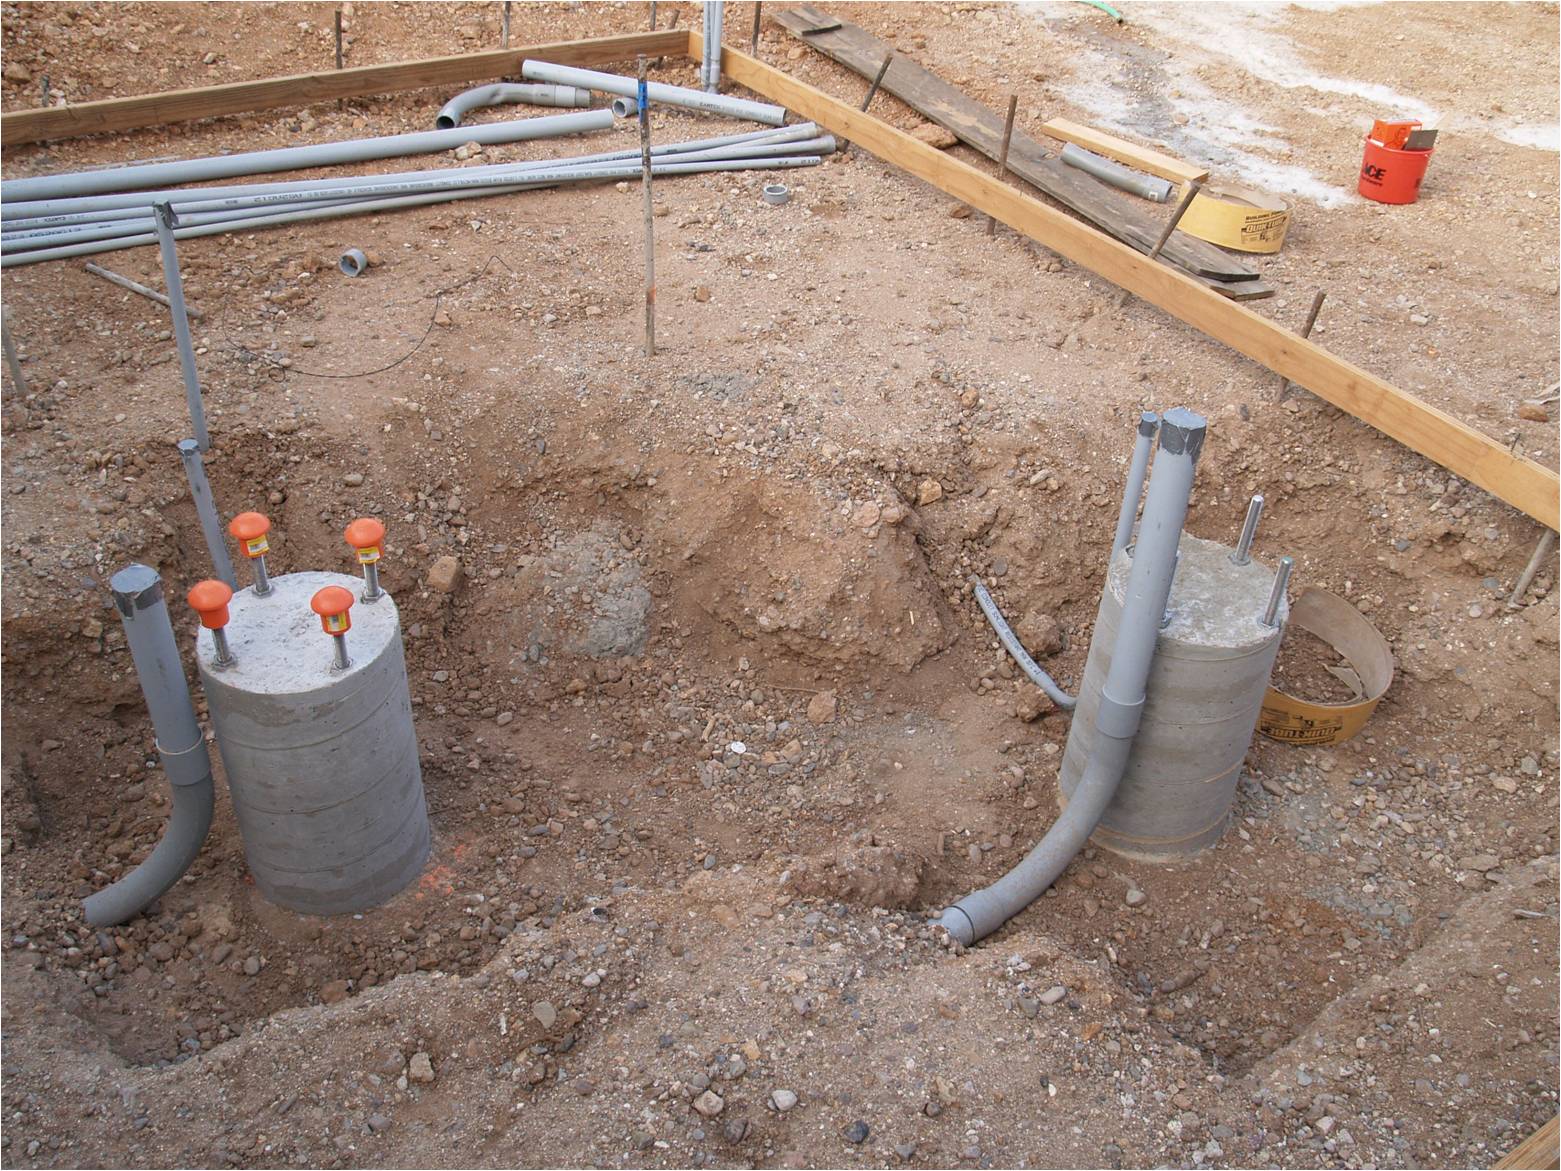
| We have
piers! |
 |
|
| 31
August 2009 |
Click each picture for a full size version |
|
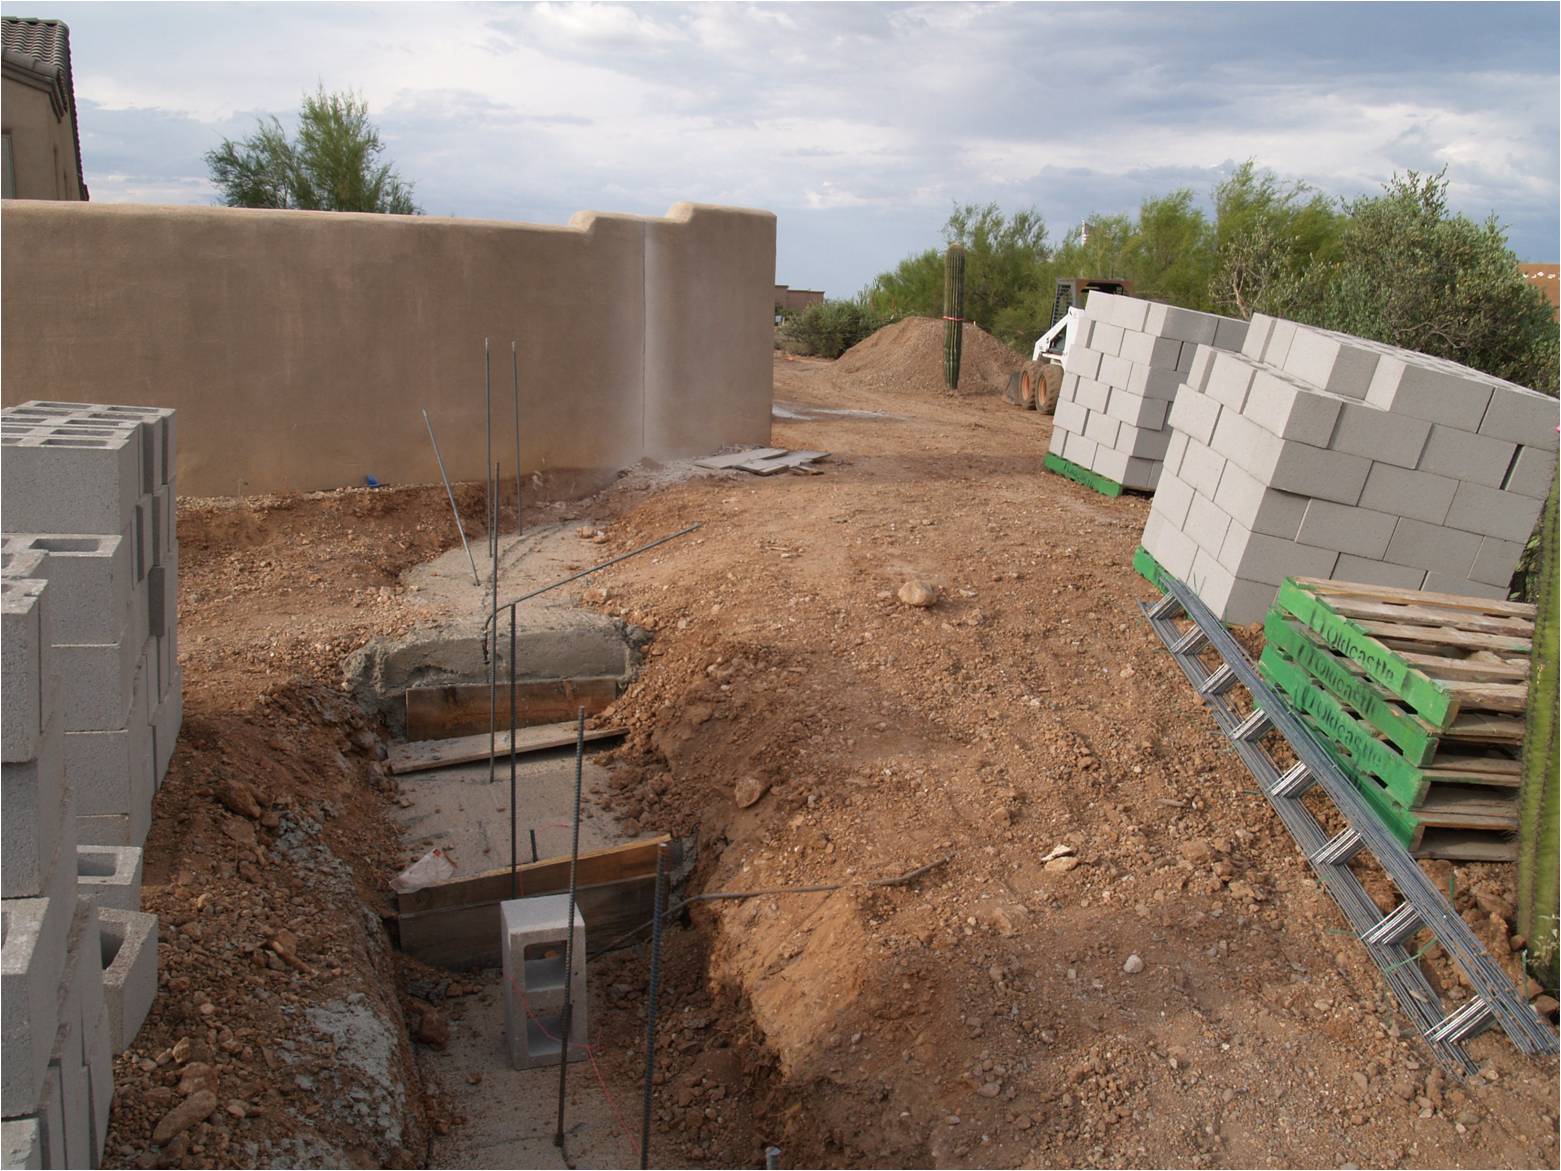
| The wall
gets its first coat of stucco |
 |
|
| Naked
piers |
 |
|
| 1
September 2009 |
Click each picture for a full size version |
|
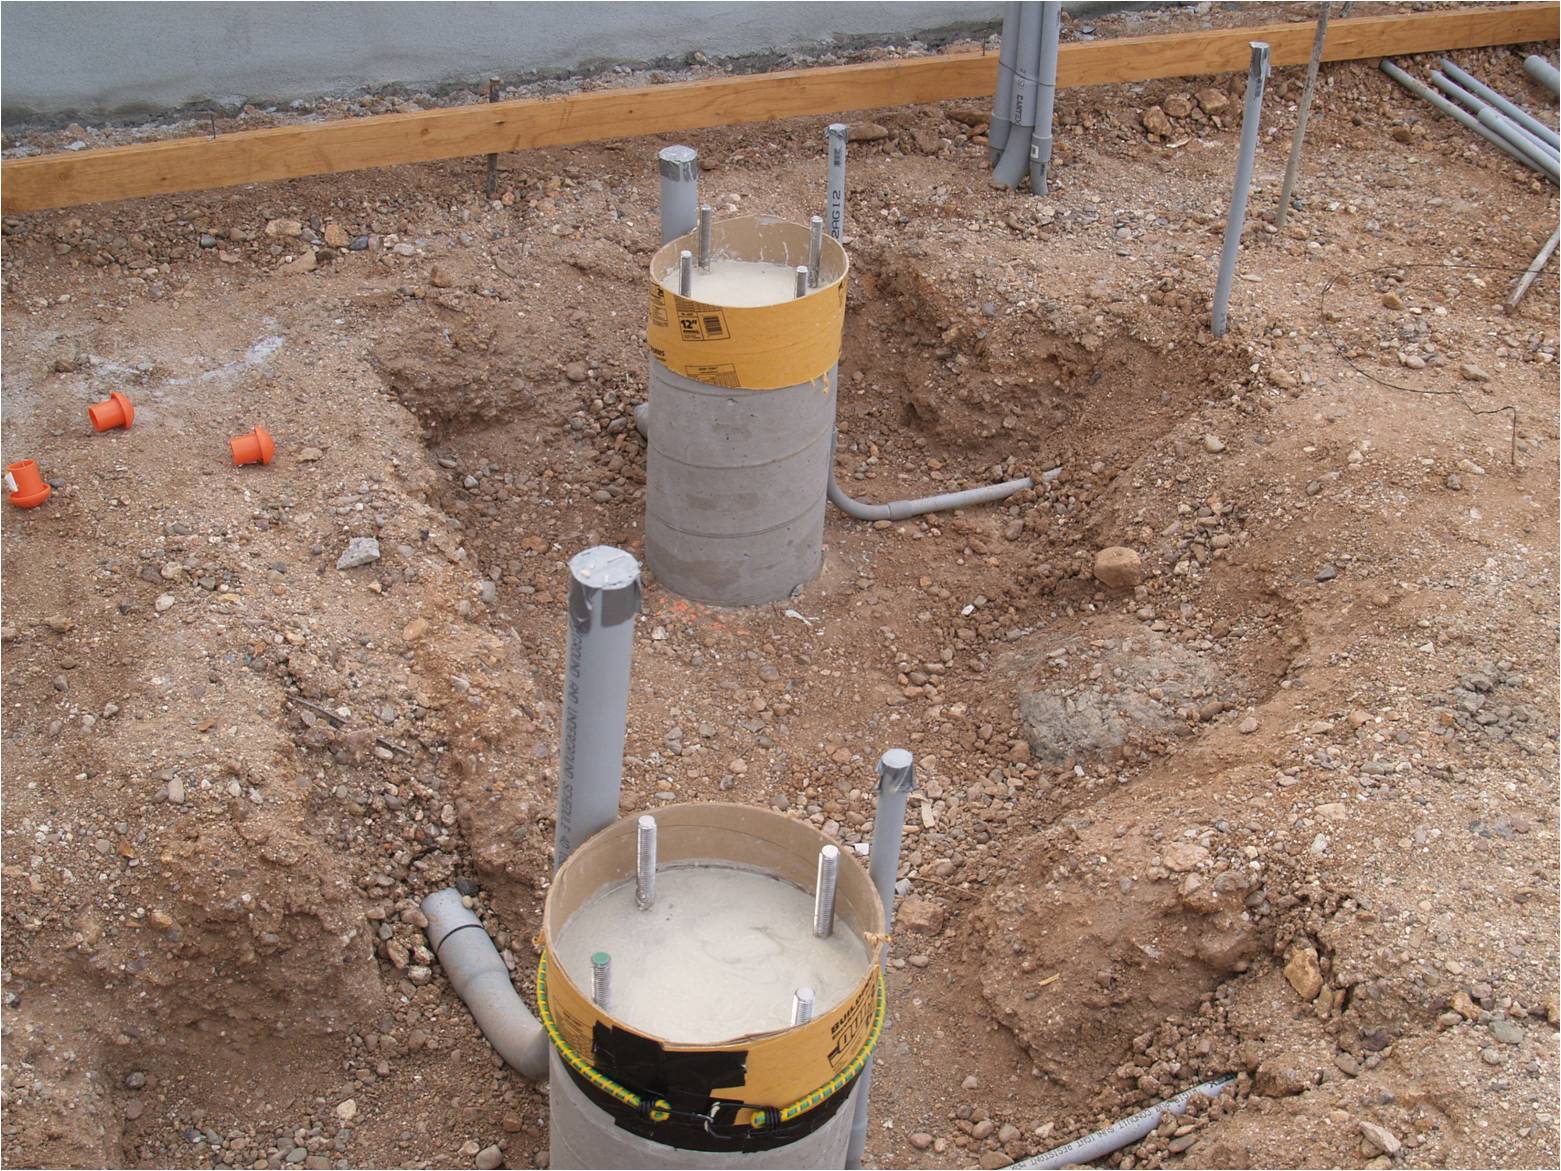
| Rockite
icing |
 |
|
| Rockite
icing |
 |
|
| Forms
removed, Rockite trimmed and the bolts cleaned |
 |
|
| Cleaned
bolt |
 |
|
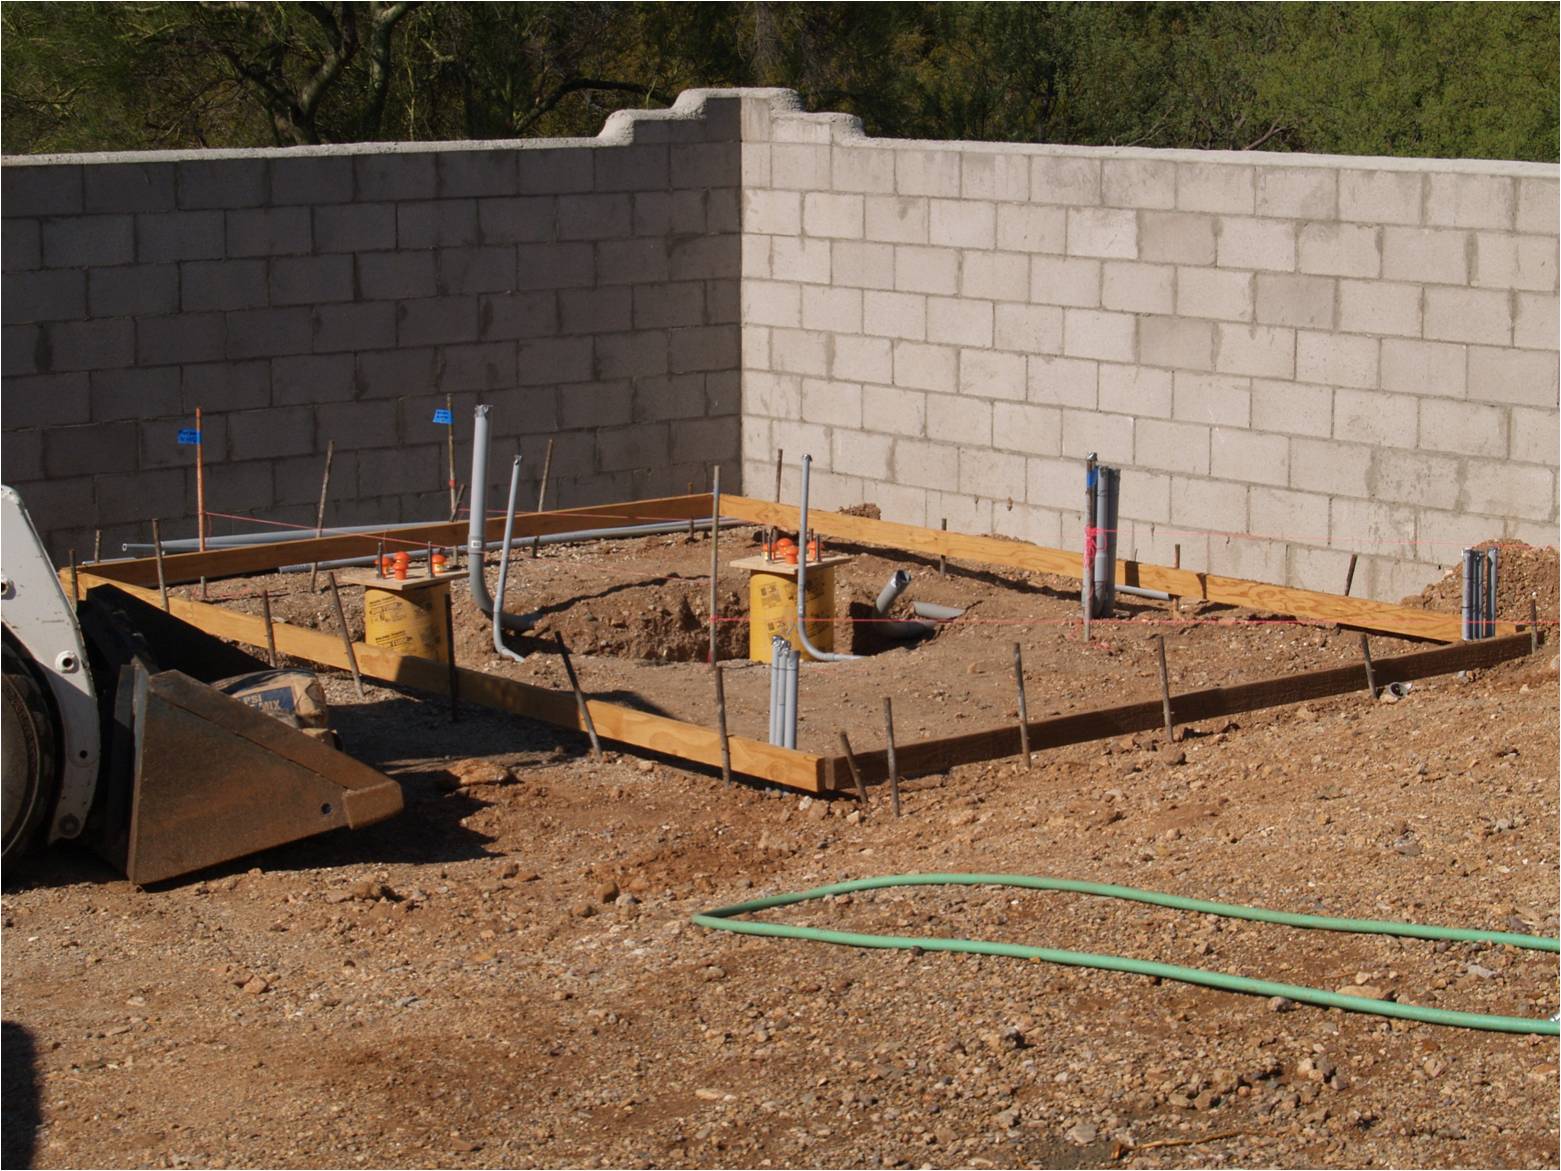
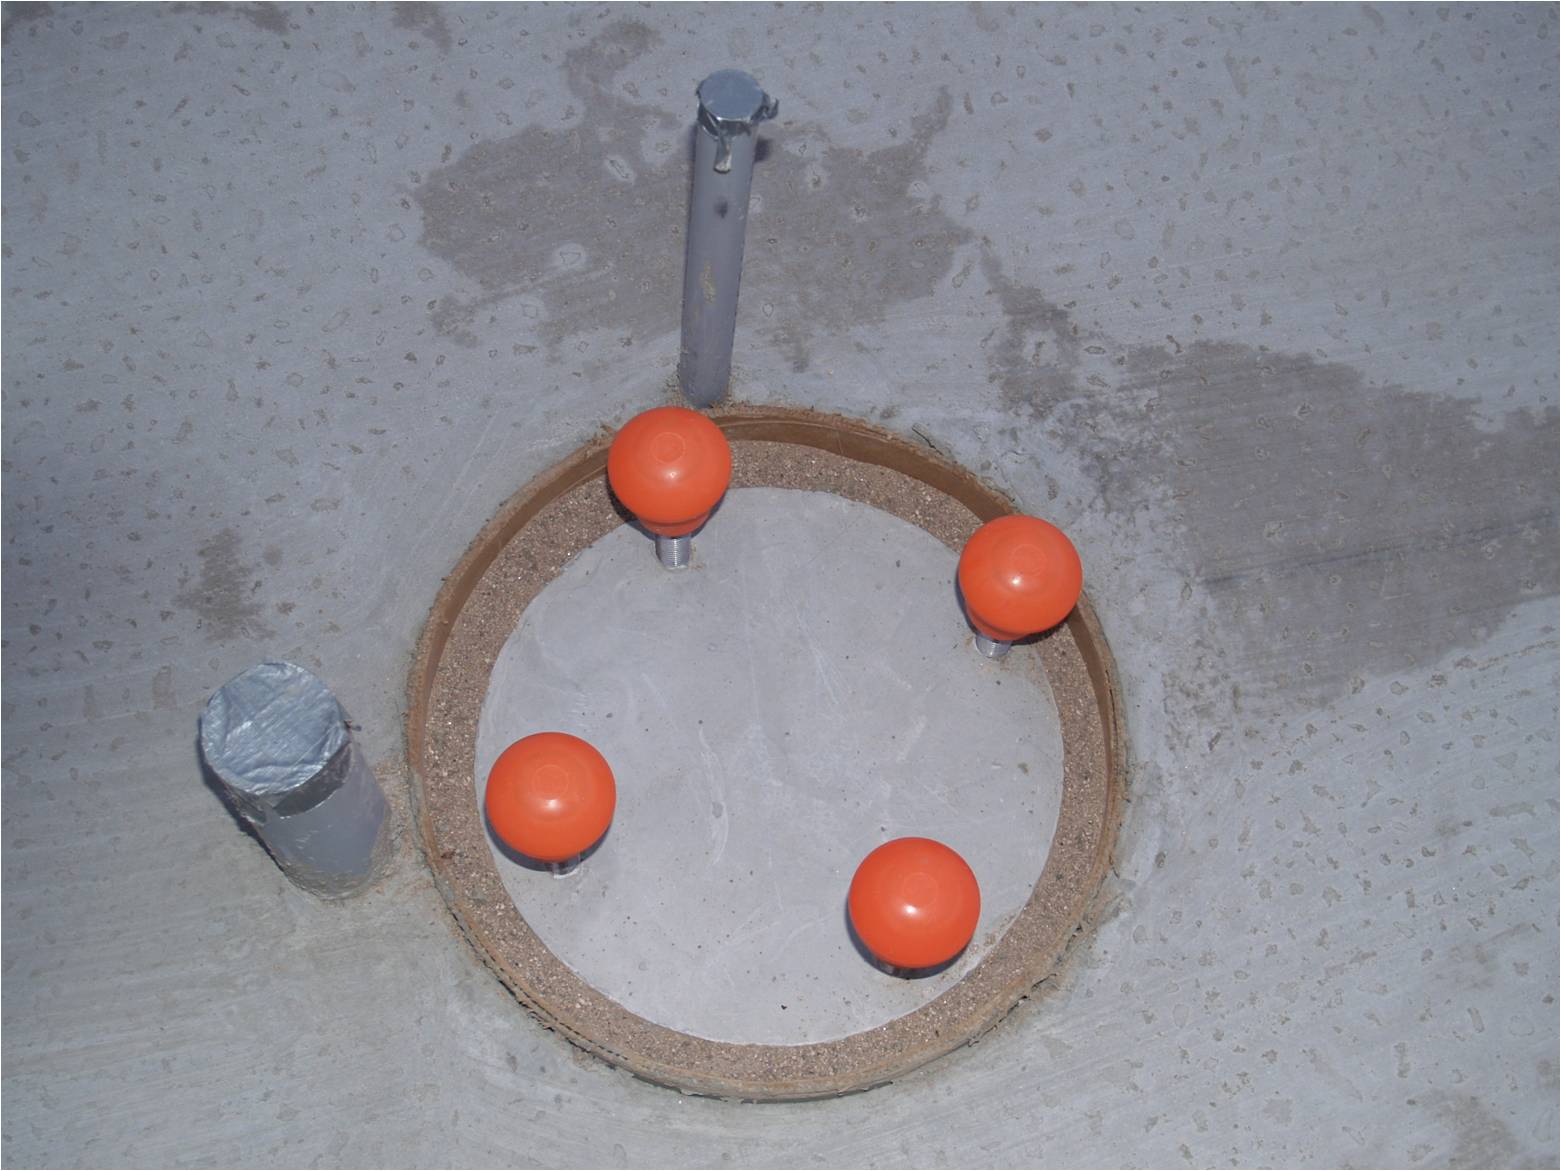
| The
completed pier base with the safety devices in-place |
 |
|
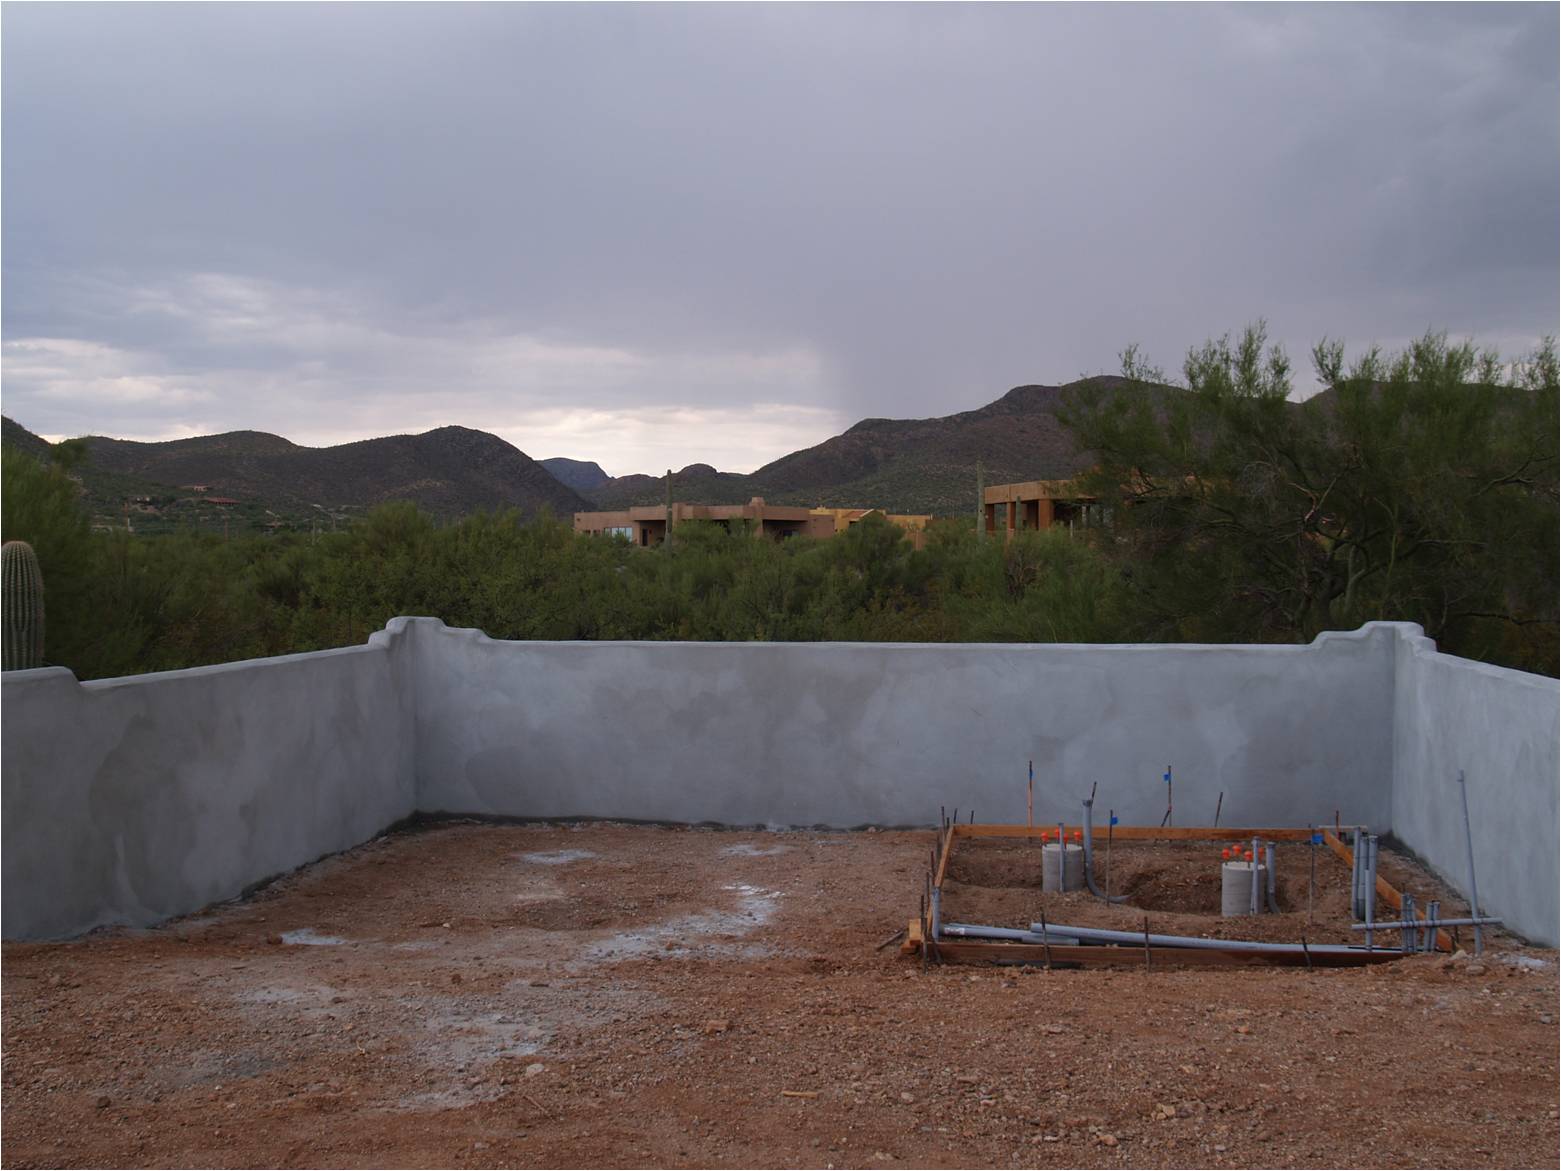
| The
garden wall with the final coat of stucco and the completed pier
bases.
Waiting for the final
fill to be added and the slab to be poured... |
 |
|
| 8
September 2009 |
Click each picture for a full size version |
|
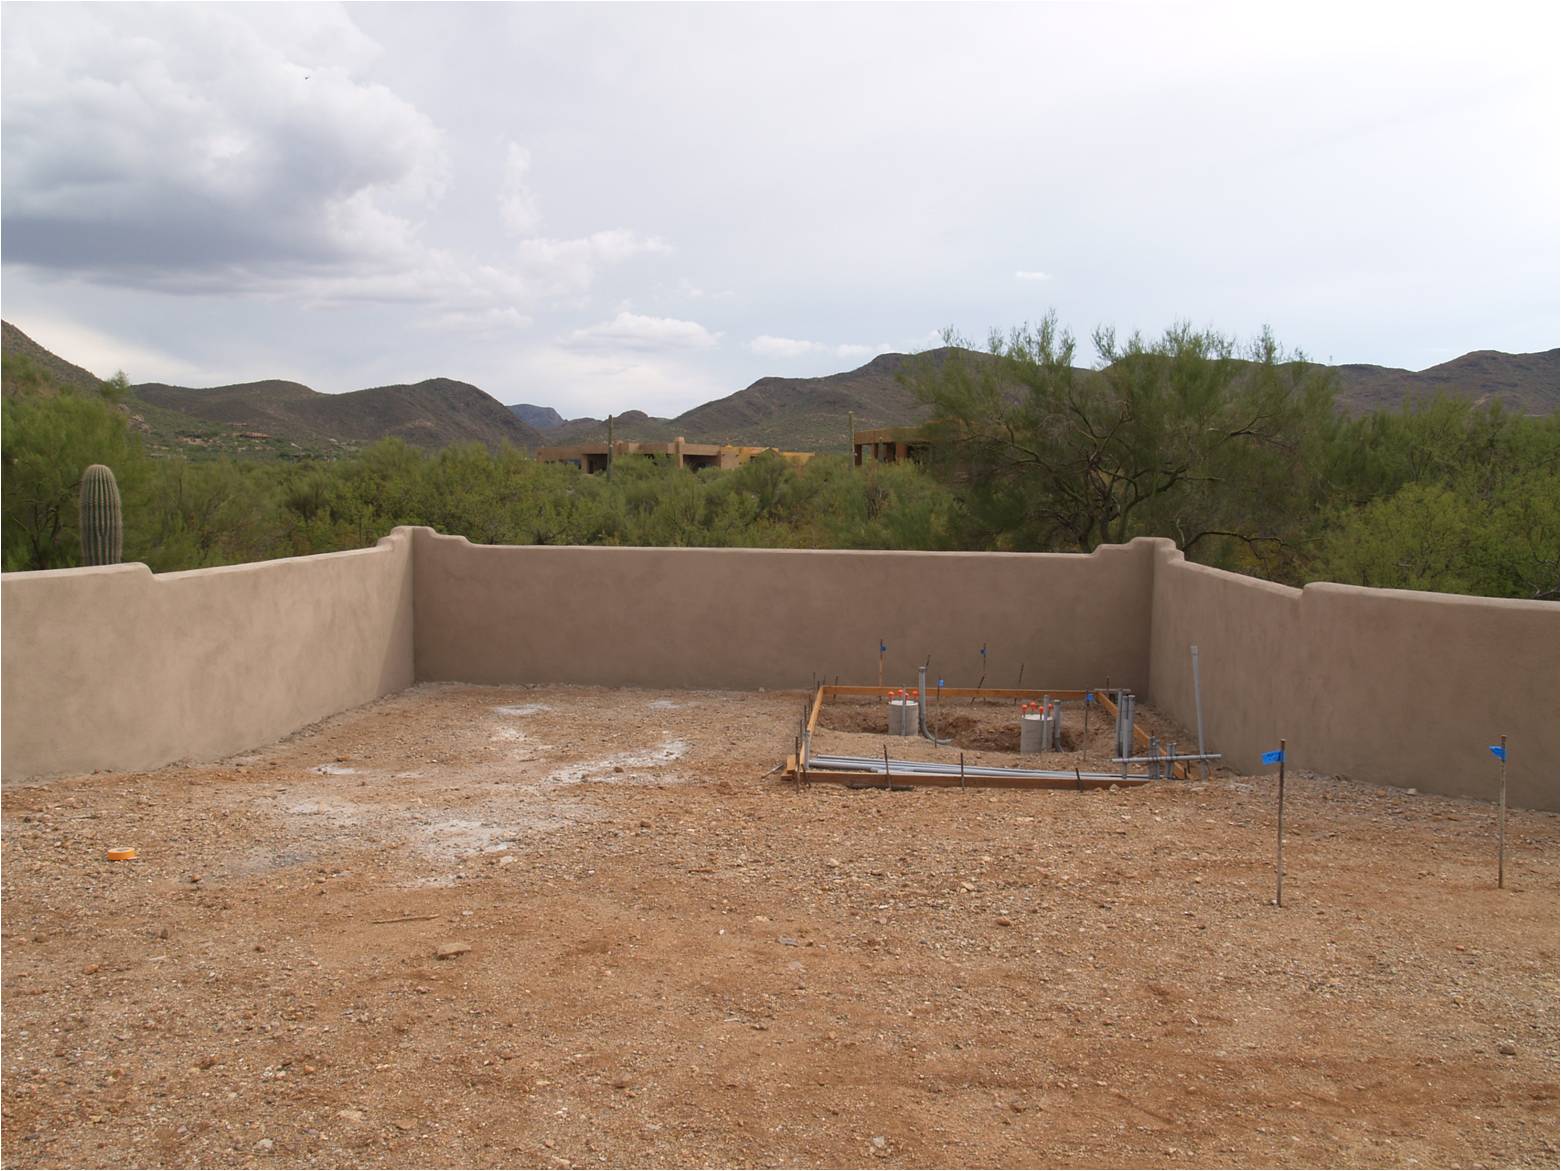
| A fresh
coat of paint on the wall |
 |
|
| 12
September 2009 |
Click each picture for a full size version |
|
.
|
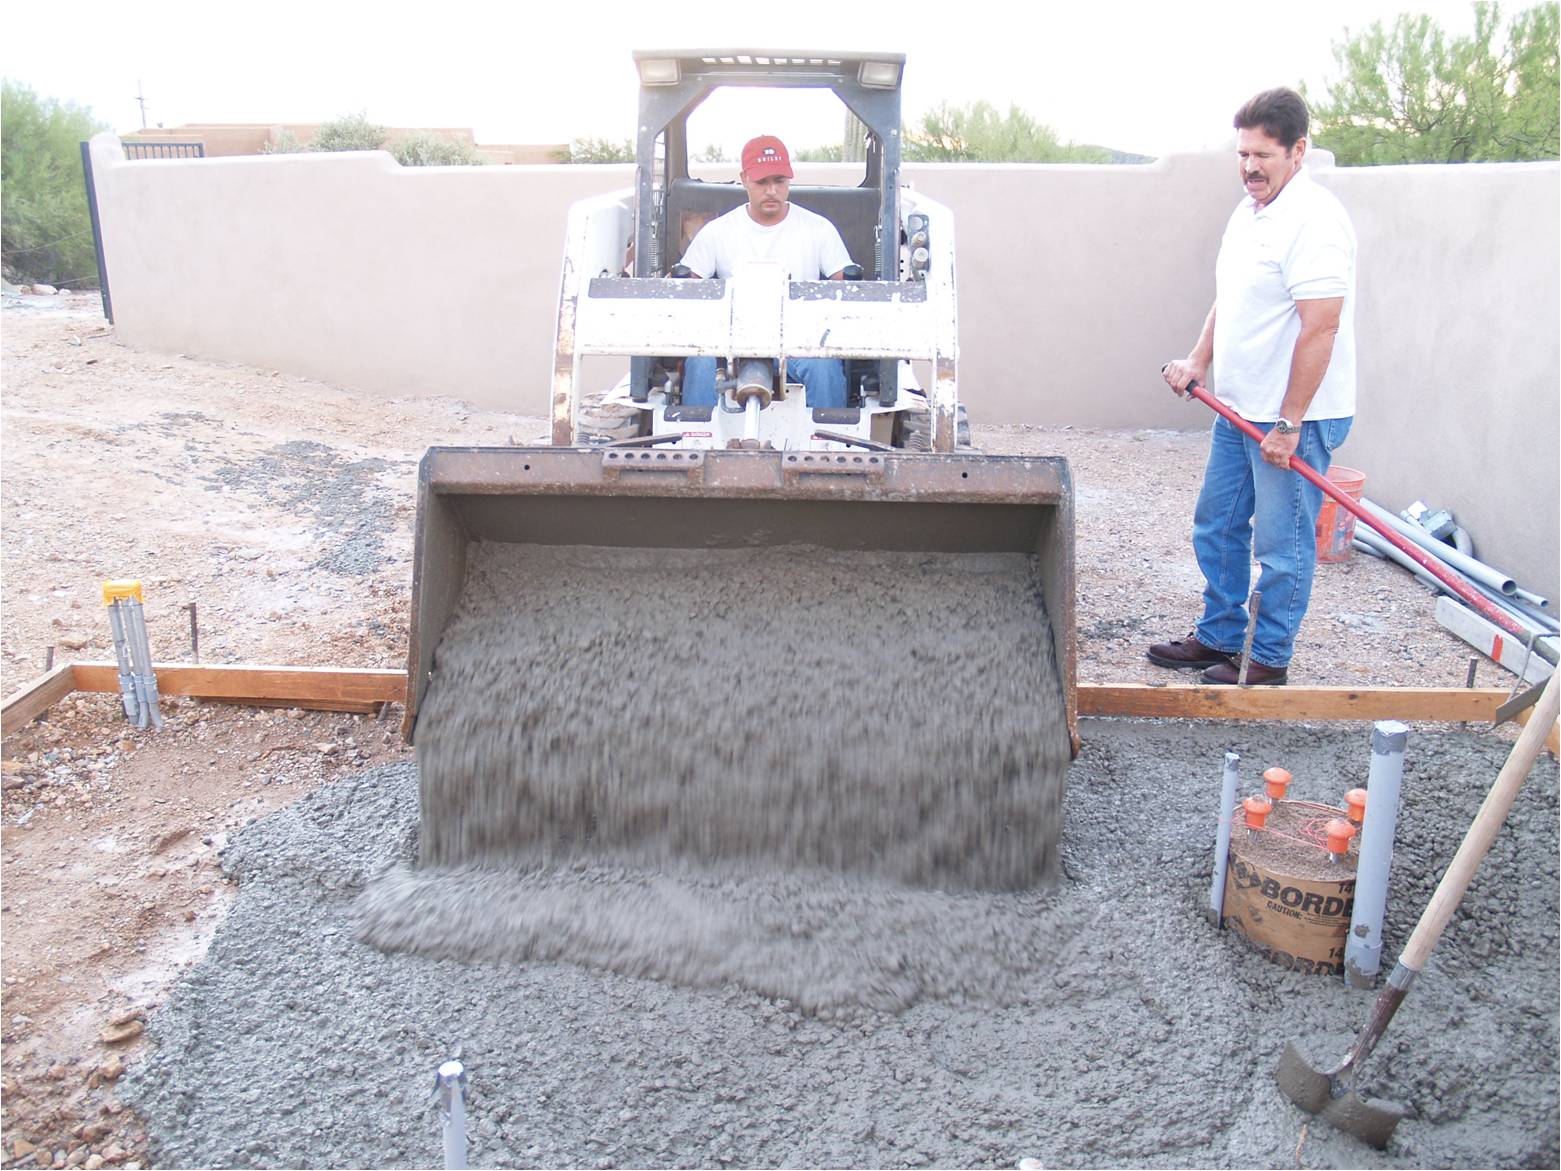
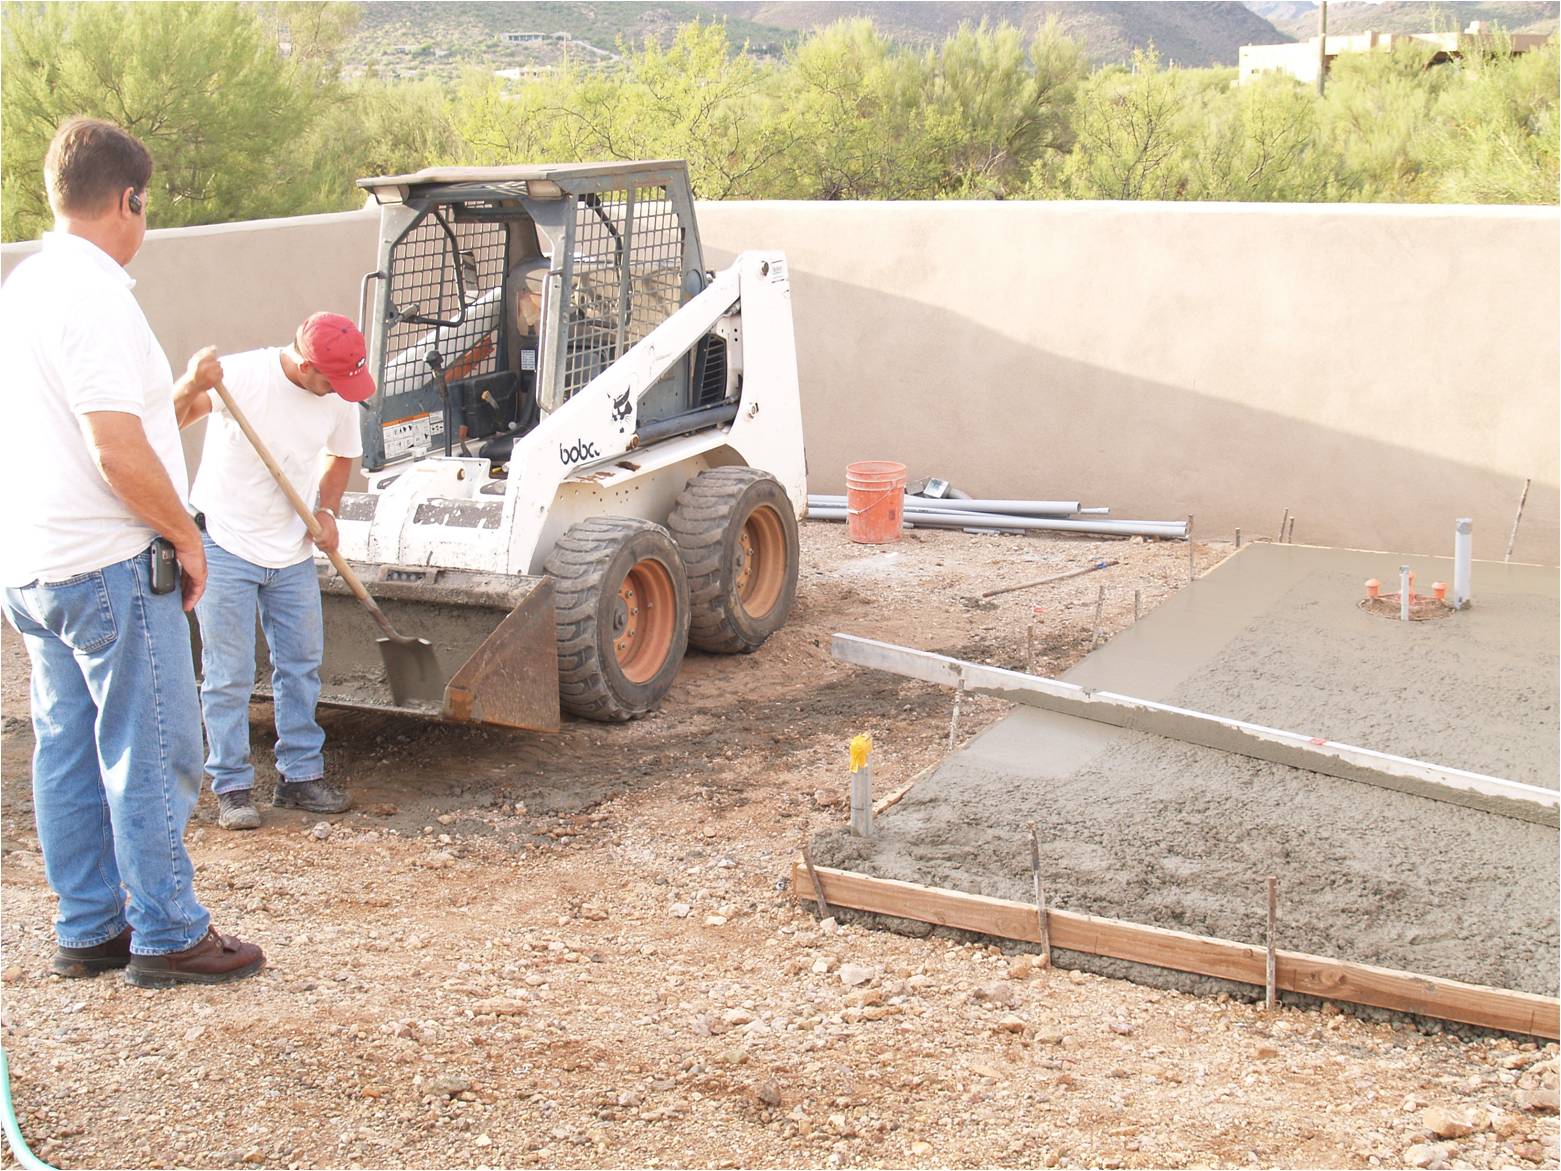
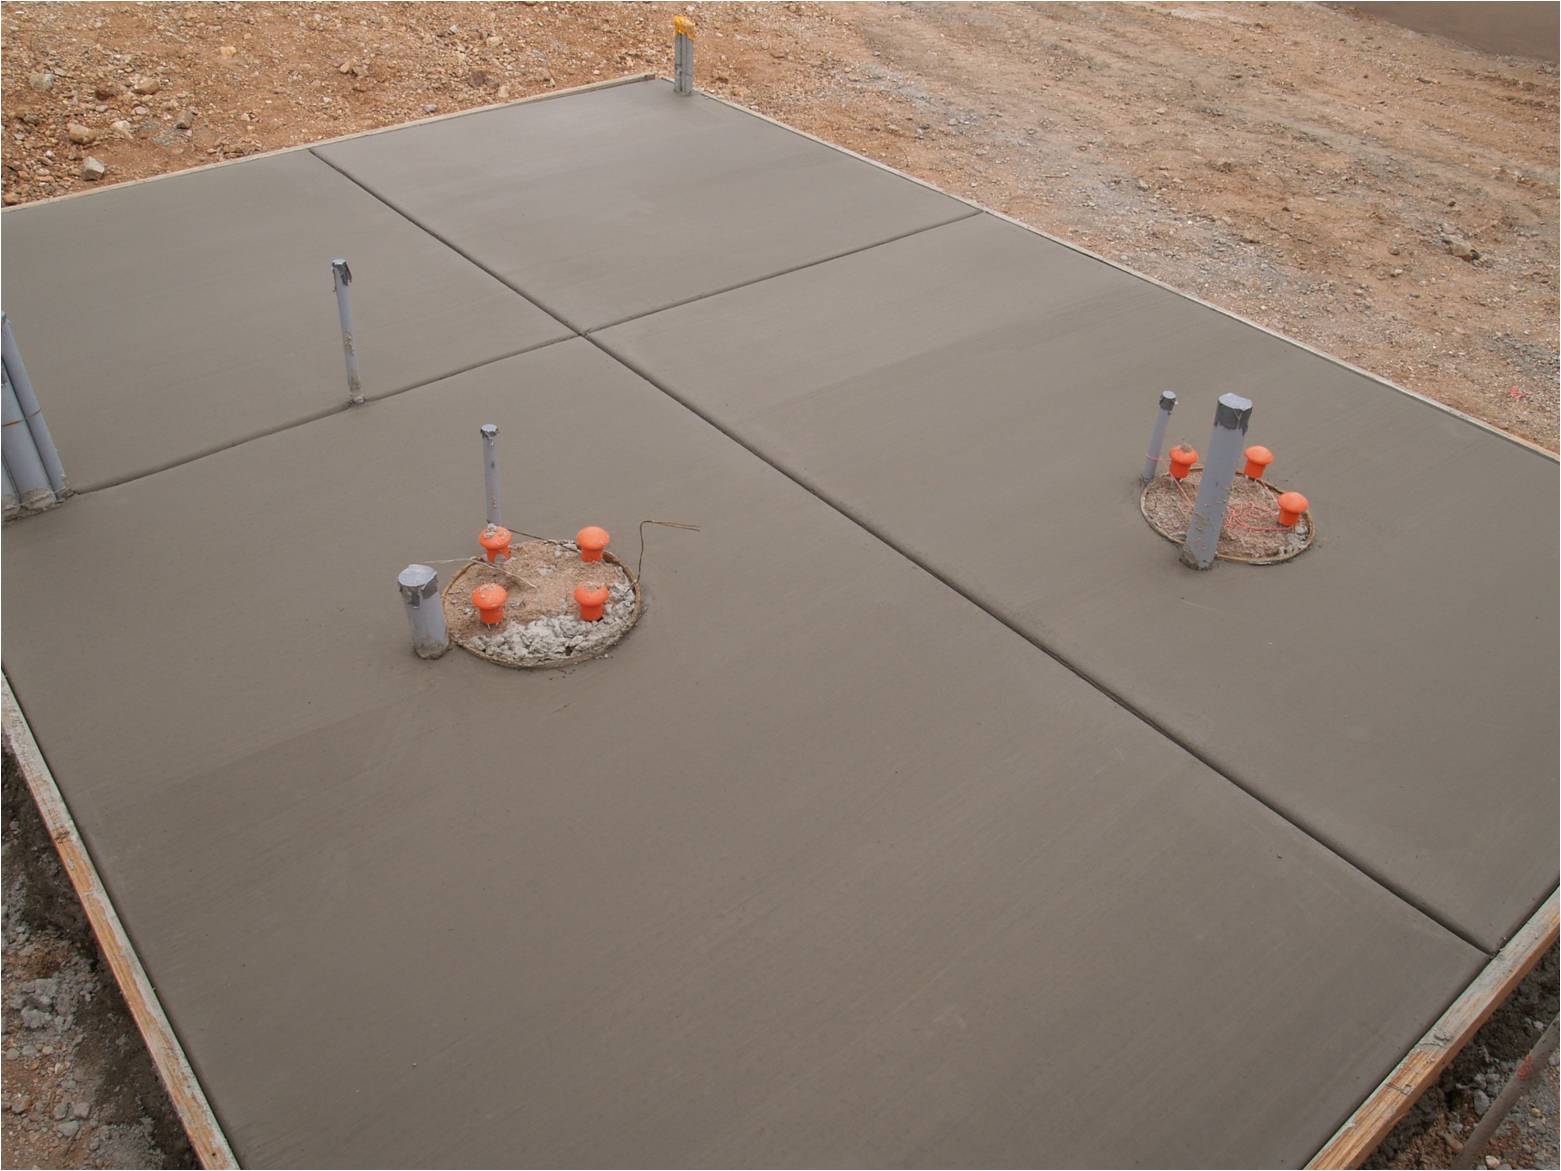
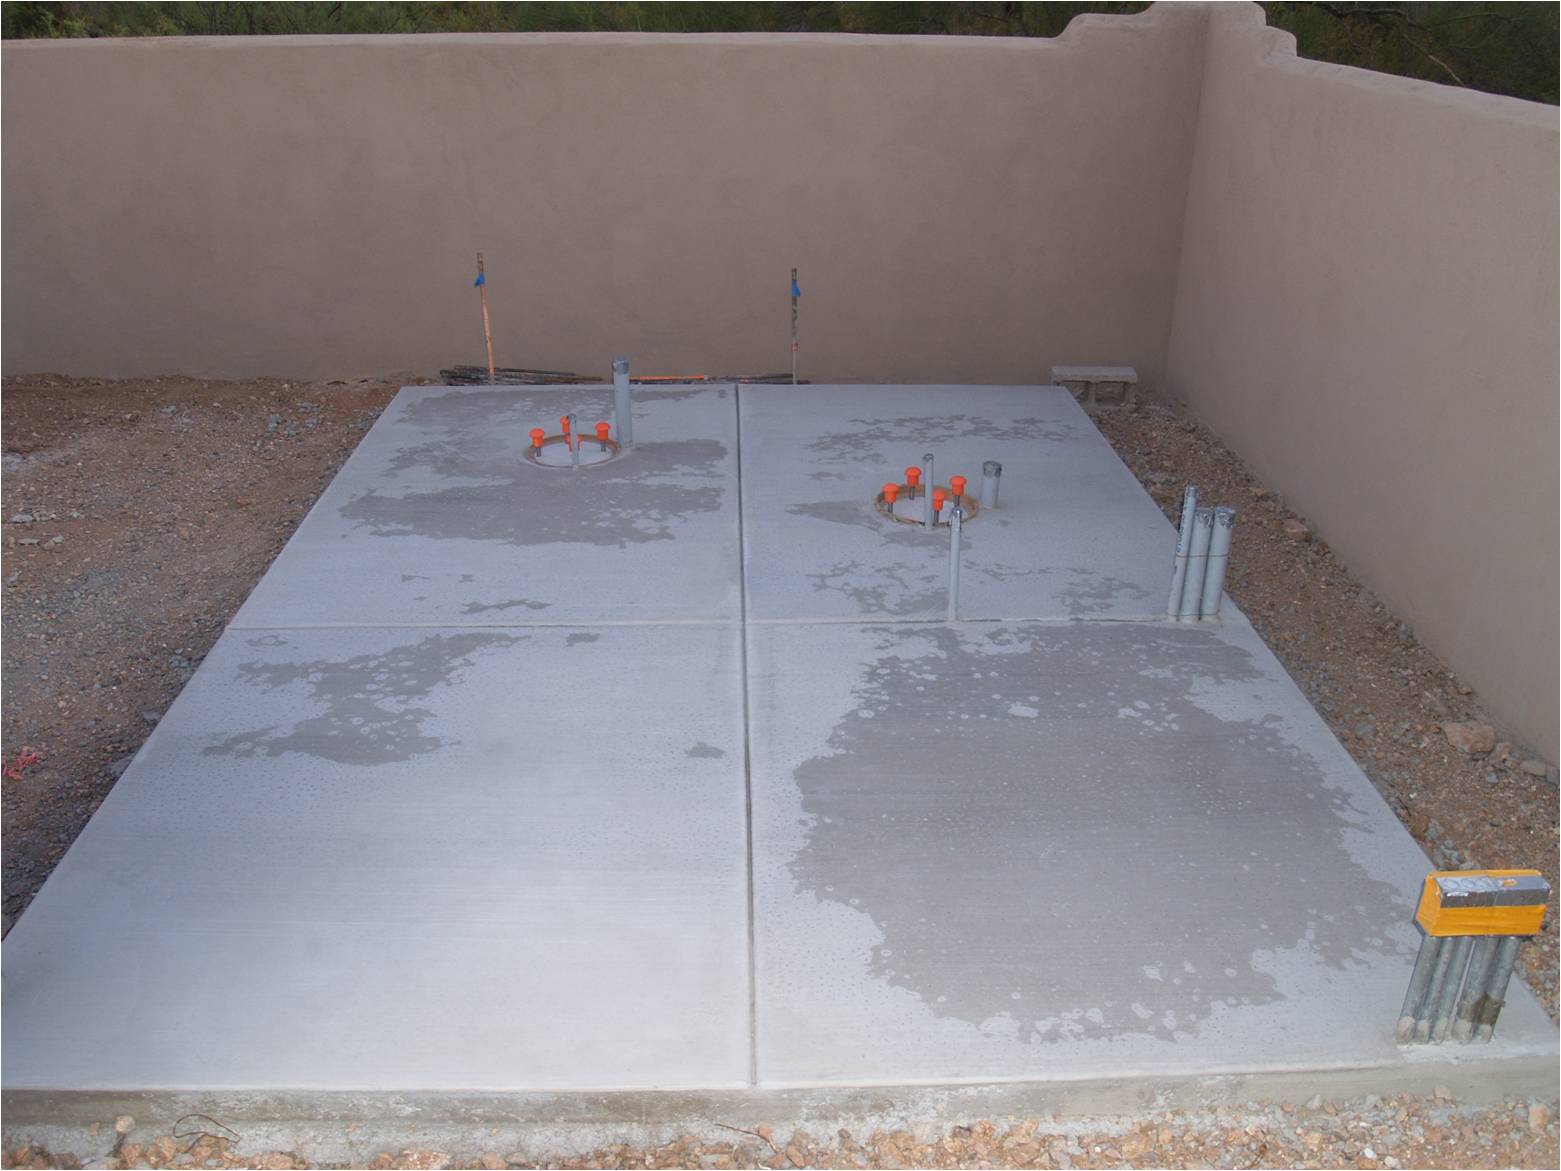
SLAB POURING DAY!
We have 4 1/2 yards
of concrete |
 |
|
| Setting
the pier base sleeves |
 |
|
| The pier
base sleeves are in place |
 |
|
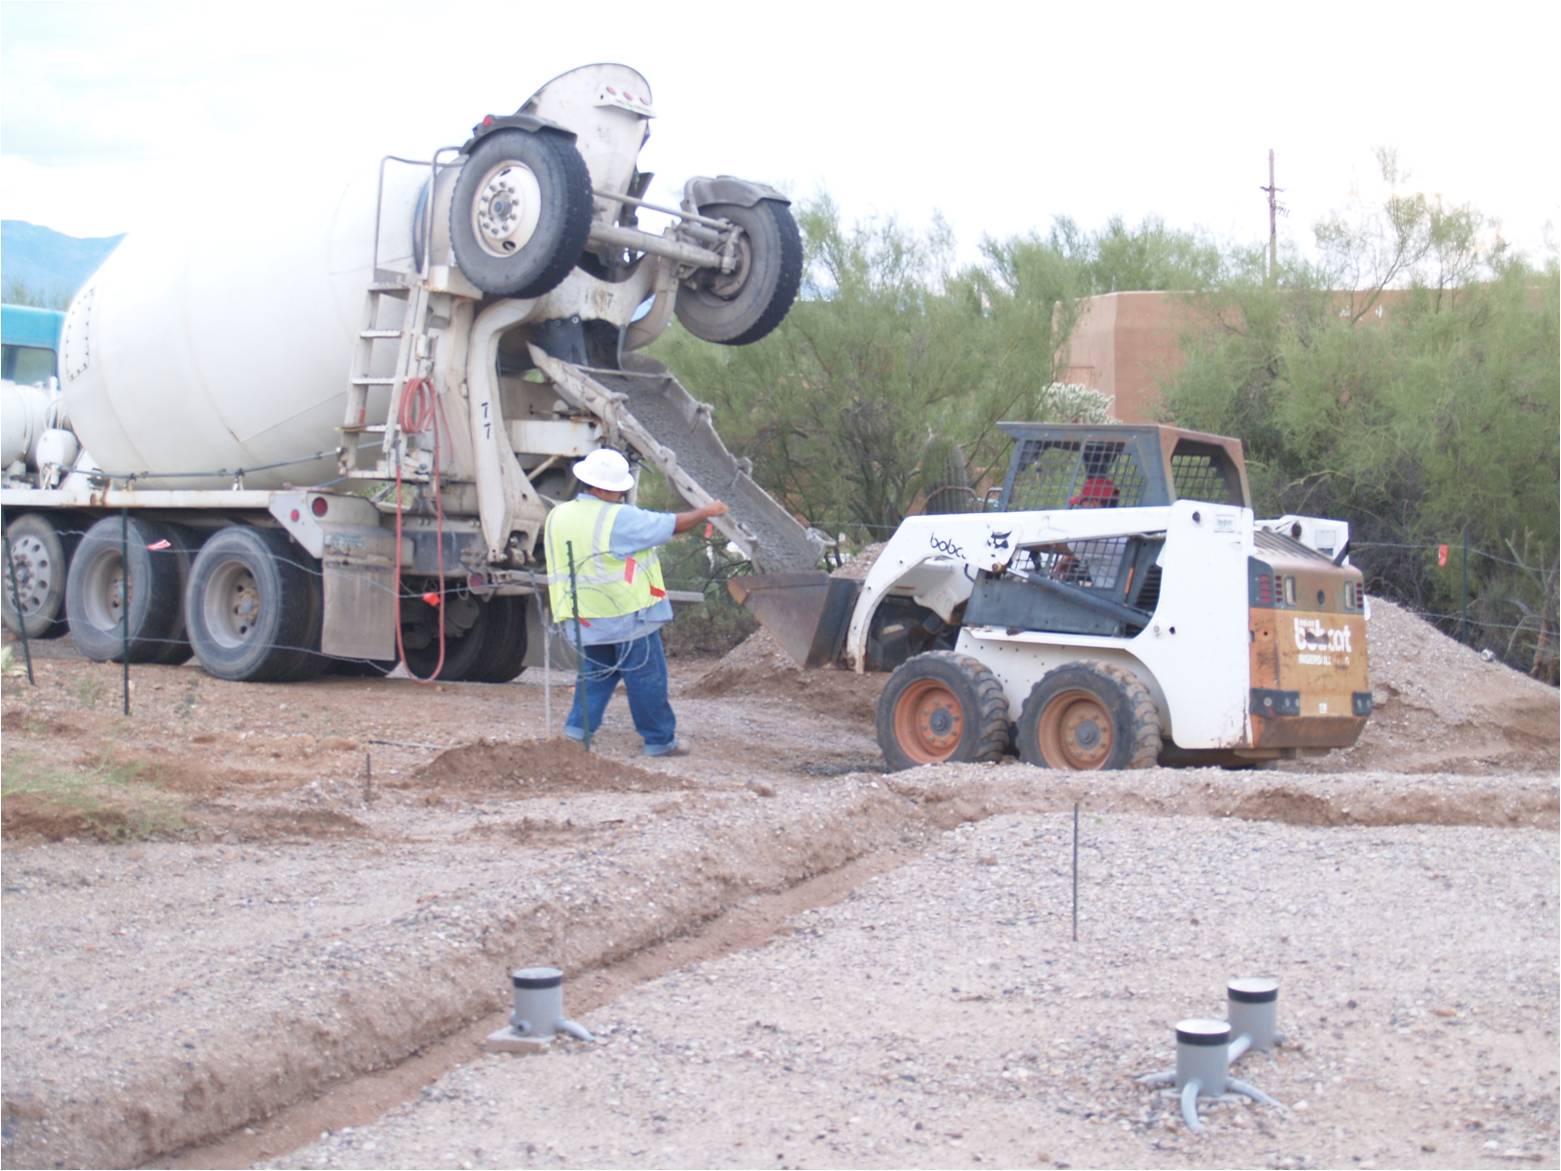
| One Bob
Cat at a time |
 |
|
| May I
have another, please? |
 |
|
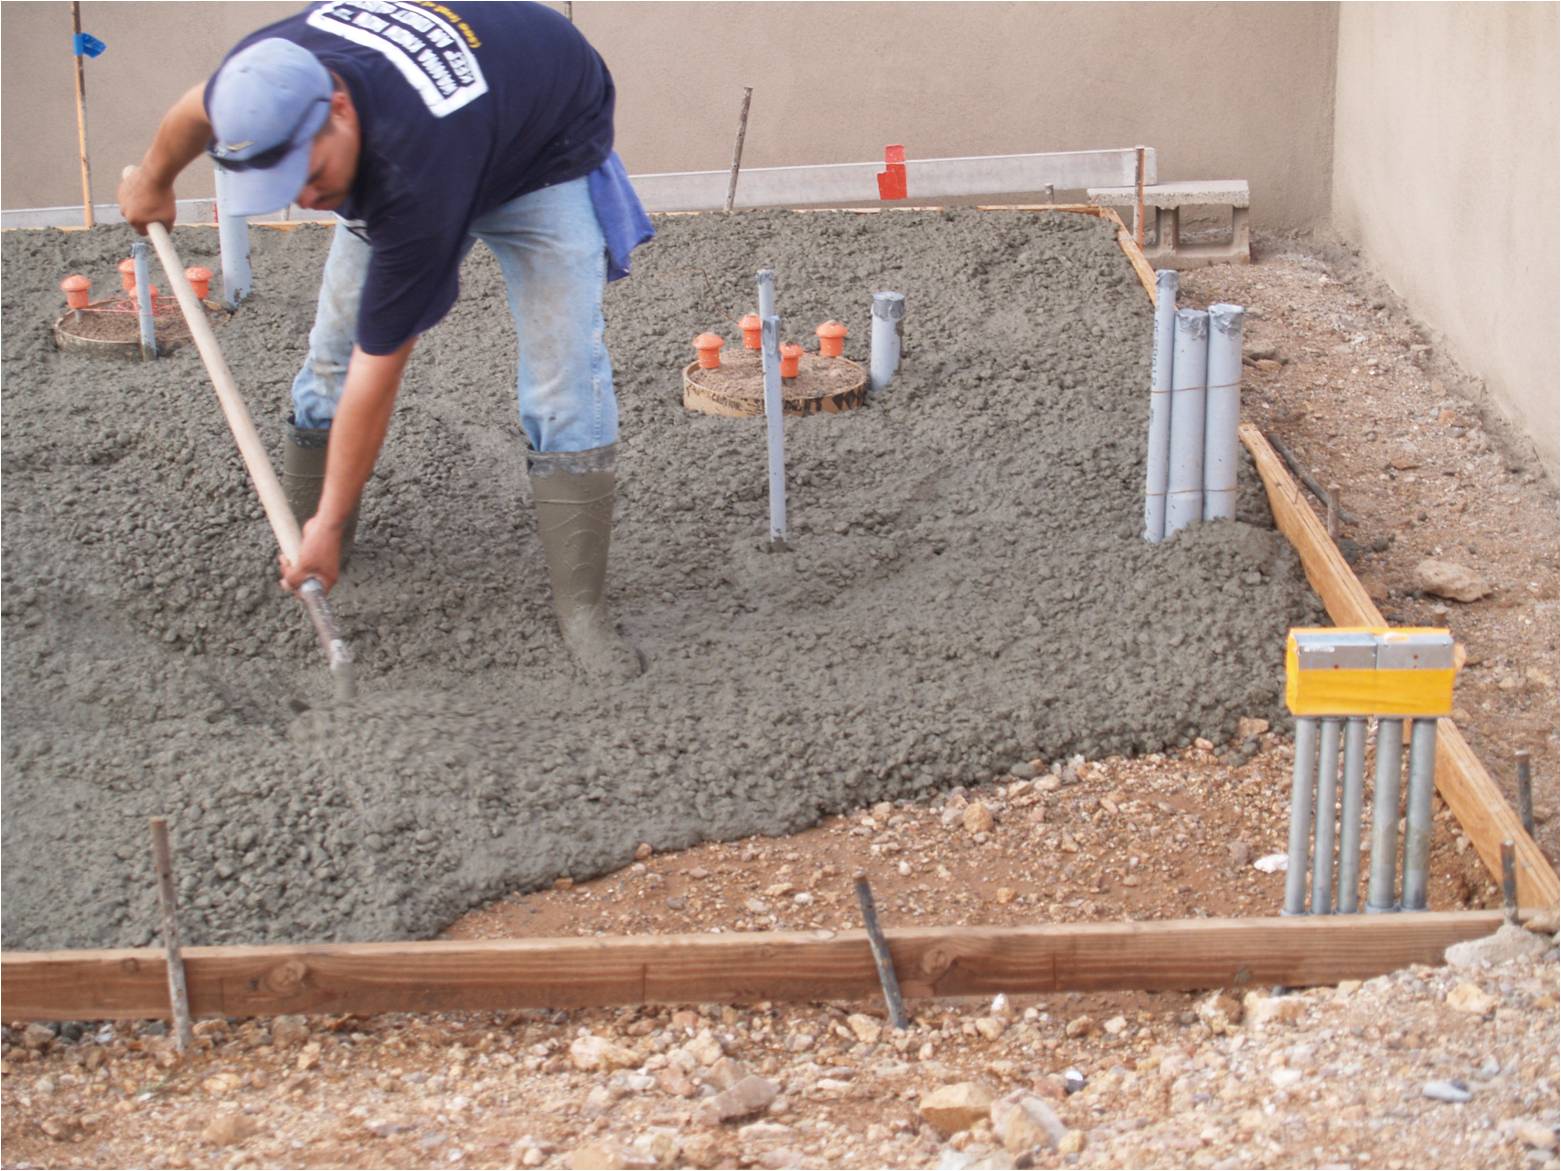
| The HARD
part of the job |
 |
|
| Nice
screed |
 |
|
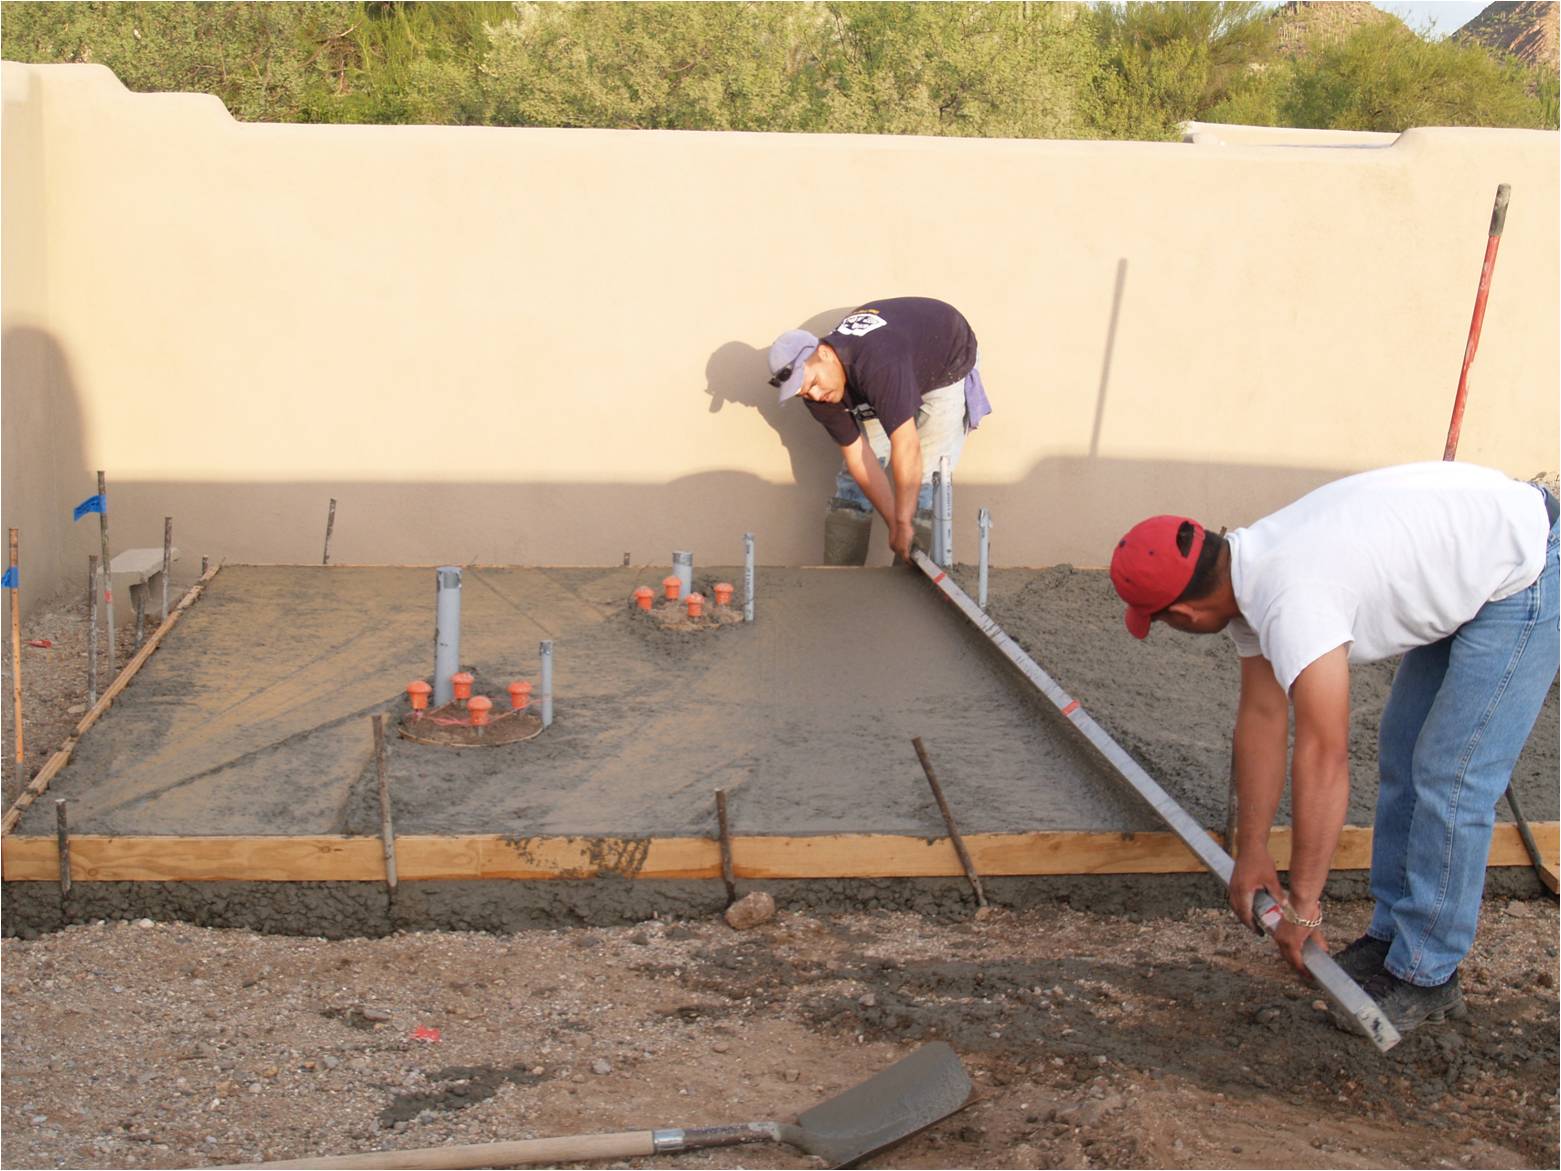
| The
Artistry begins |
 |
|
| Need one
more half bucket |
 |
|
| Looking
good |
 |
|
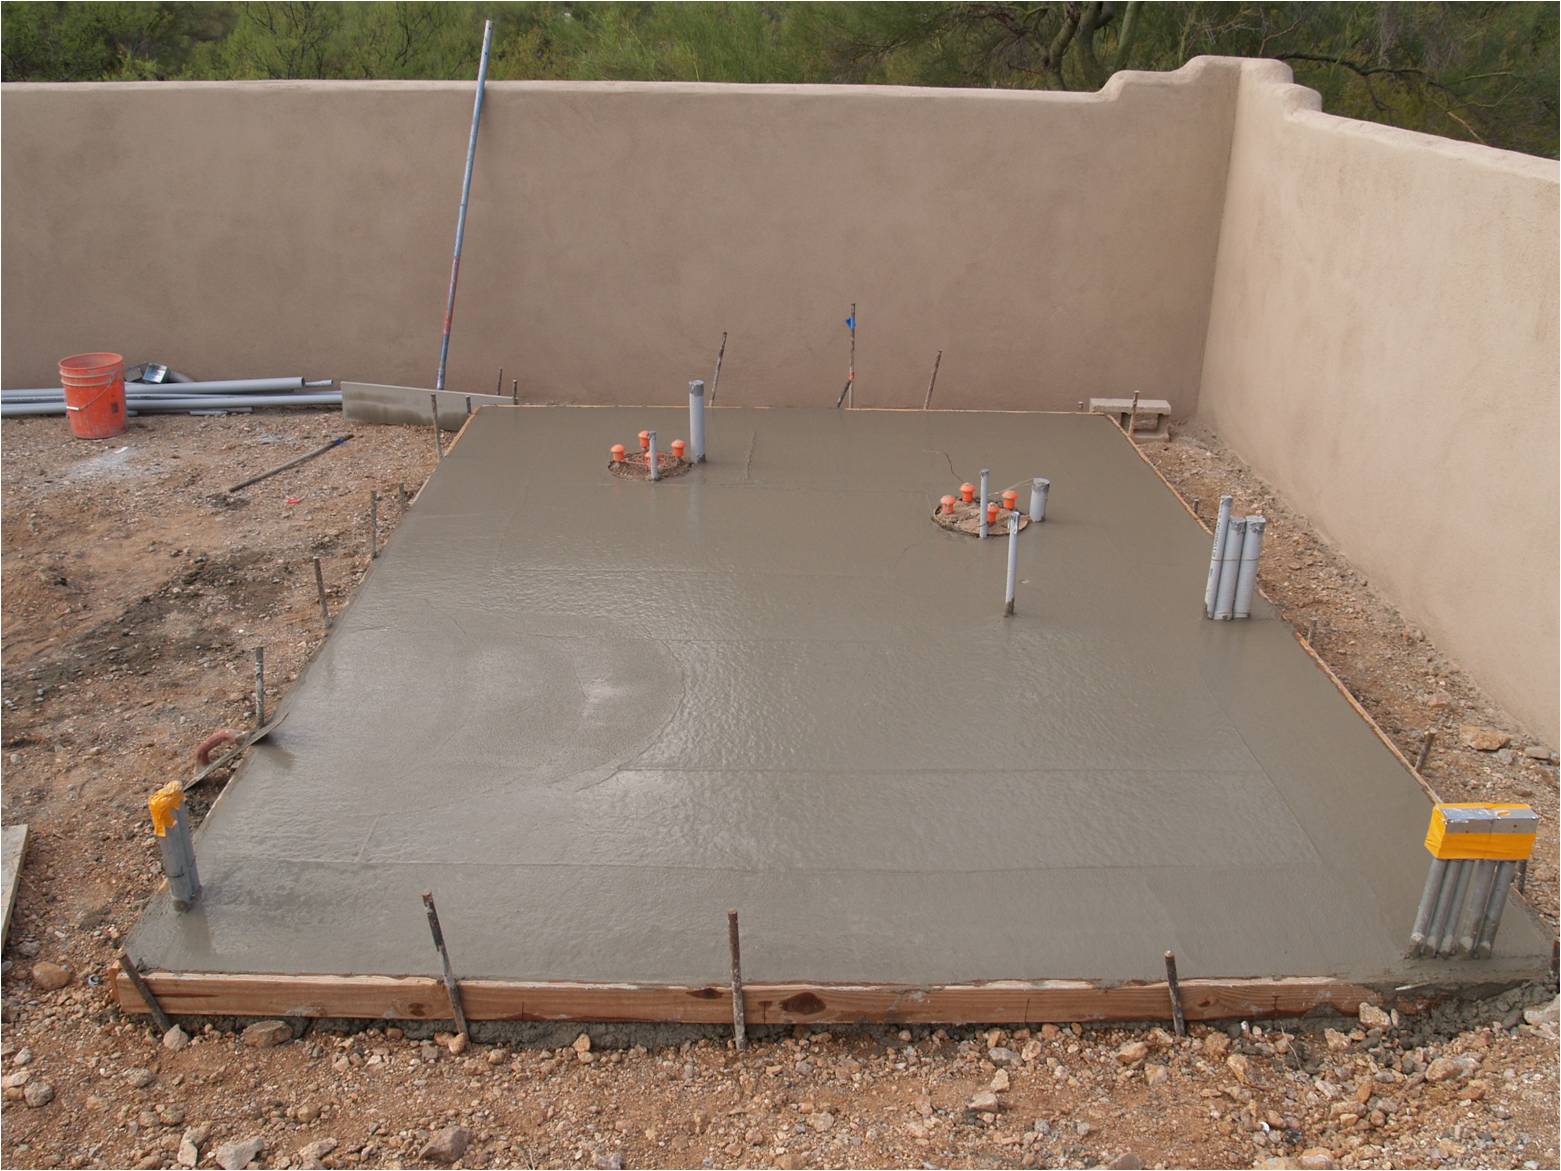
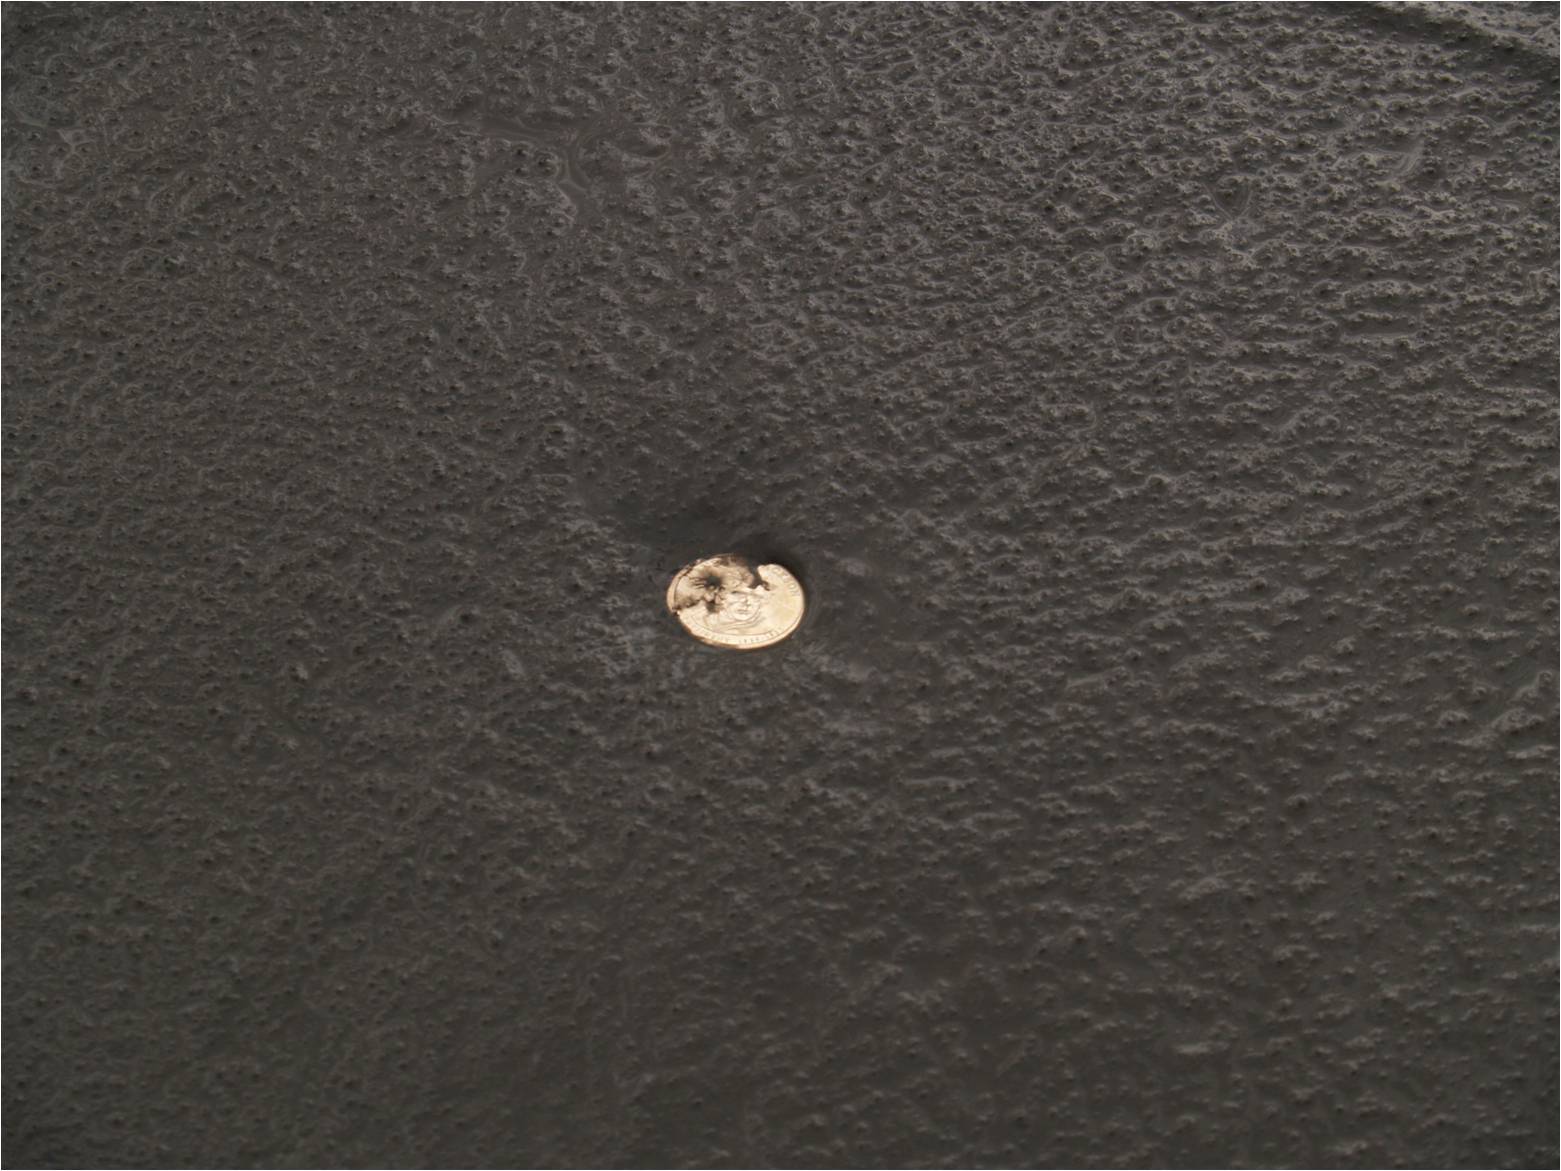
| The
Lucky Dollar |
 |
|
| The
Telescope Room |
 |
|
| Picture
perfect |
 |
|
| Watching
concrete cure |
 |
|
| 16
September 2009 |
Click each picture for a full size version |
|
| Still
watching concrete cure |
 |
|
| The sand
isolation layer and the Sonotube |
 |
|
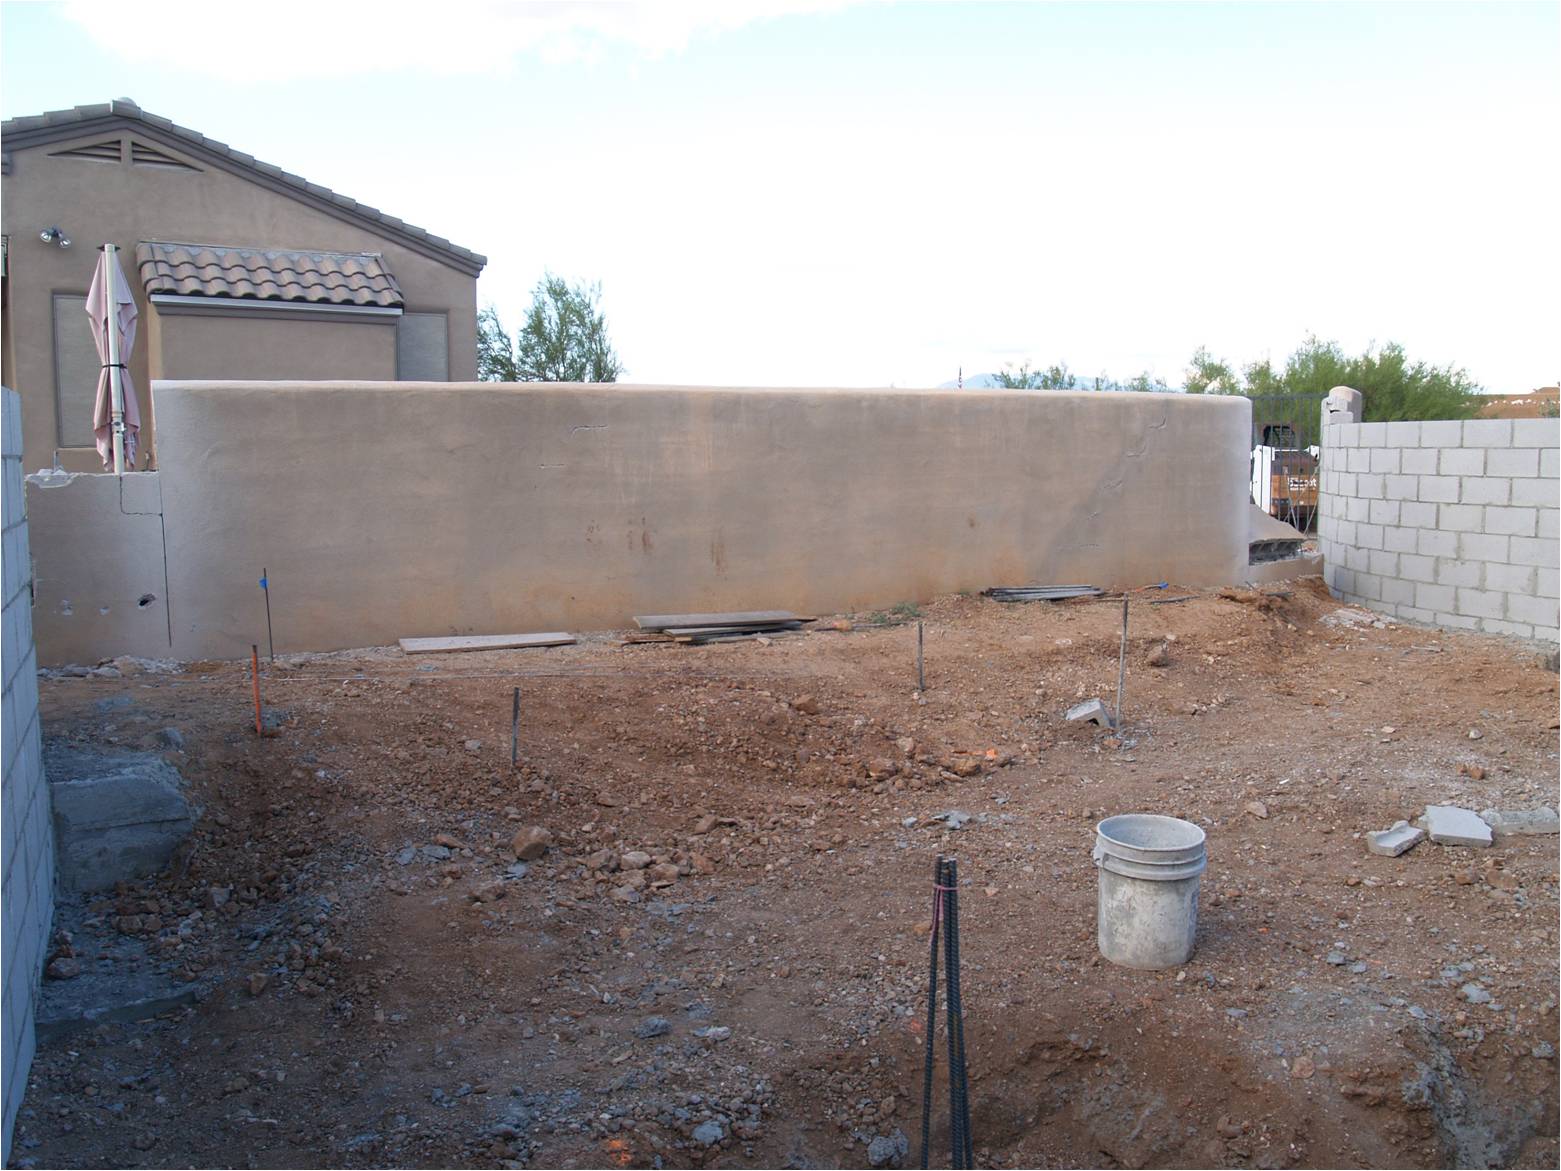
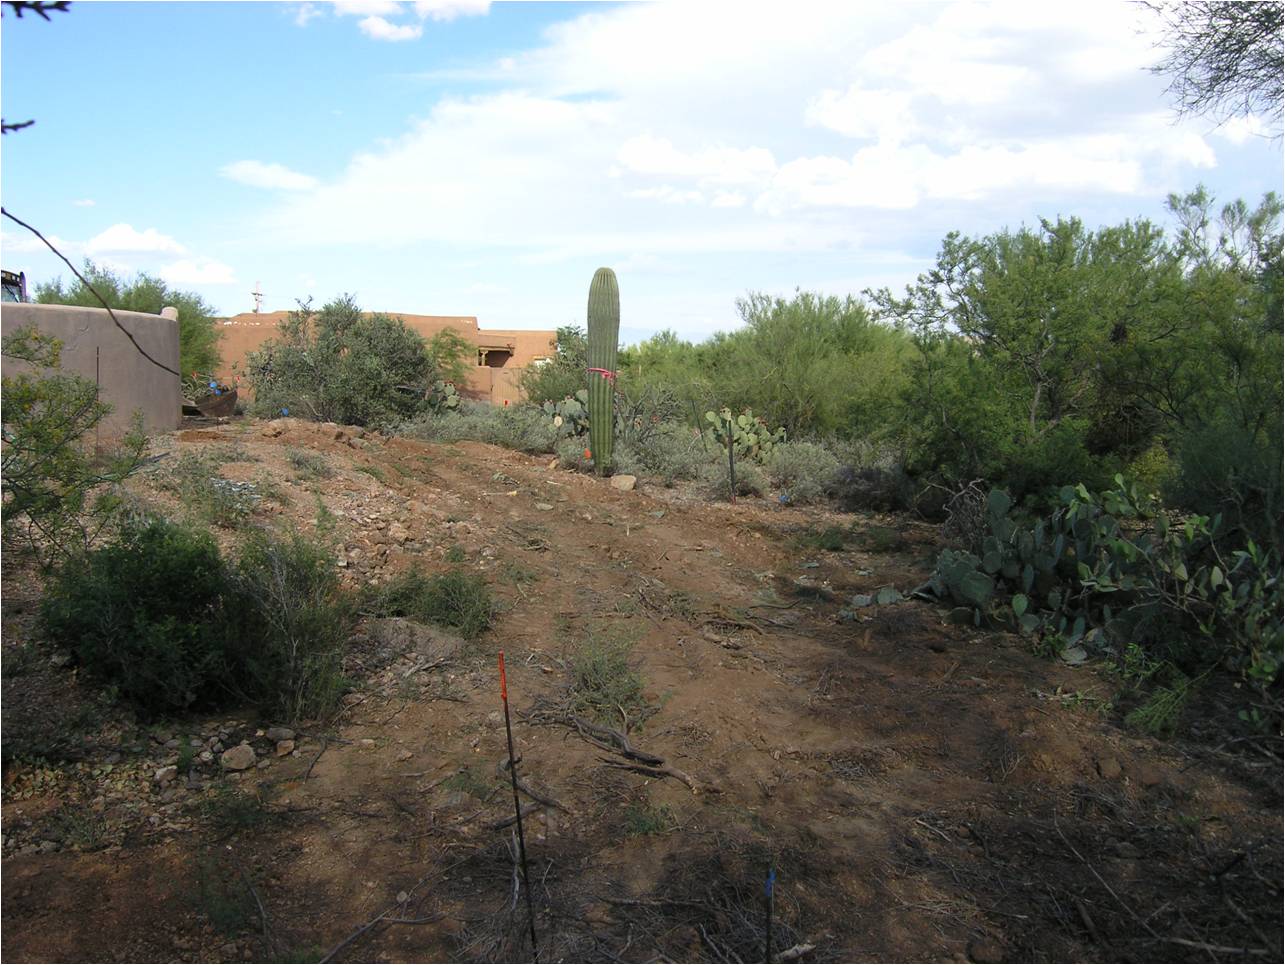
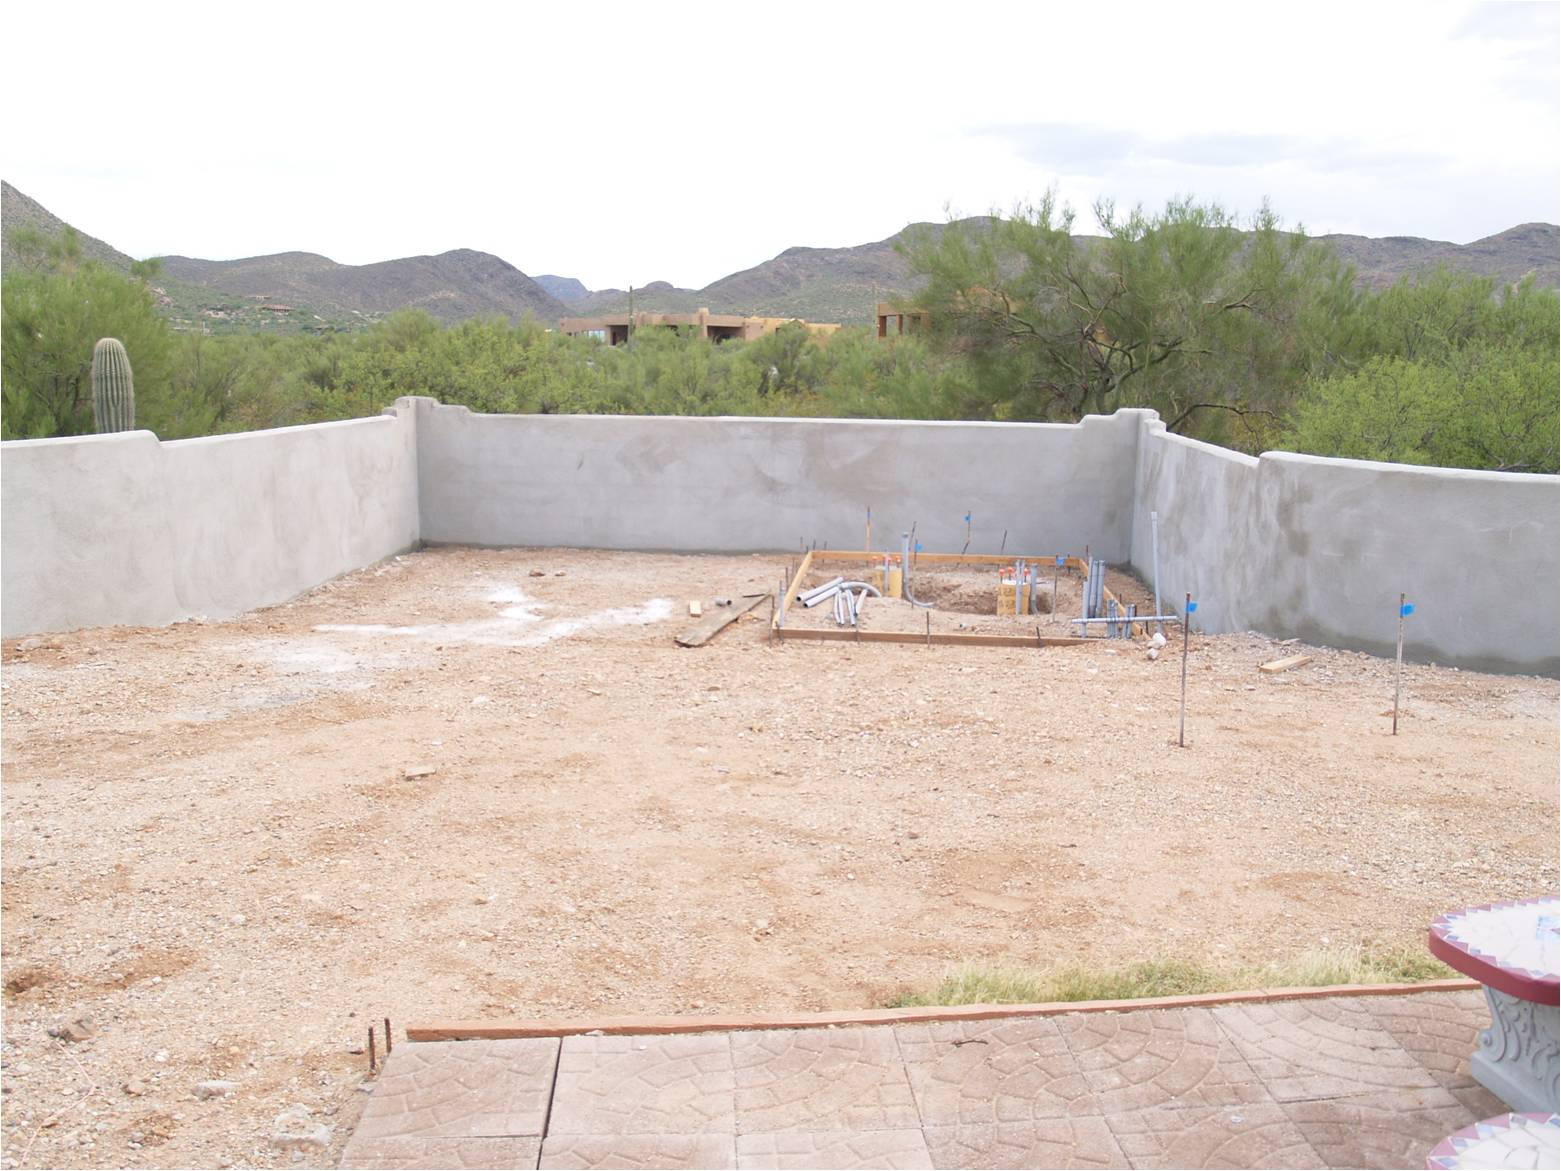
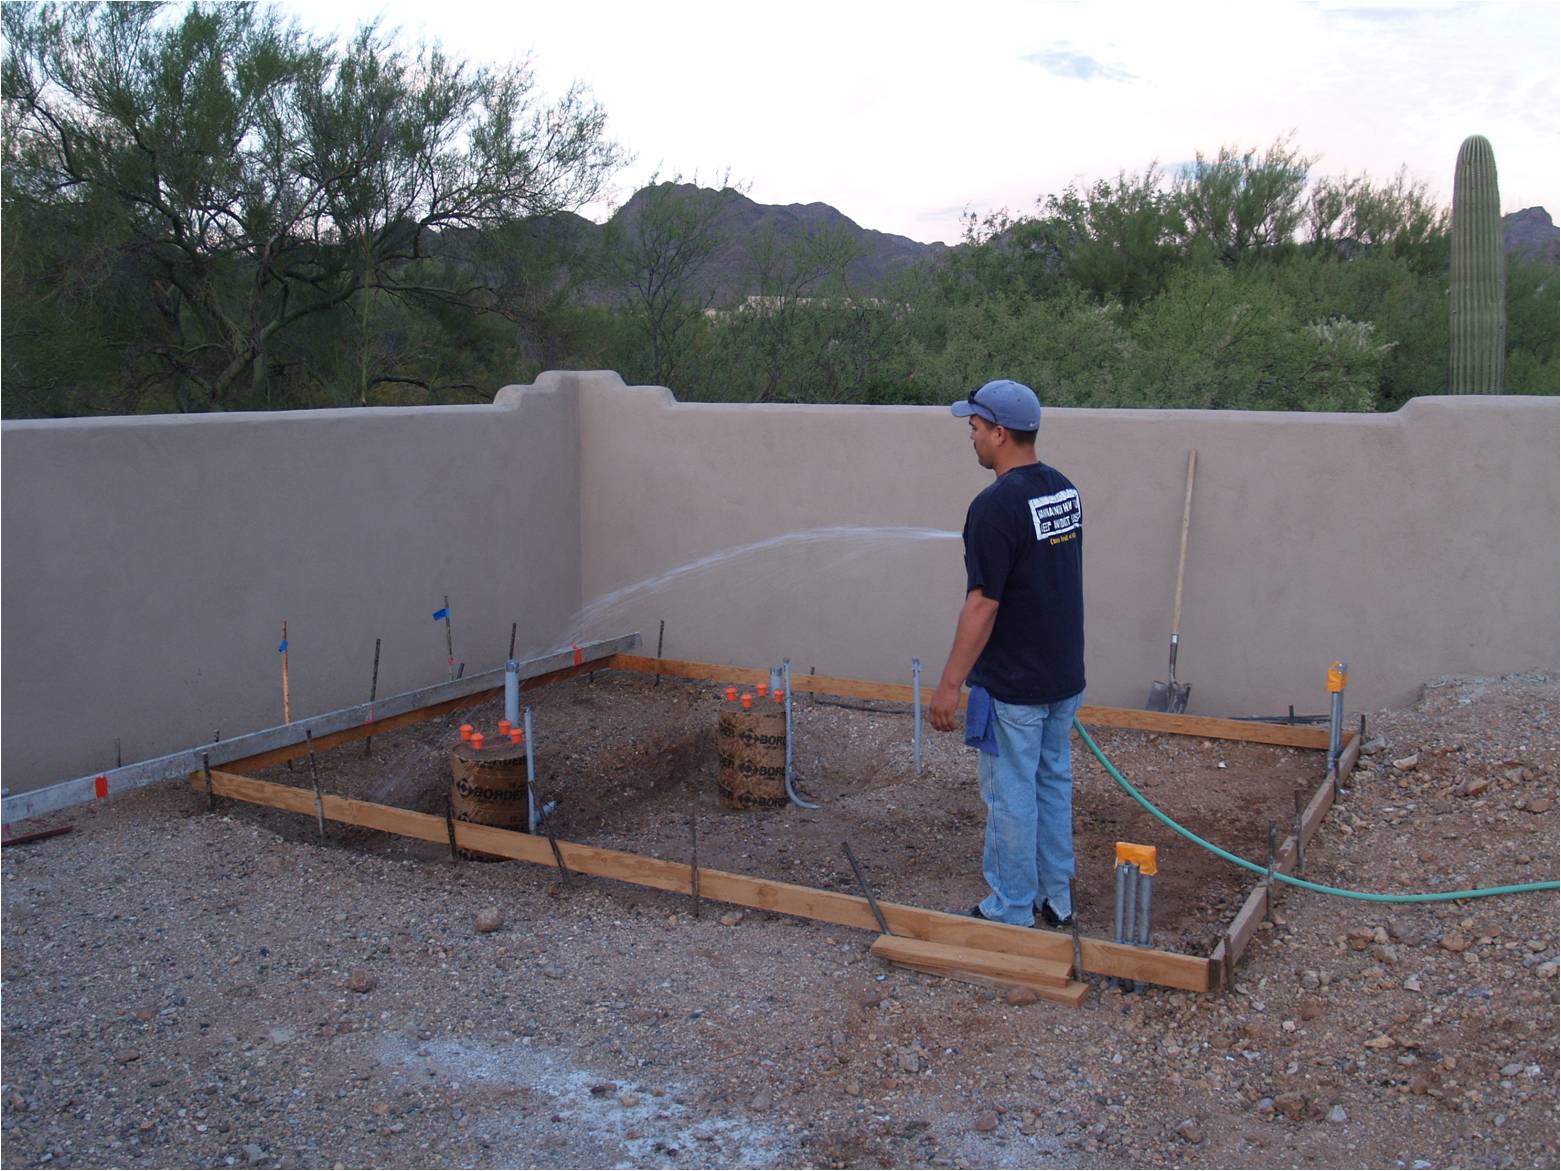
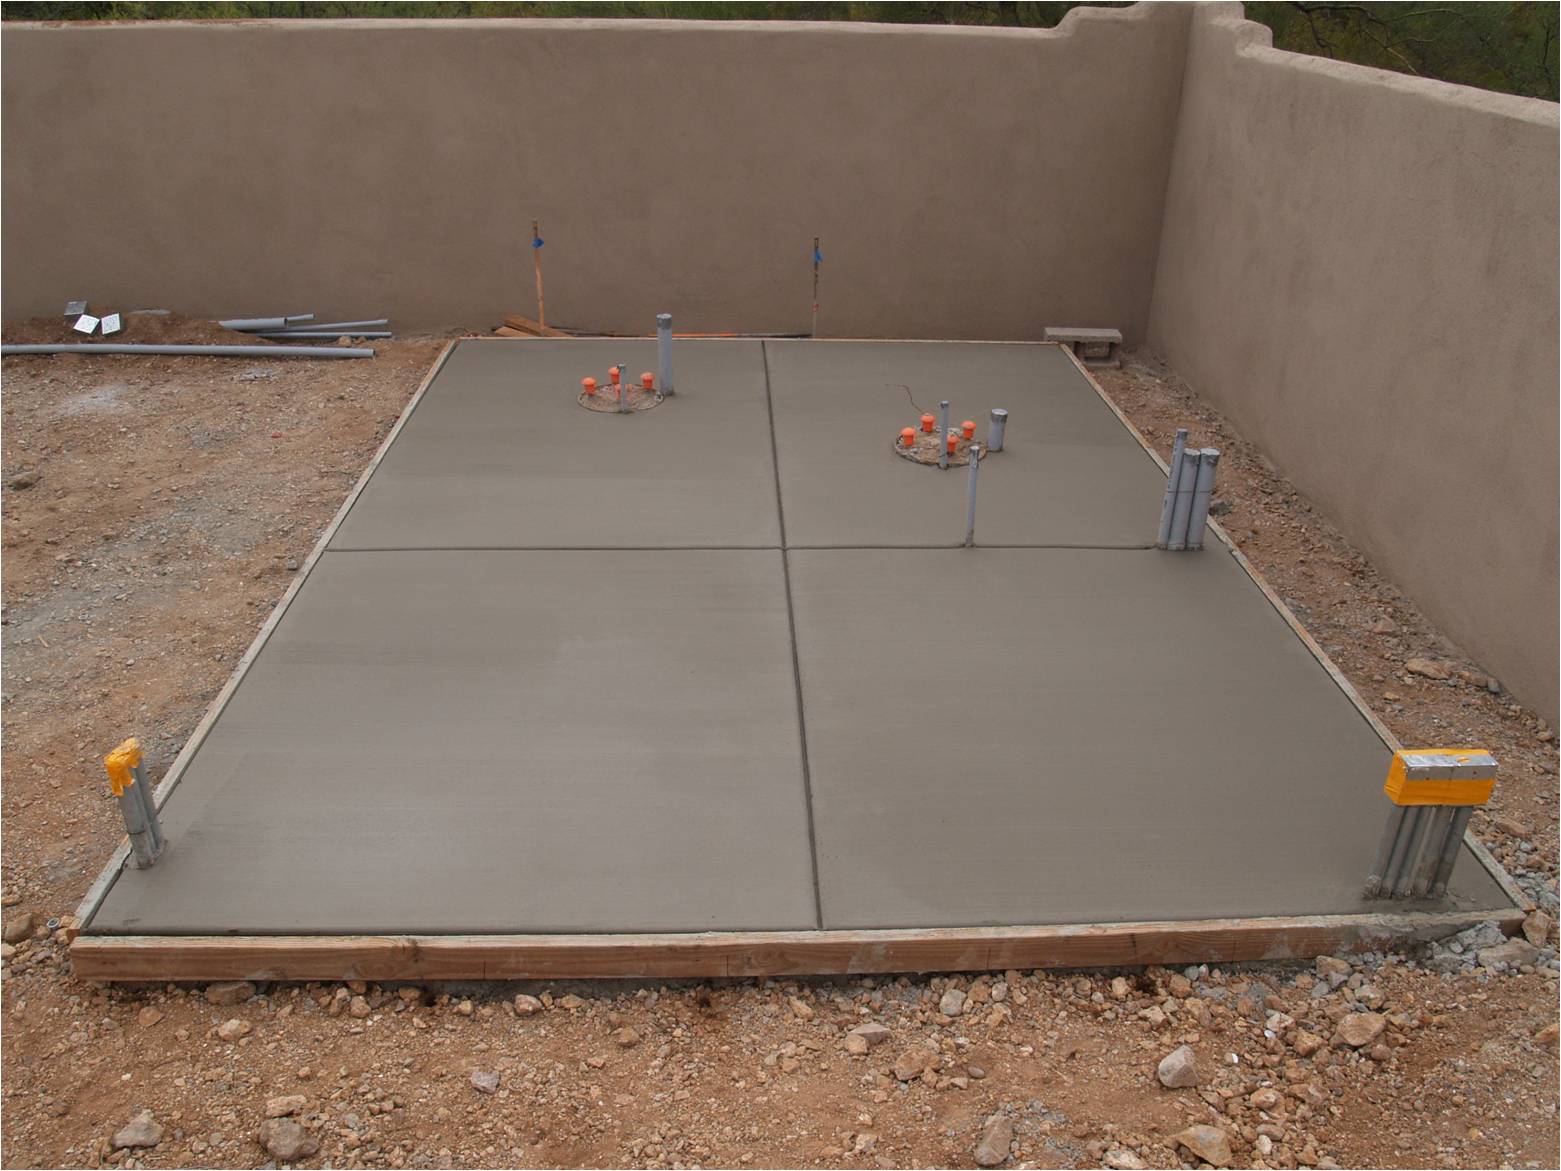
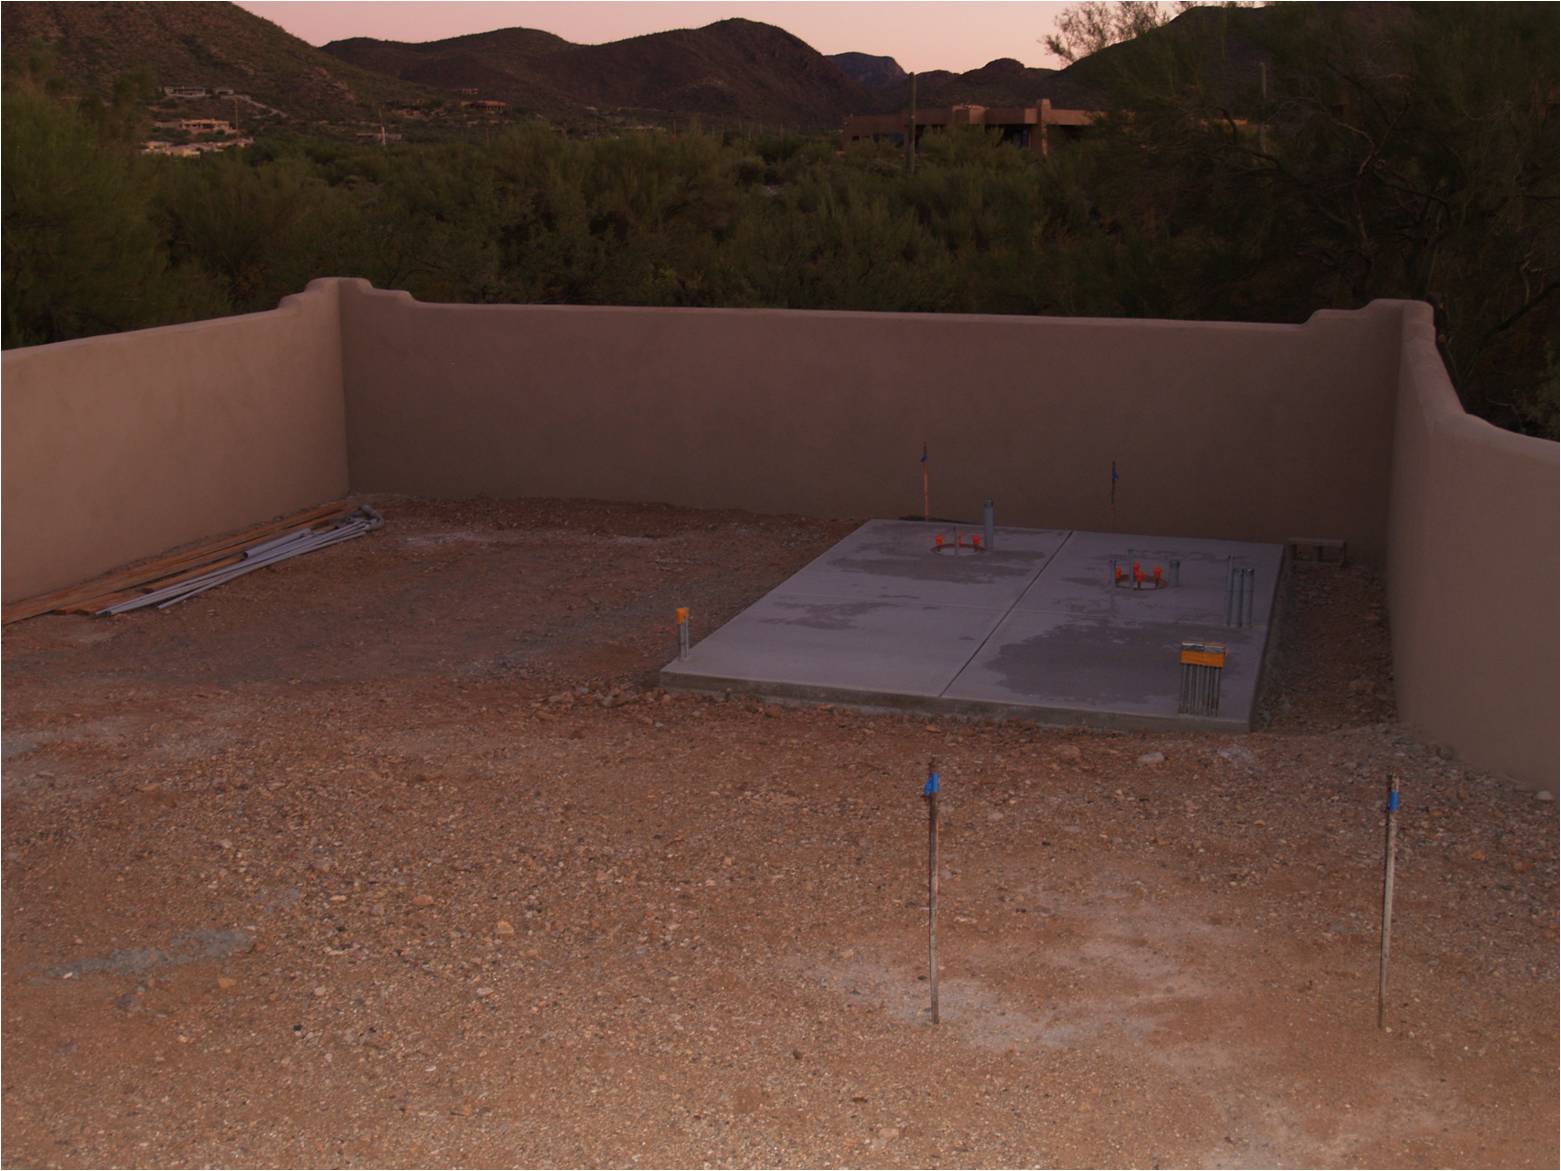
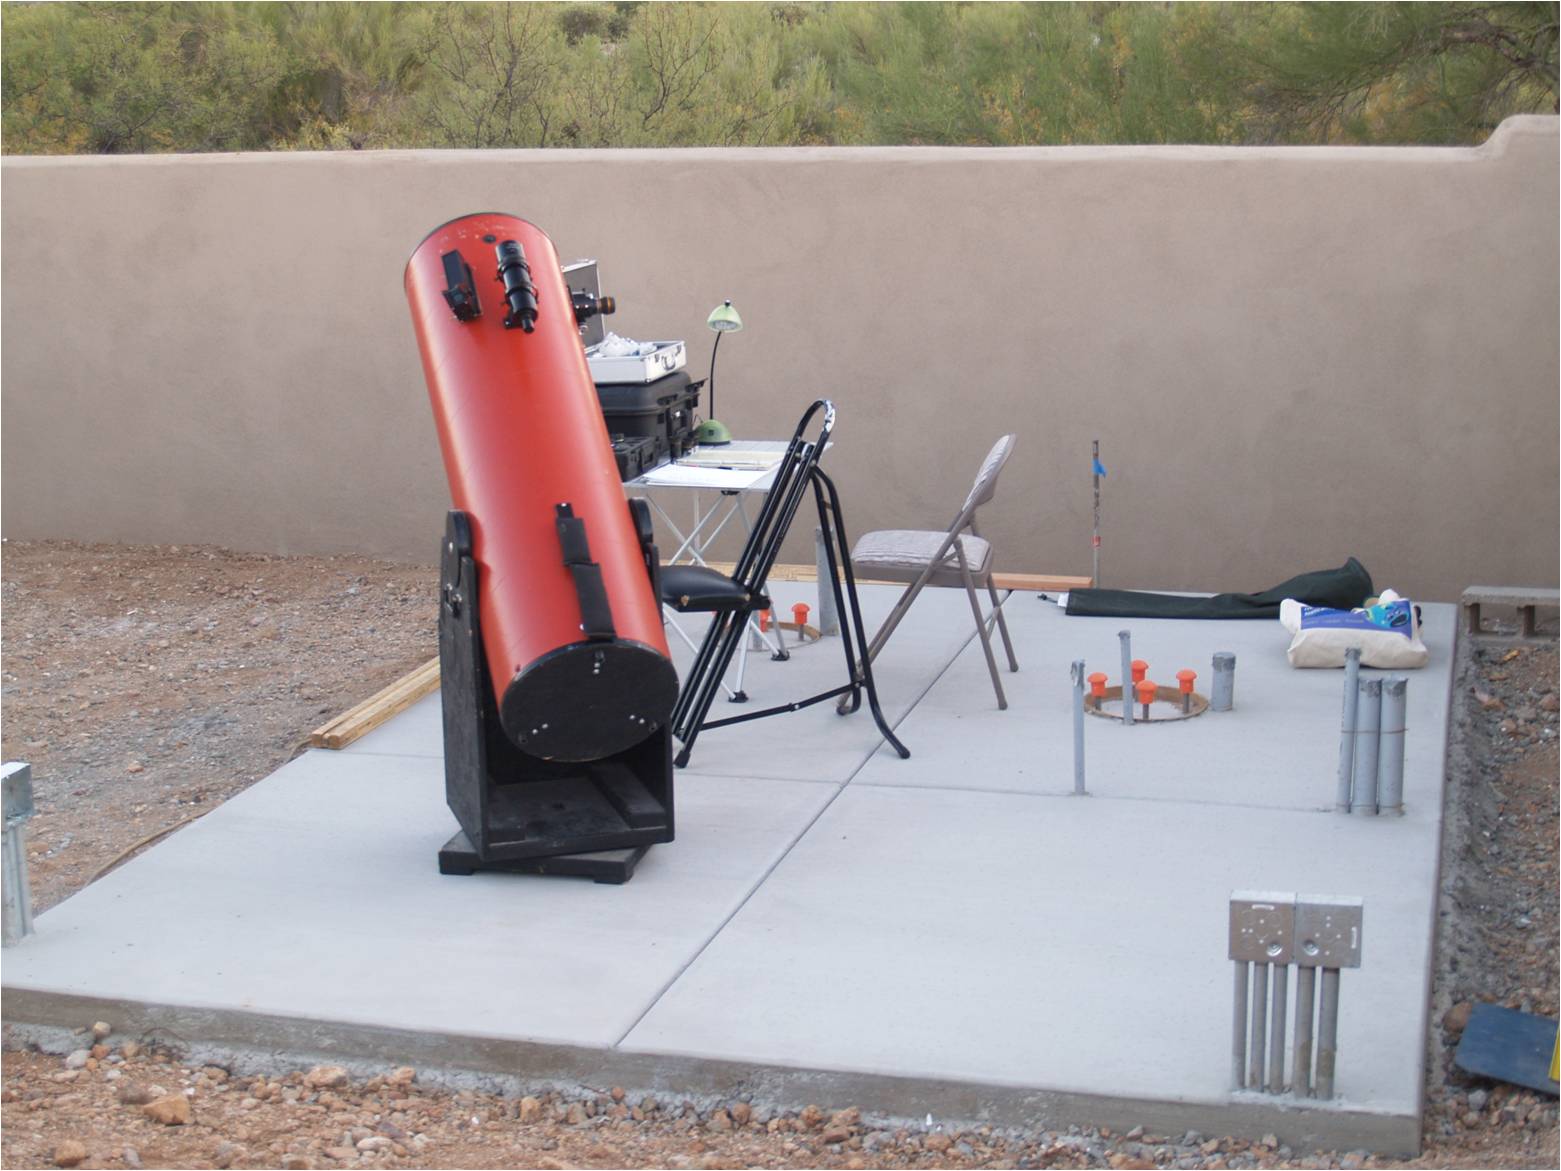
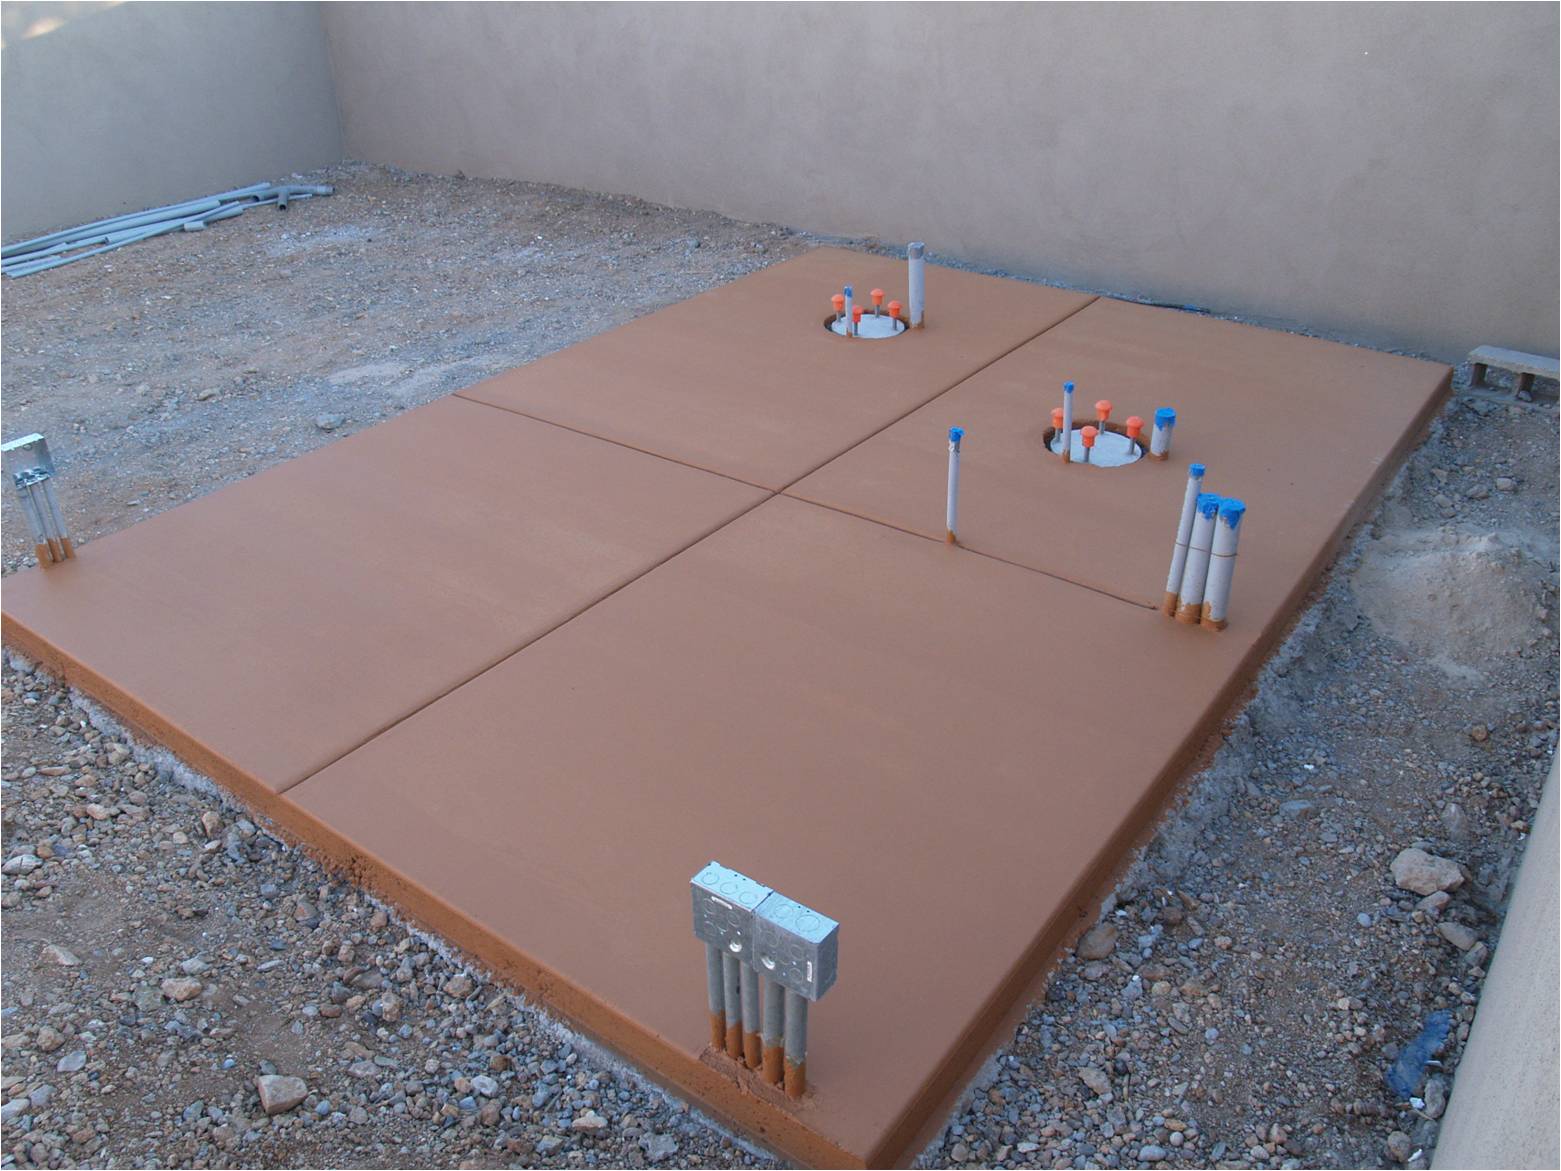
| The
observatory setting, slightly improved... |
 |
|
| 17
September 2009 |
Click each picture for a full size version |
|
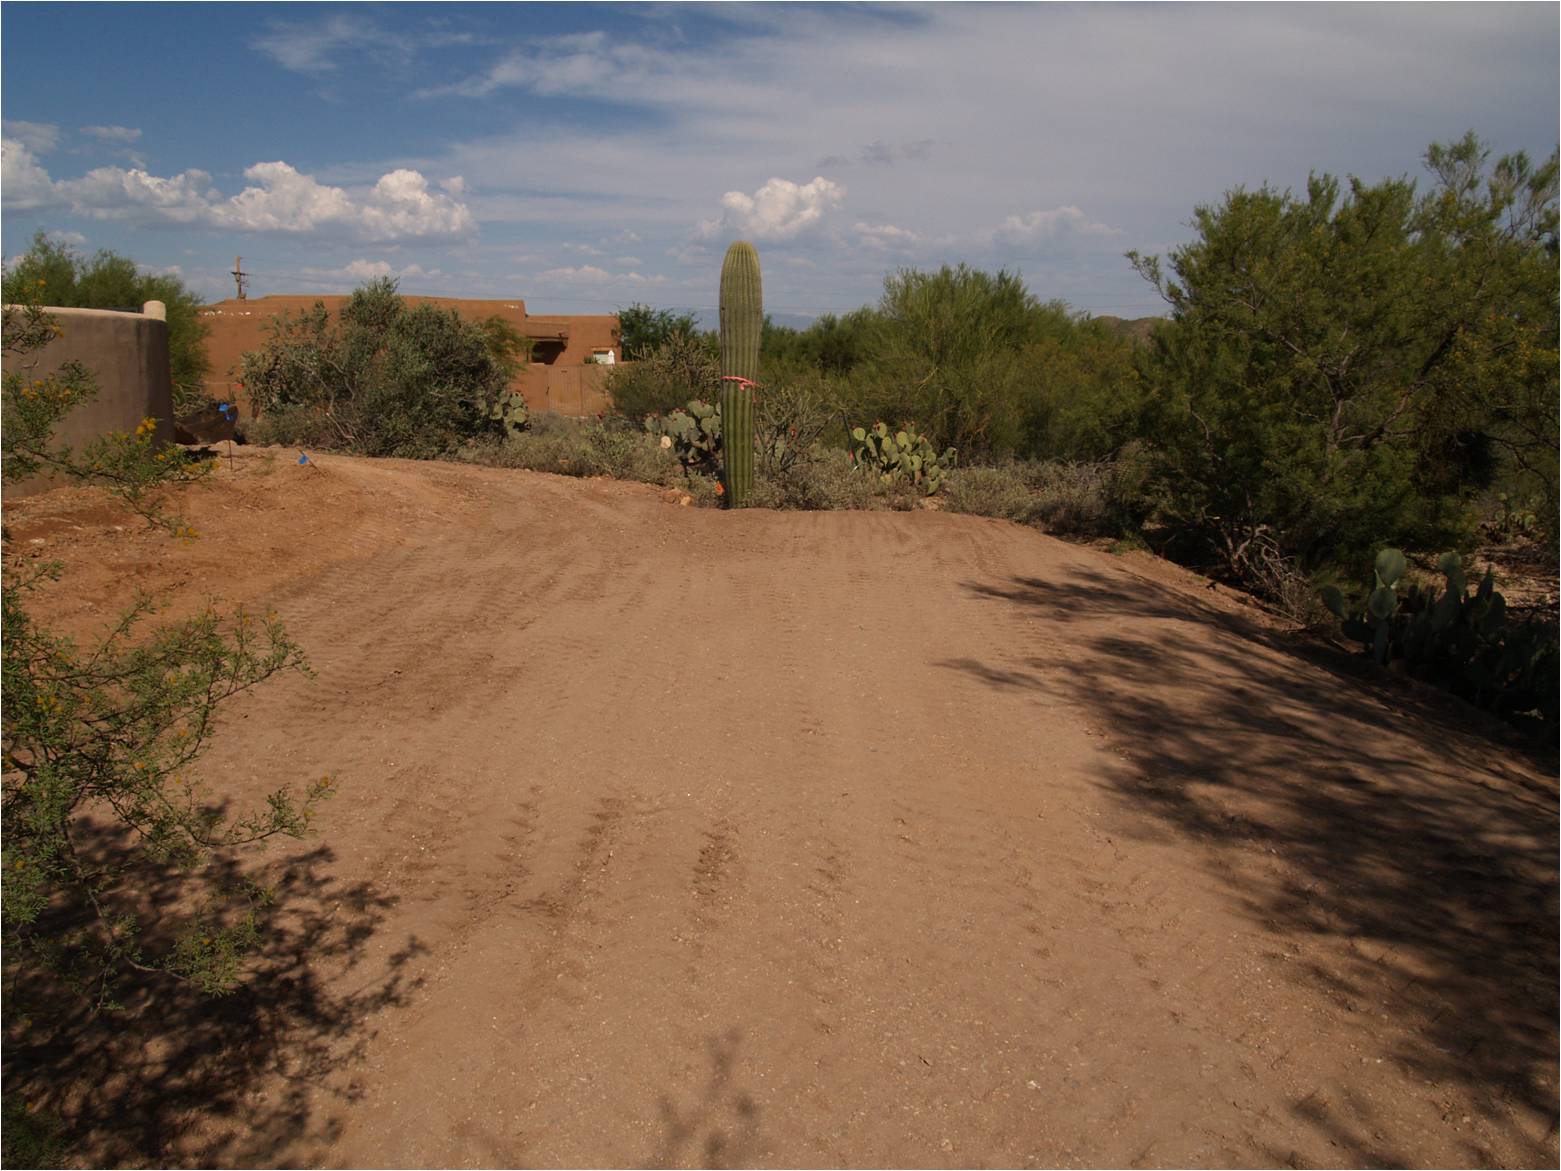
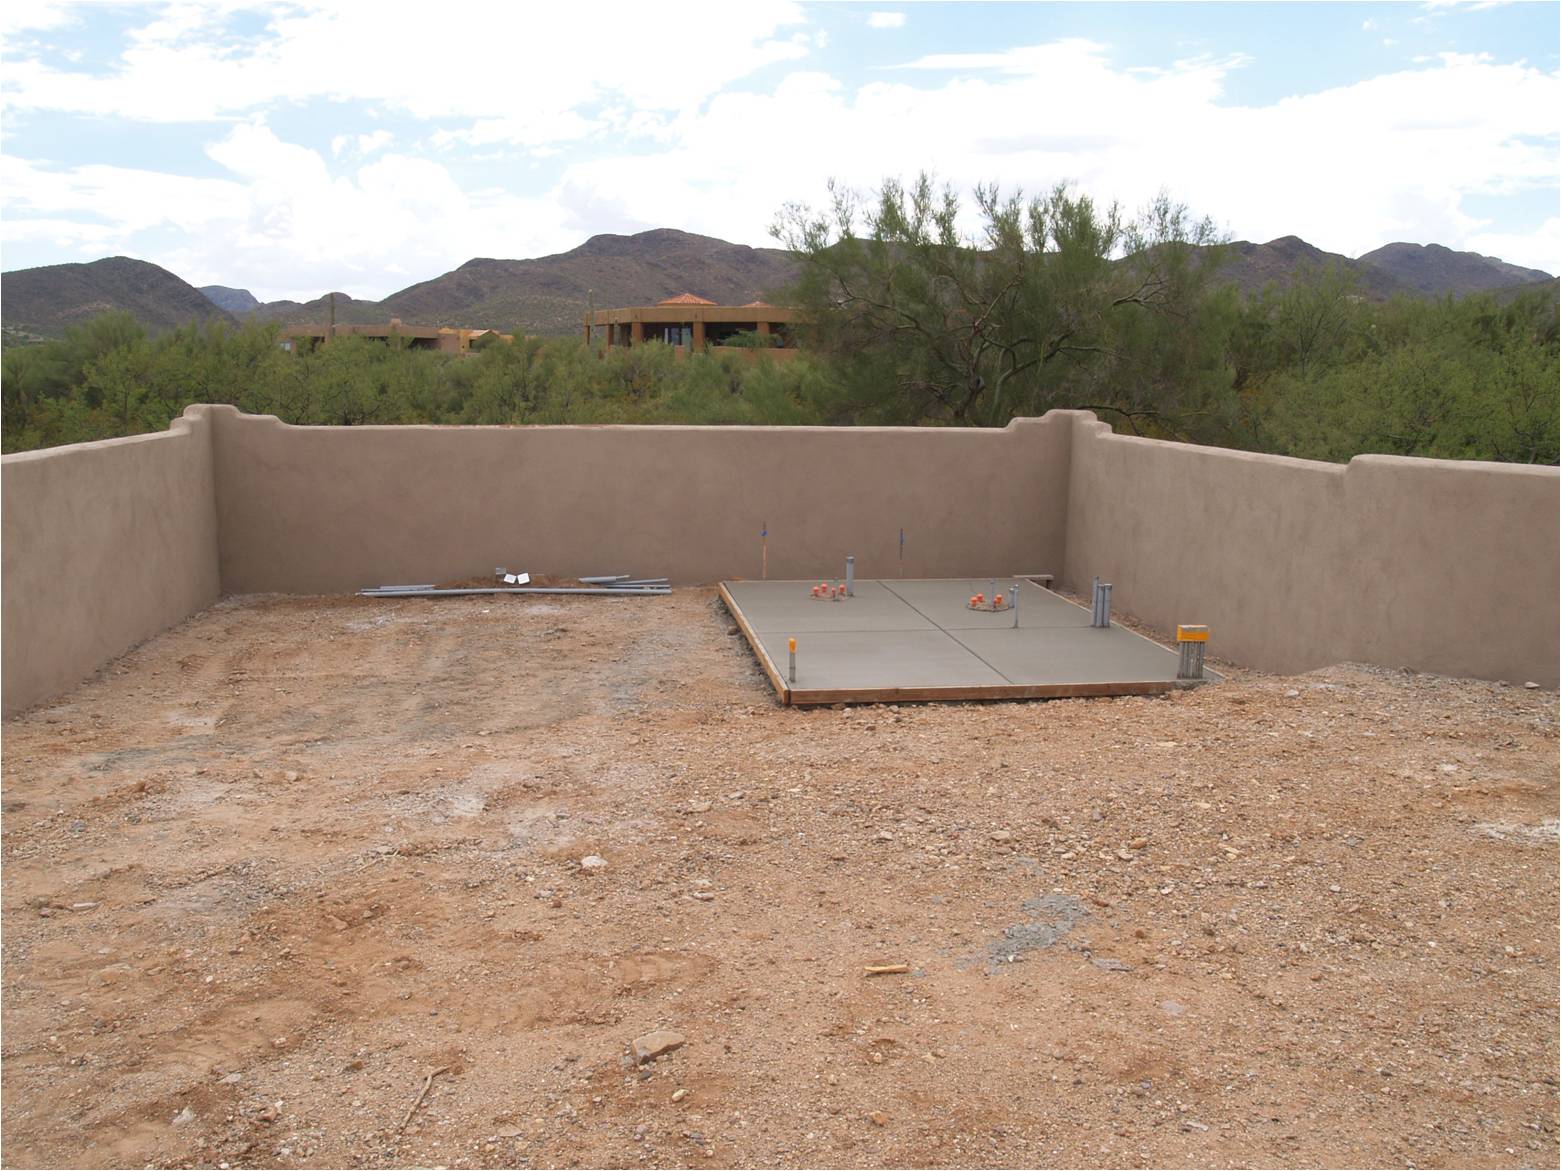
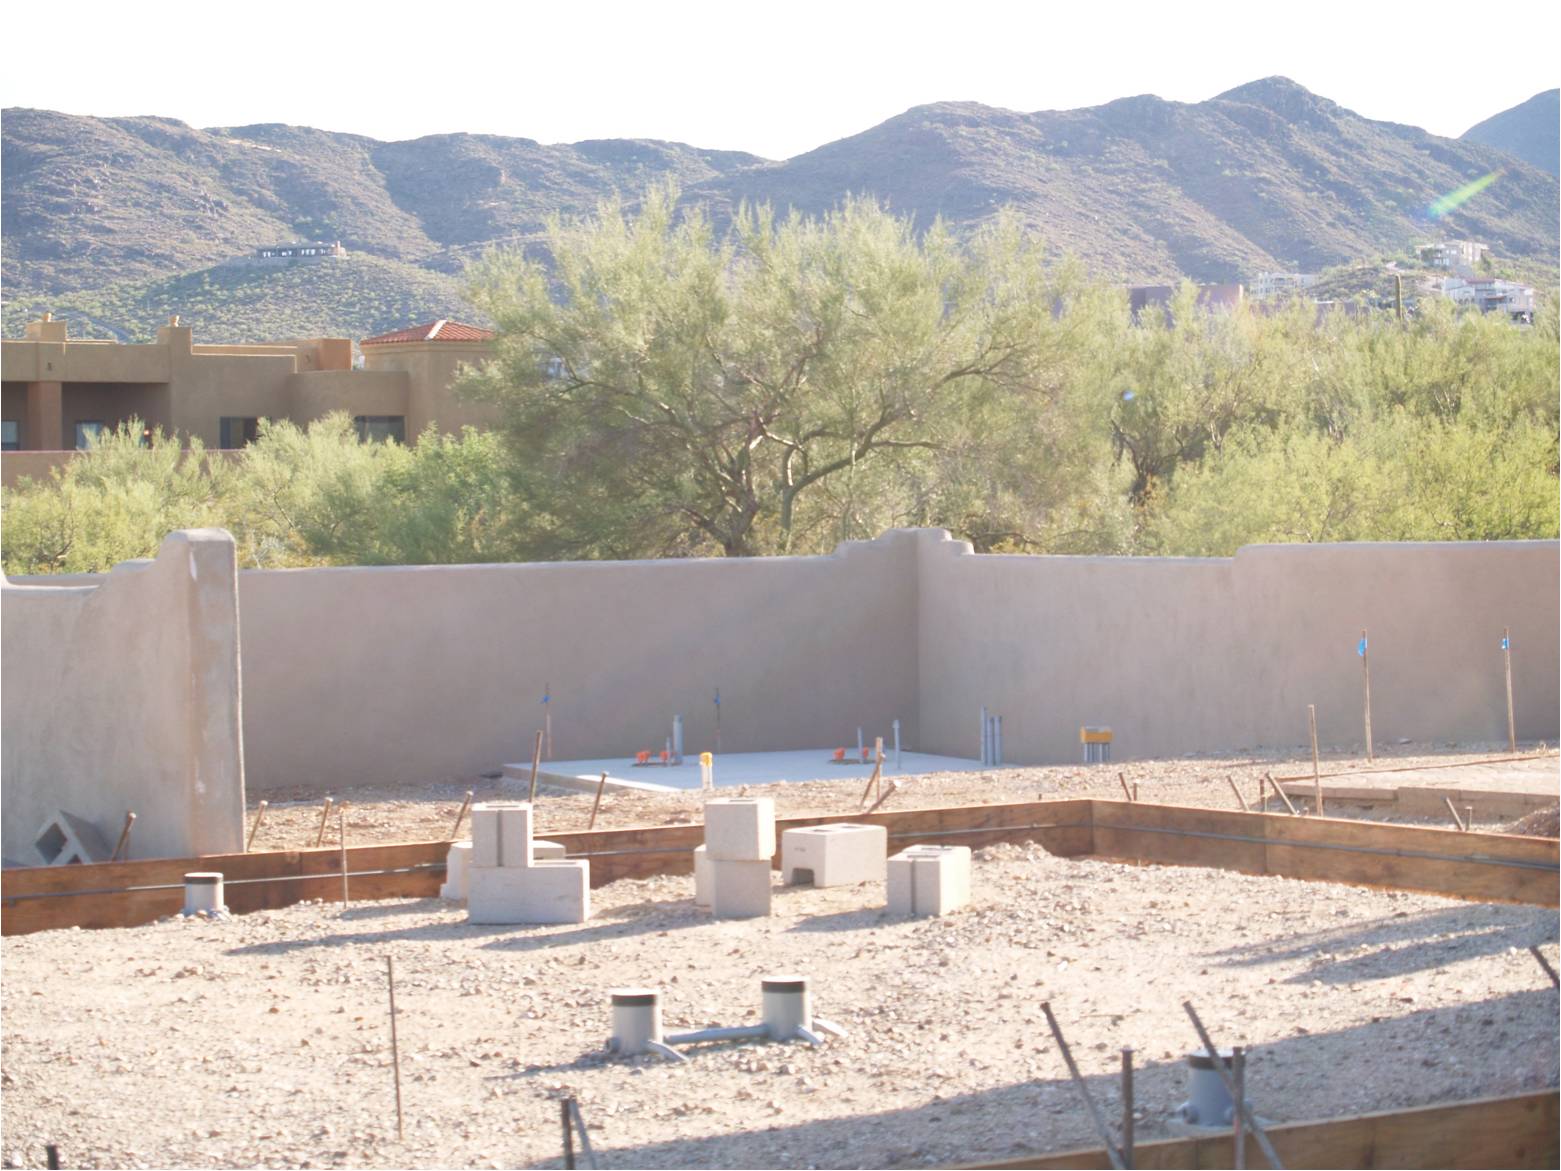
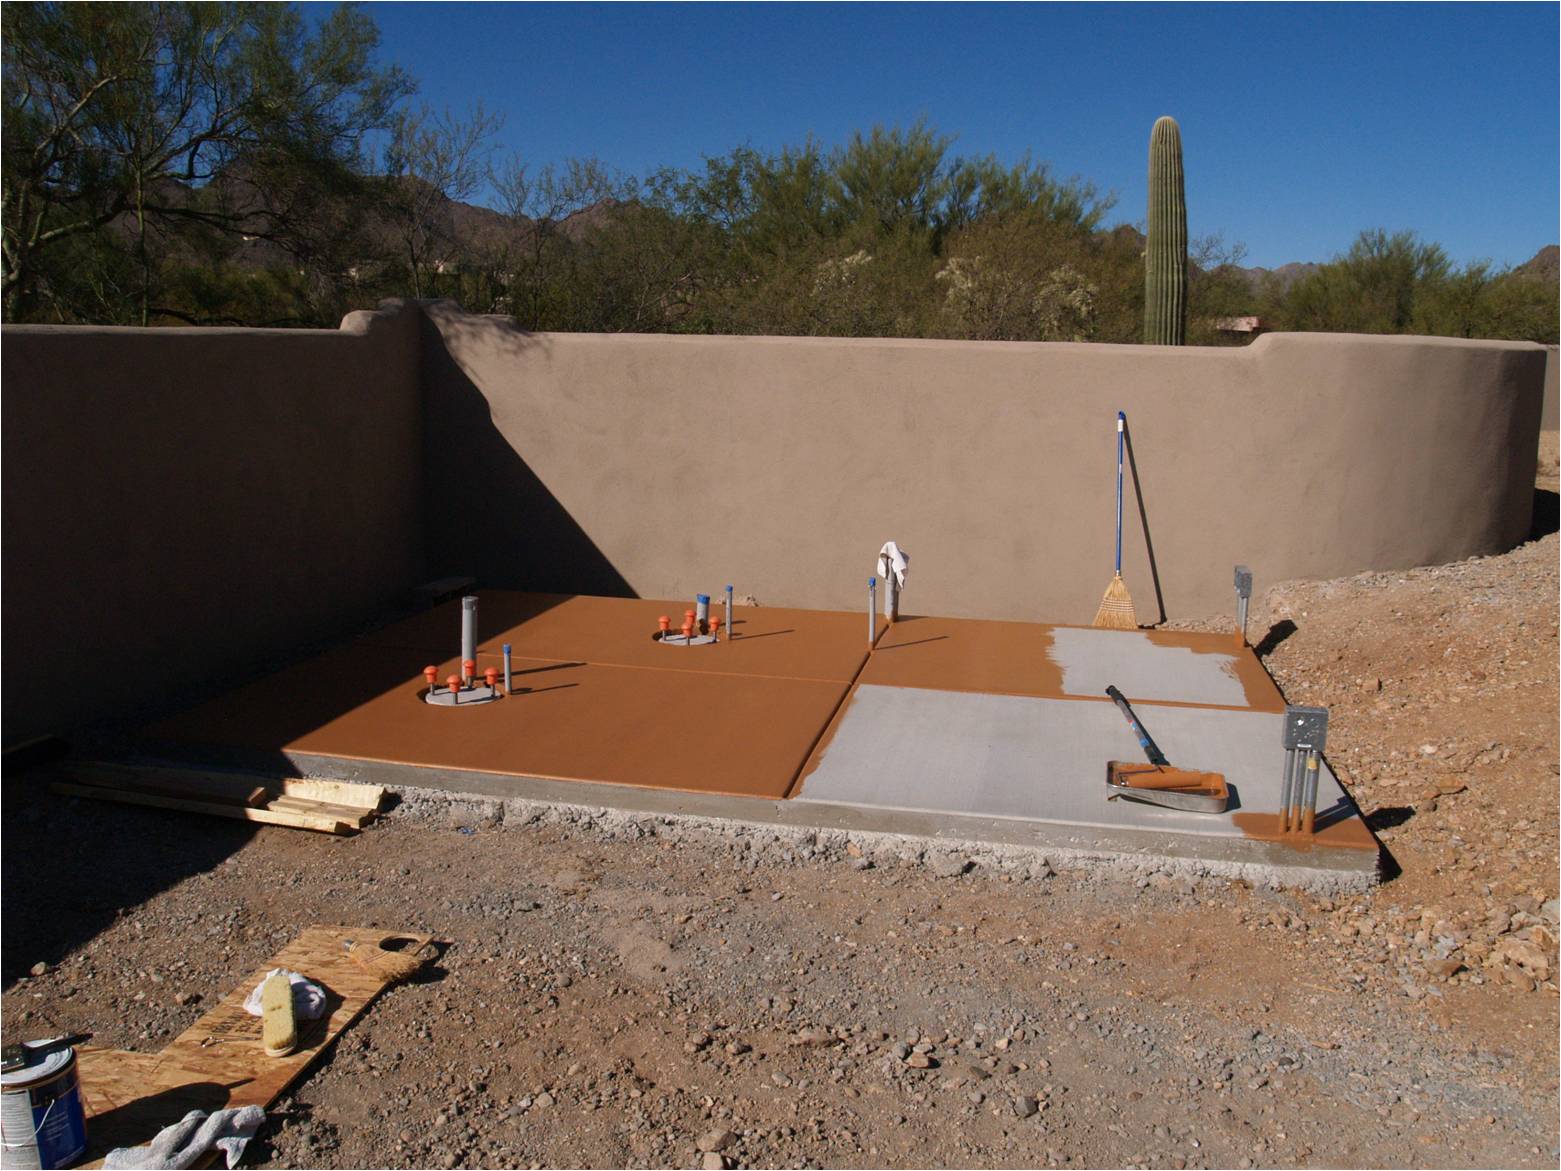
| A view
of the observatory pad looking over the recently started home
addition... |
 |
|
| 25
October 2009 |
Click each picture for a full size version |
|
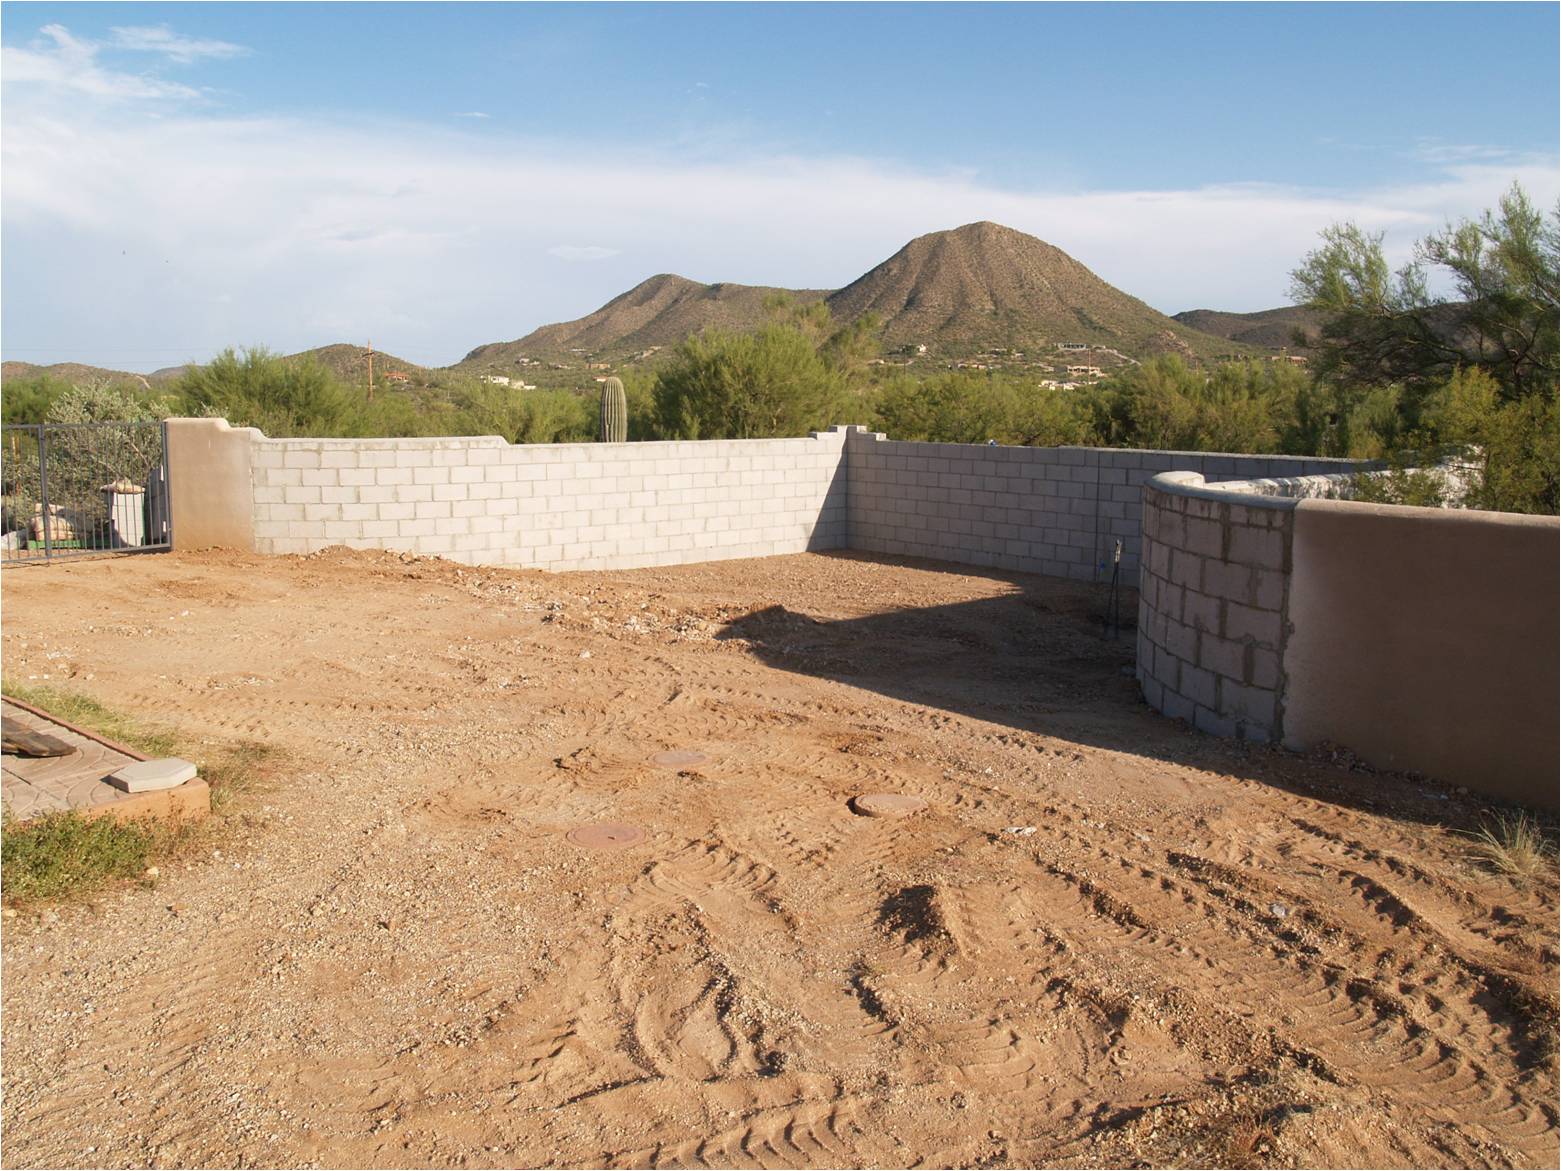
| Checking
out the Observatory location and the wall height.
Performing an
eyepiece comparison test using the 13.1 inch Odyessy 1.
|
 |
|
| 31
October 2009 |
Click each picture for a full size version |
|
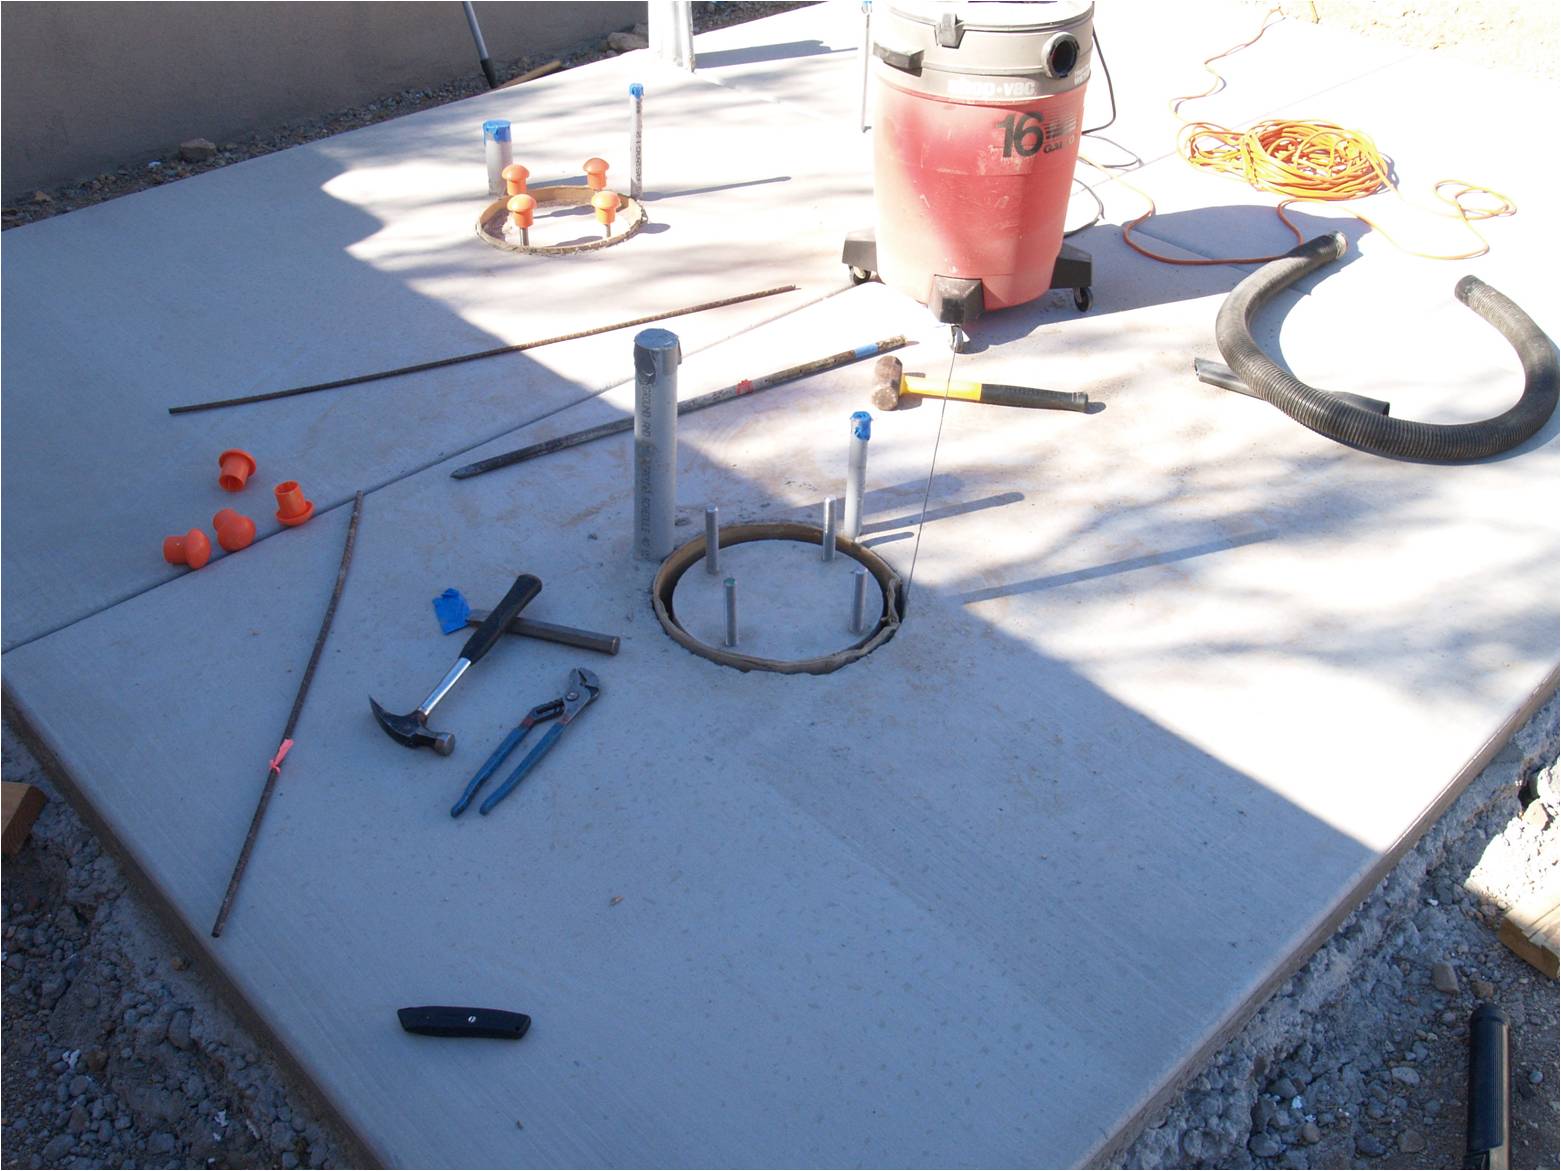
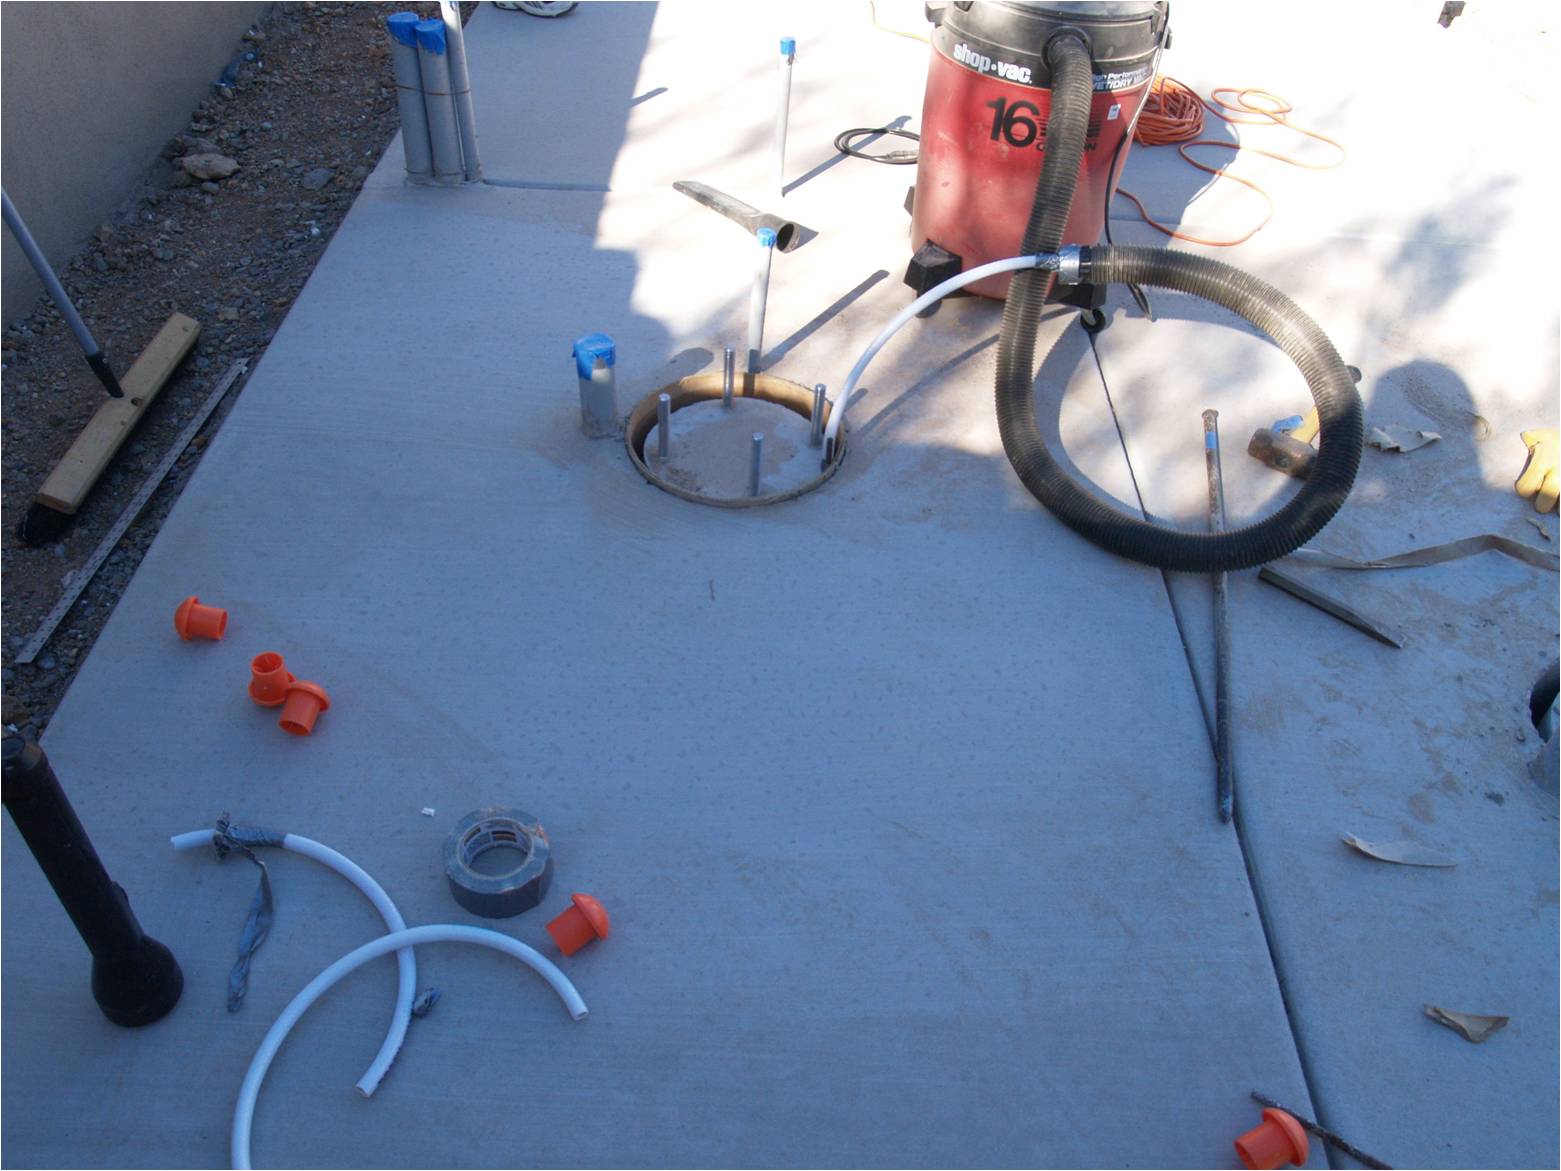
| Time to
remove the Sonotube and the sand.
|
 |
|
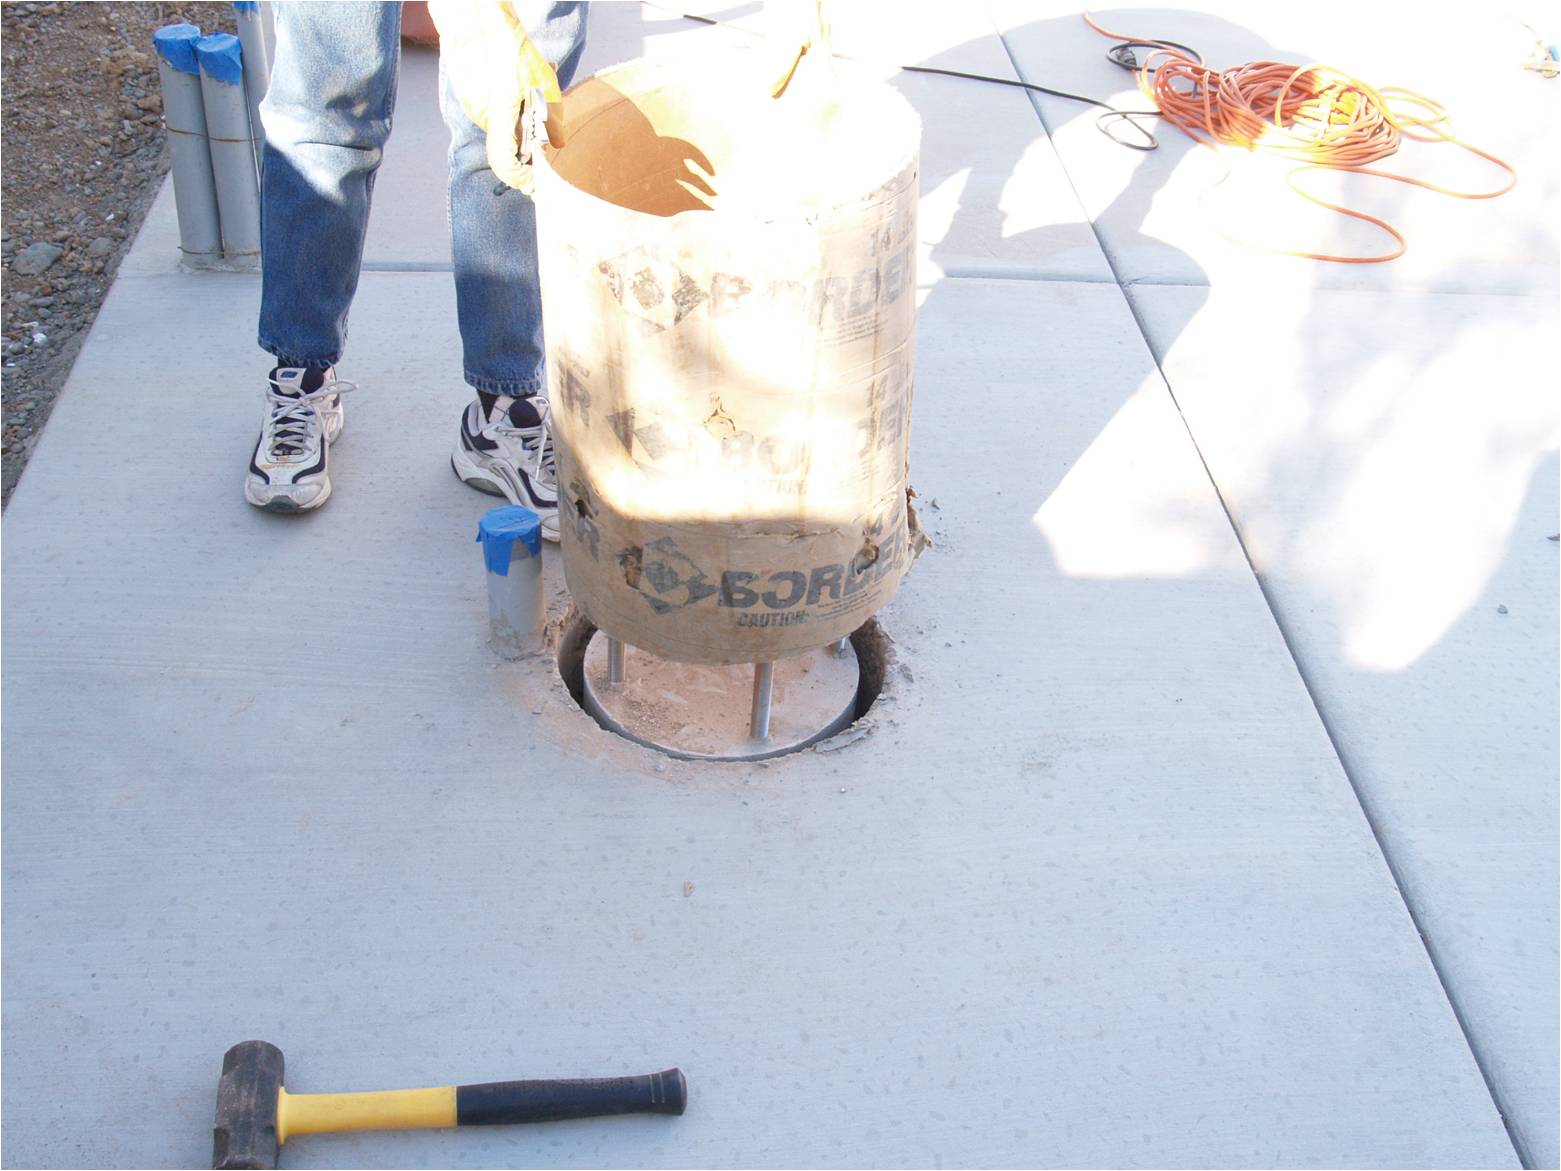
| Since
the sand depth was 20 inches, and the crevice tool was only 8
inches long, can anyone say Apollo 13? A little garden hose and
some duck tape did the trick. |
 |
|
| The sand
is out and it's time to pull the Sonotube out of the hole. |
 |
|
| And...
out comes the Sonotube |
 |
|
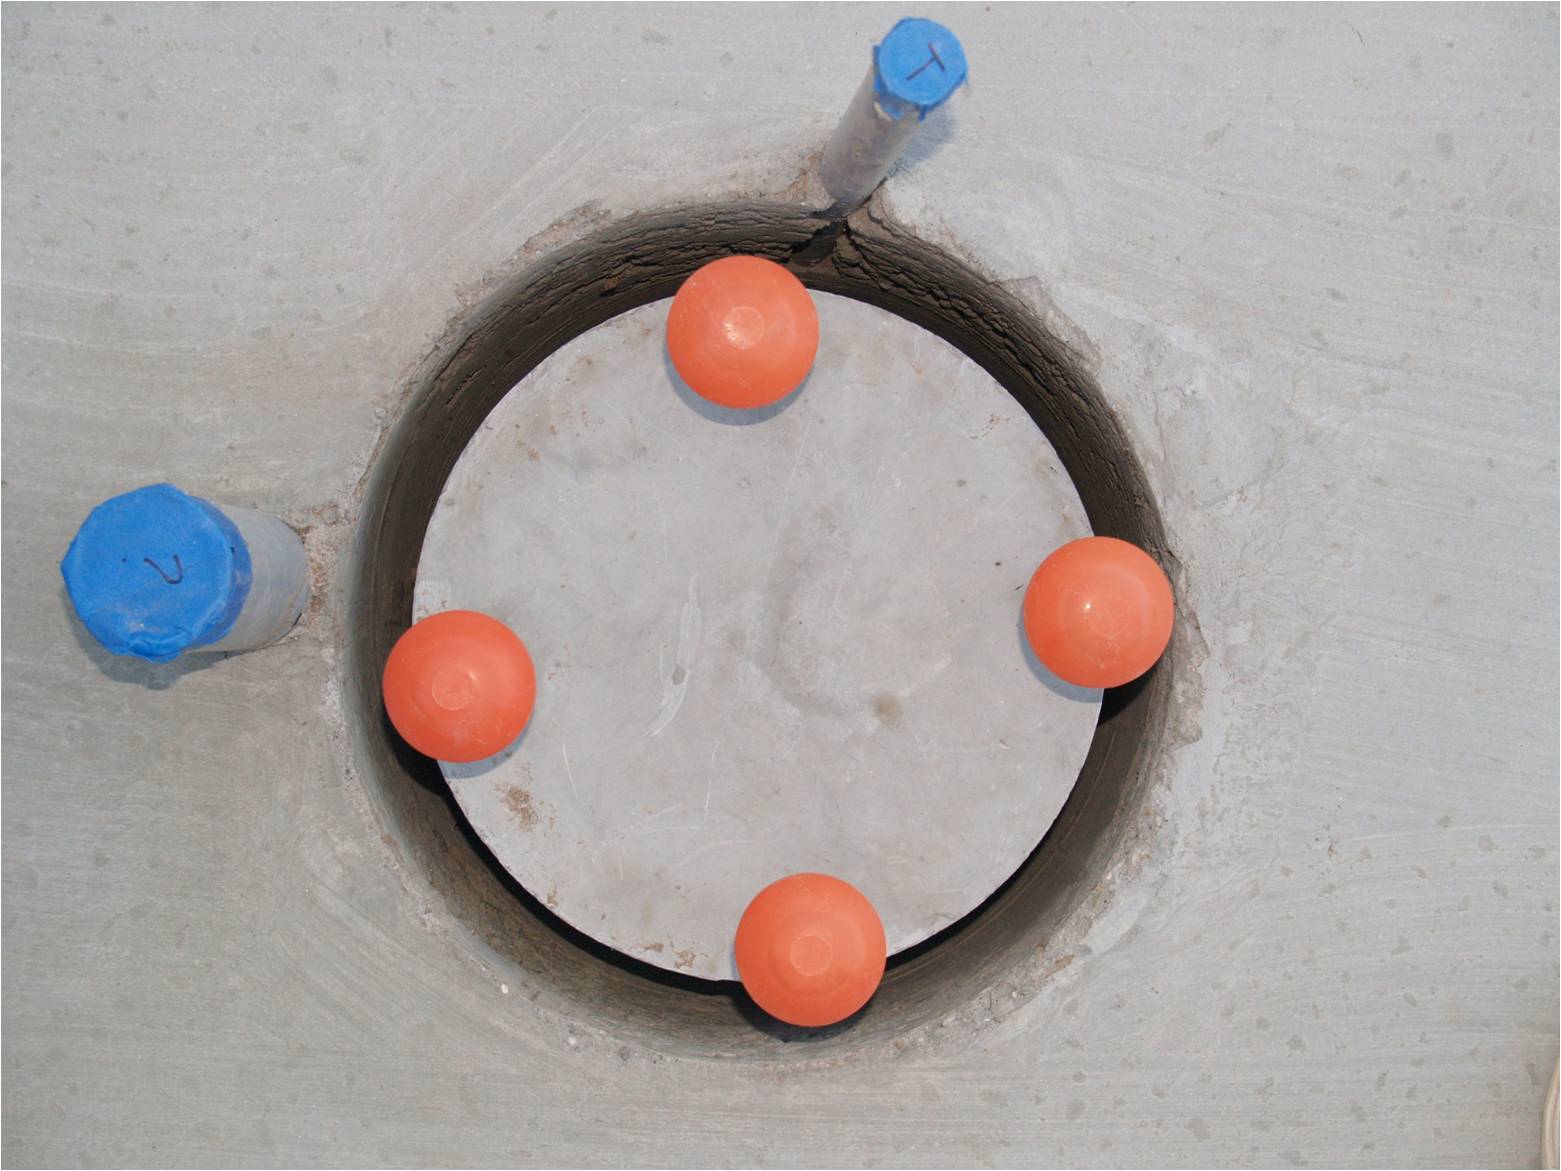
| And 4
1/2 hours later, we have 2 cleaned pier bases waiting for the
foam insulation... |
 |
|
| 1
November 2009 |
Click each picture for a full size version |
|
| Time to
stain the concrete... |
 |
|
| Finished...
|
 |
|
| 5
November 2009 |
Click each picture for a full size version |
|
| The
stain is dry and has darkened up a bit... |
 |
|
| 5
November 2009 |
Now we wait for the Media Room addition to be completed in about
3 weeks before proceeding with the observatory building
construction |
|
|
|